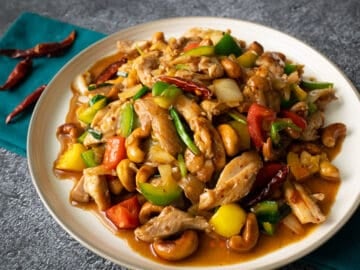
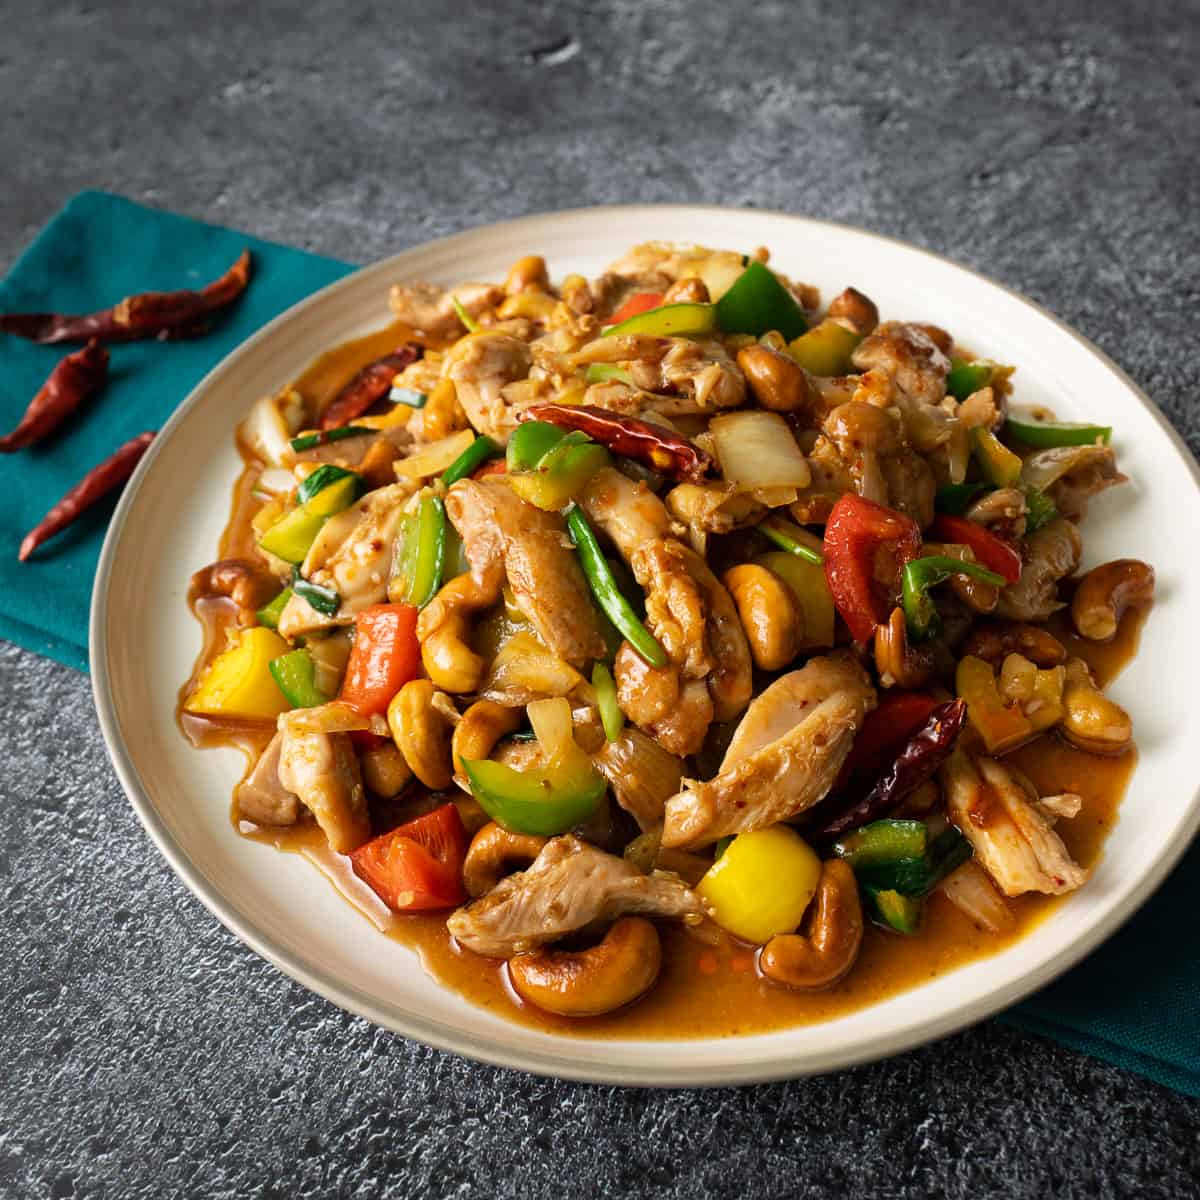
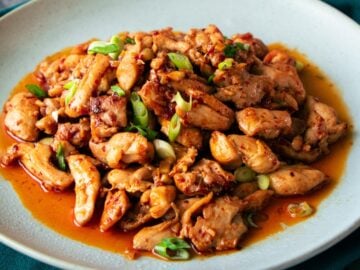
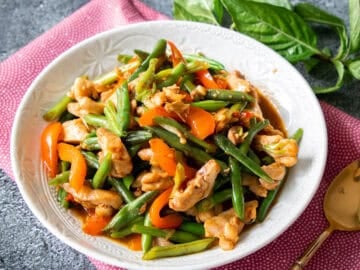
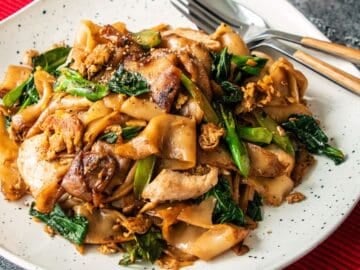
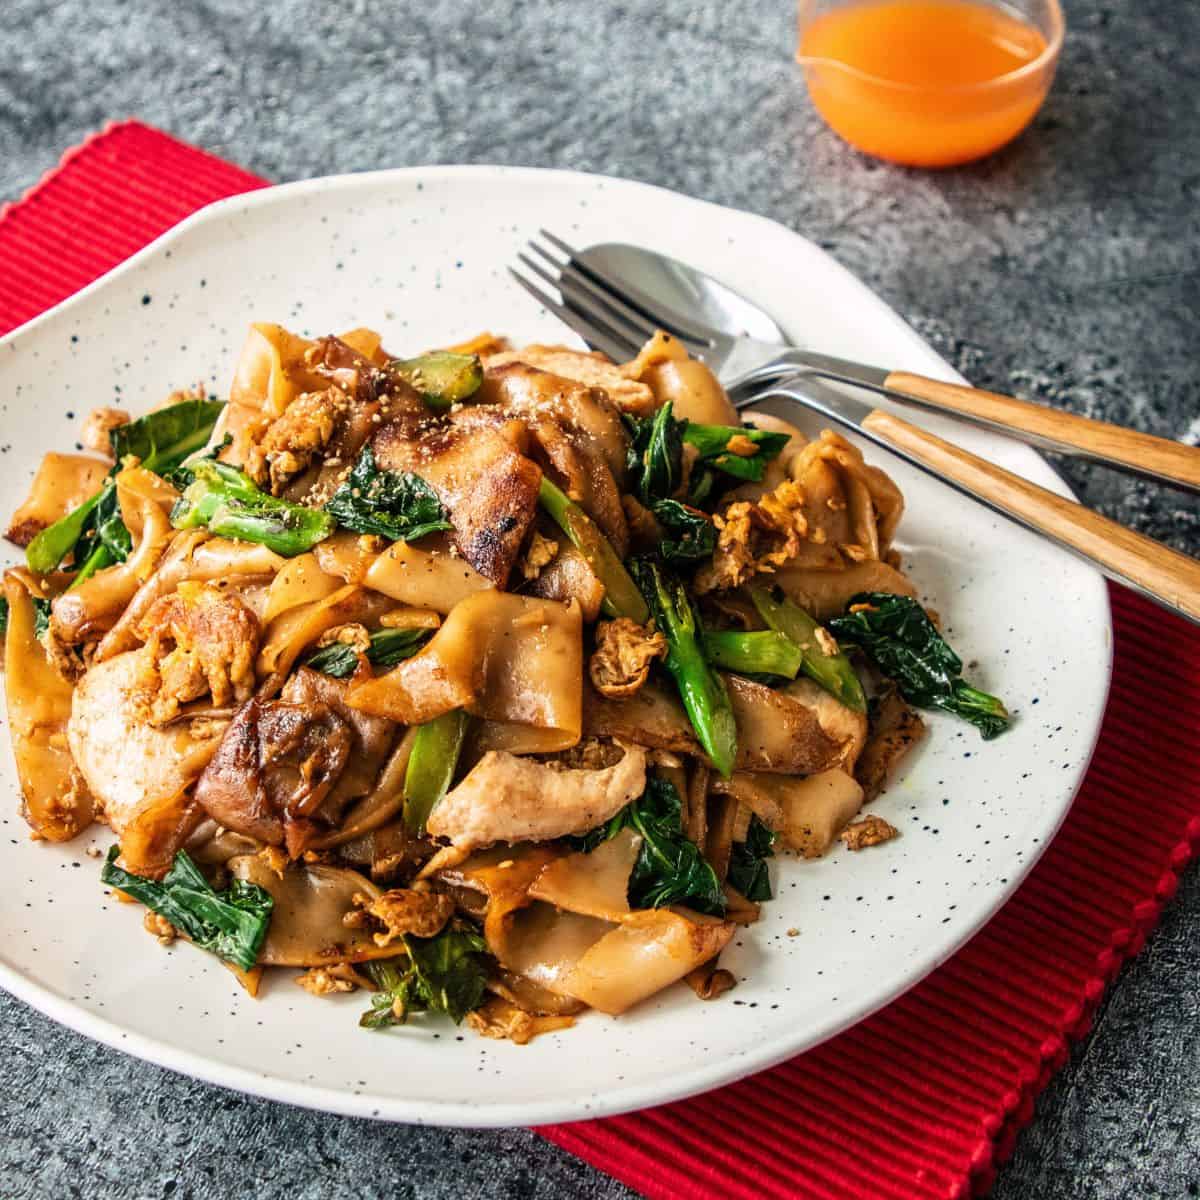
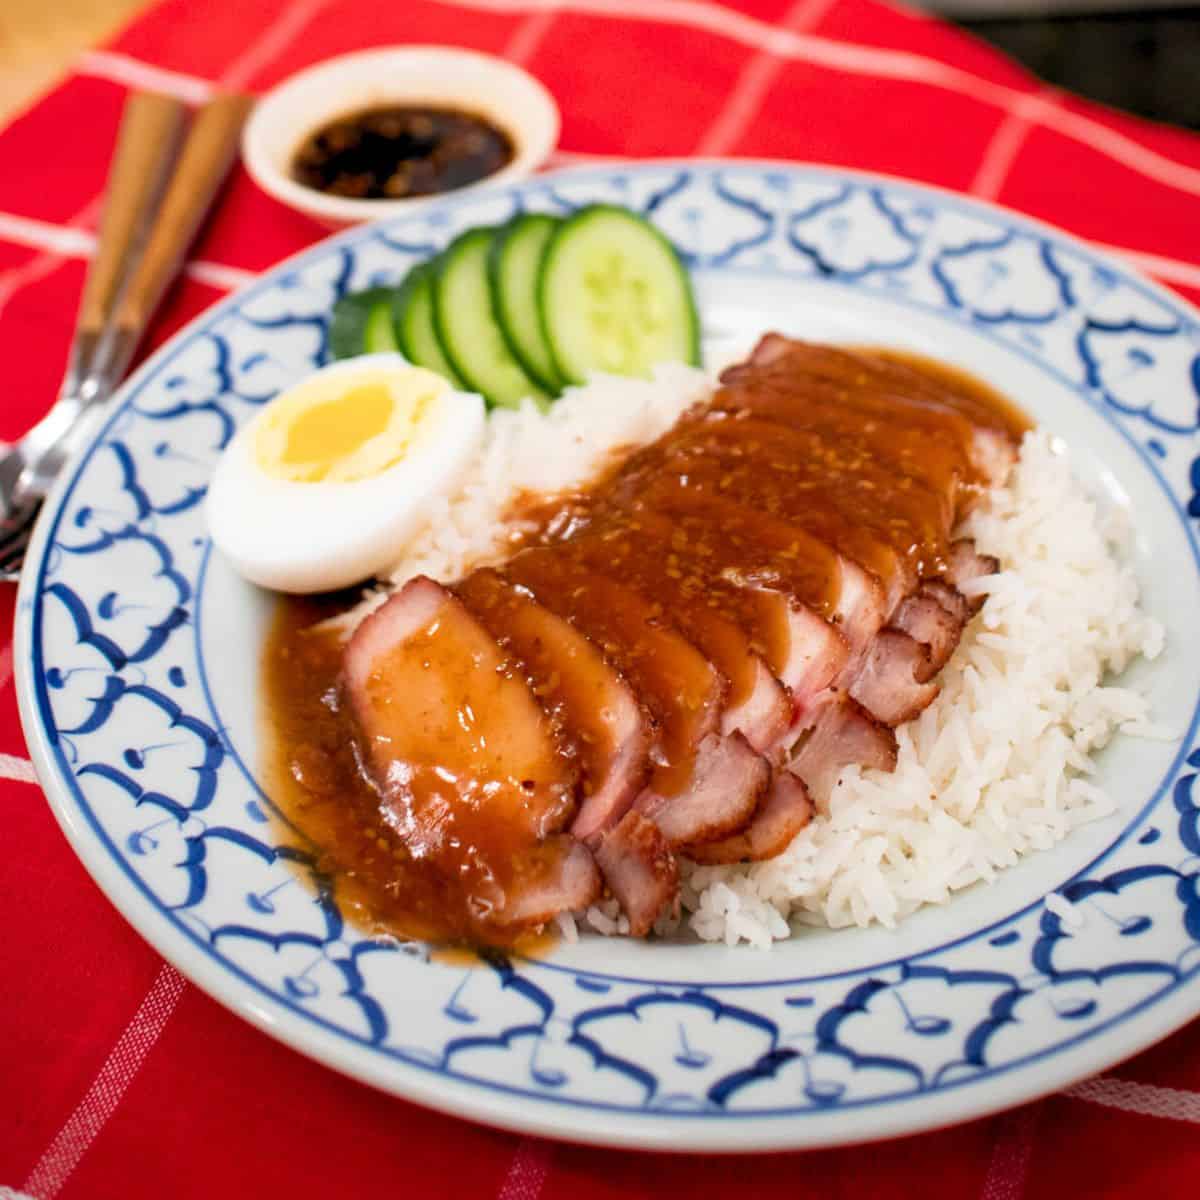
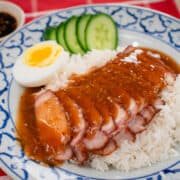
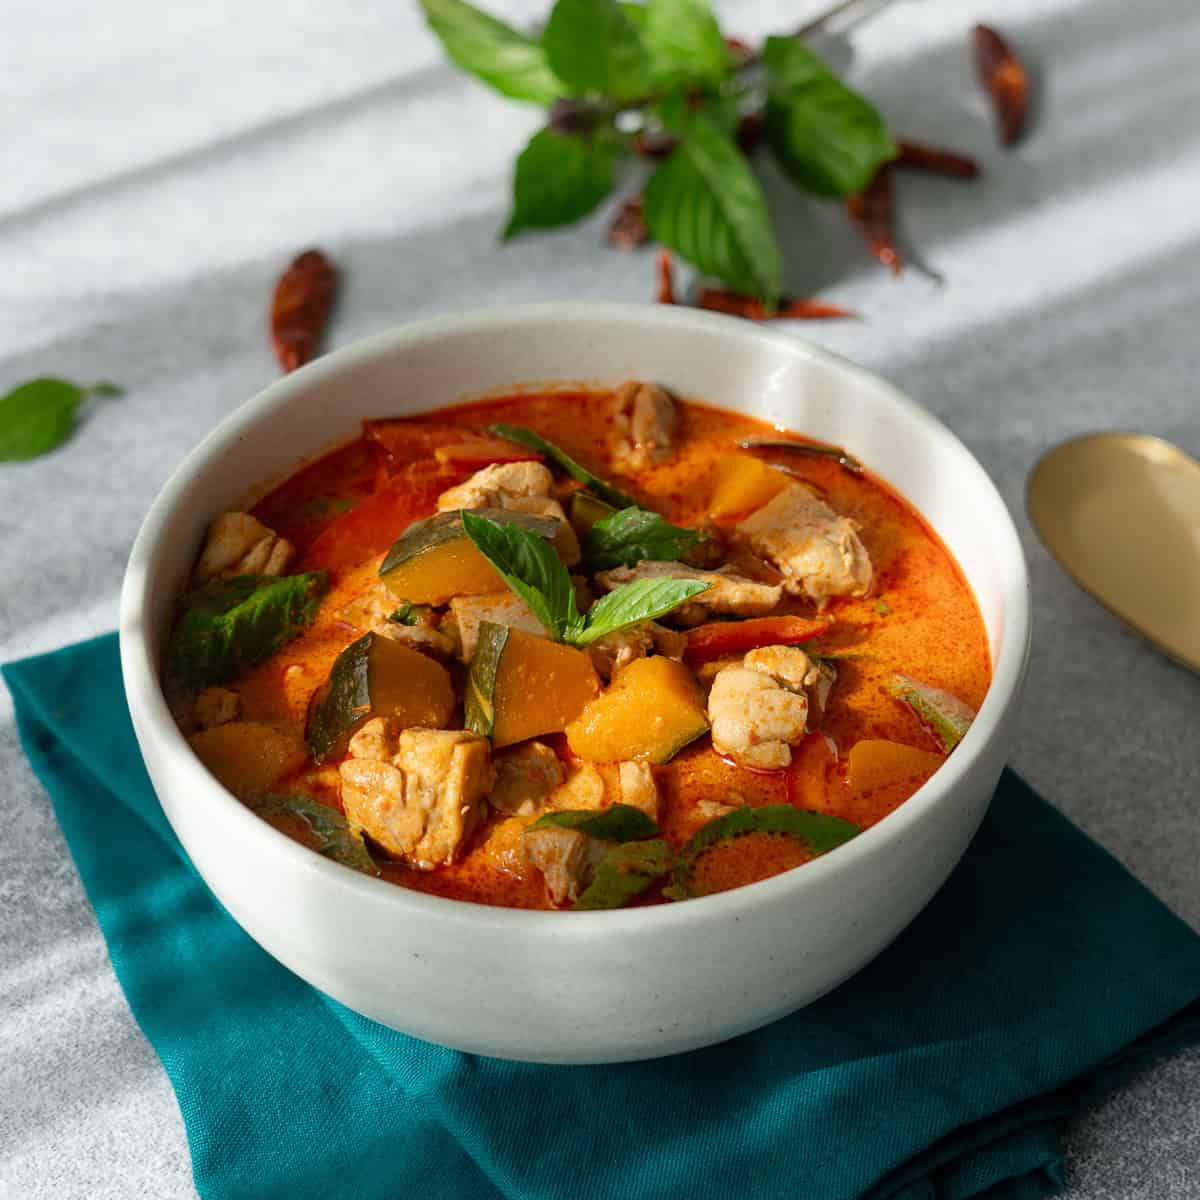
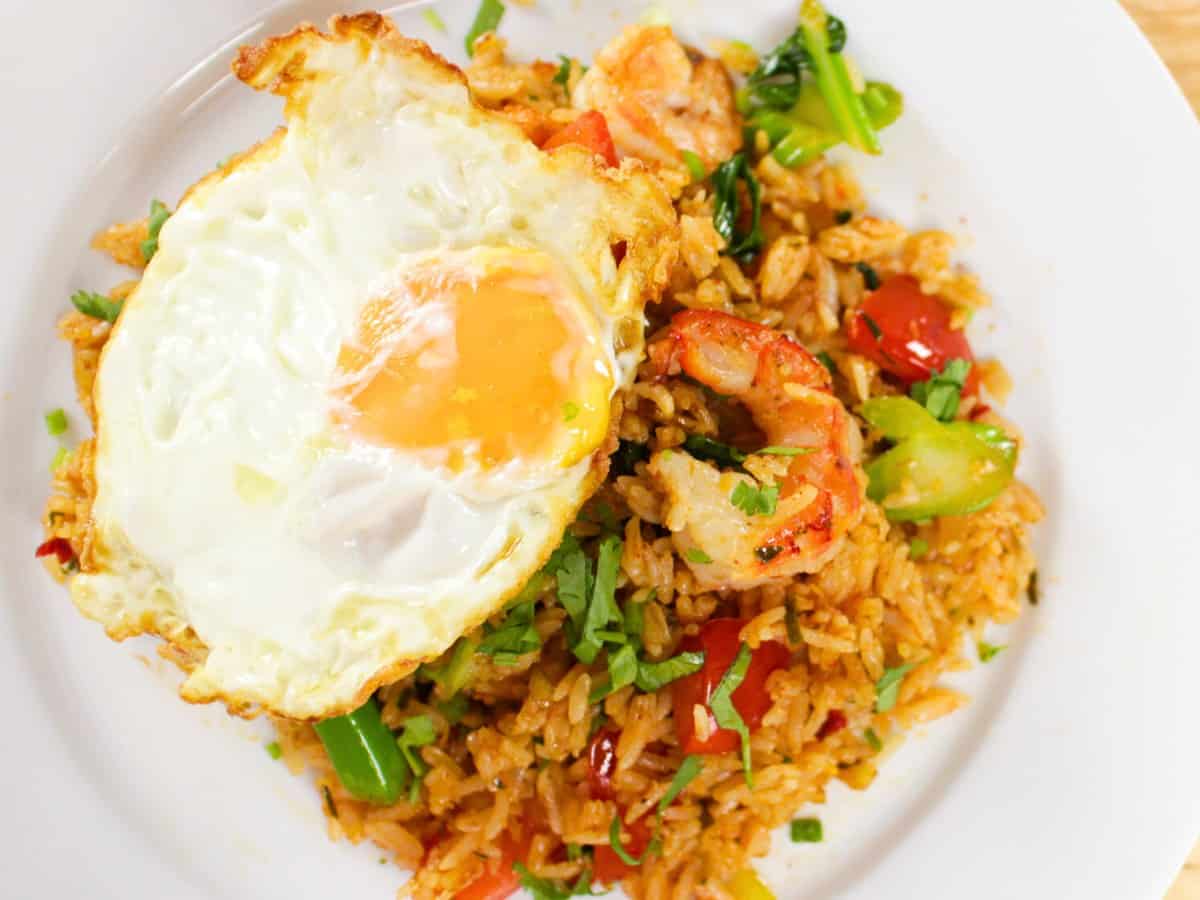
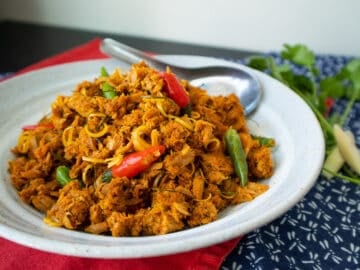
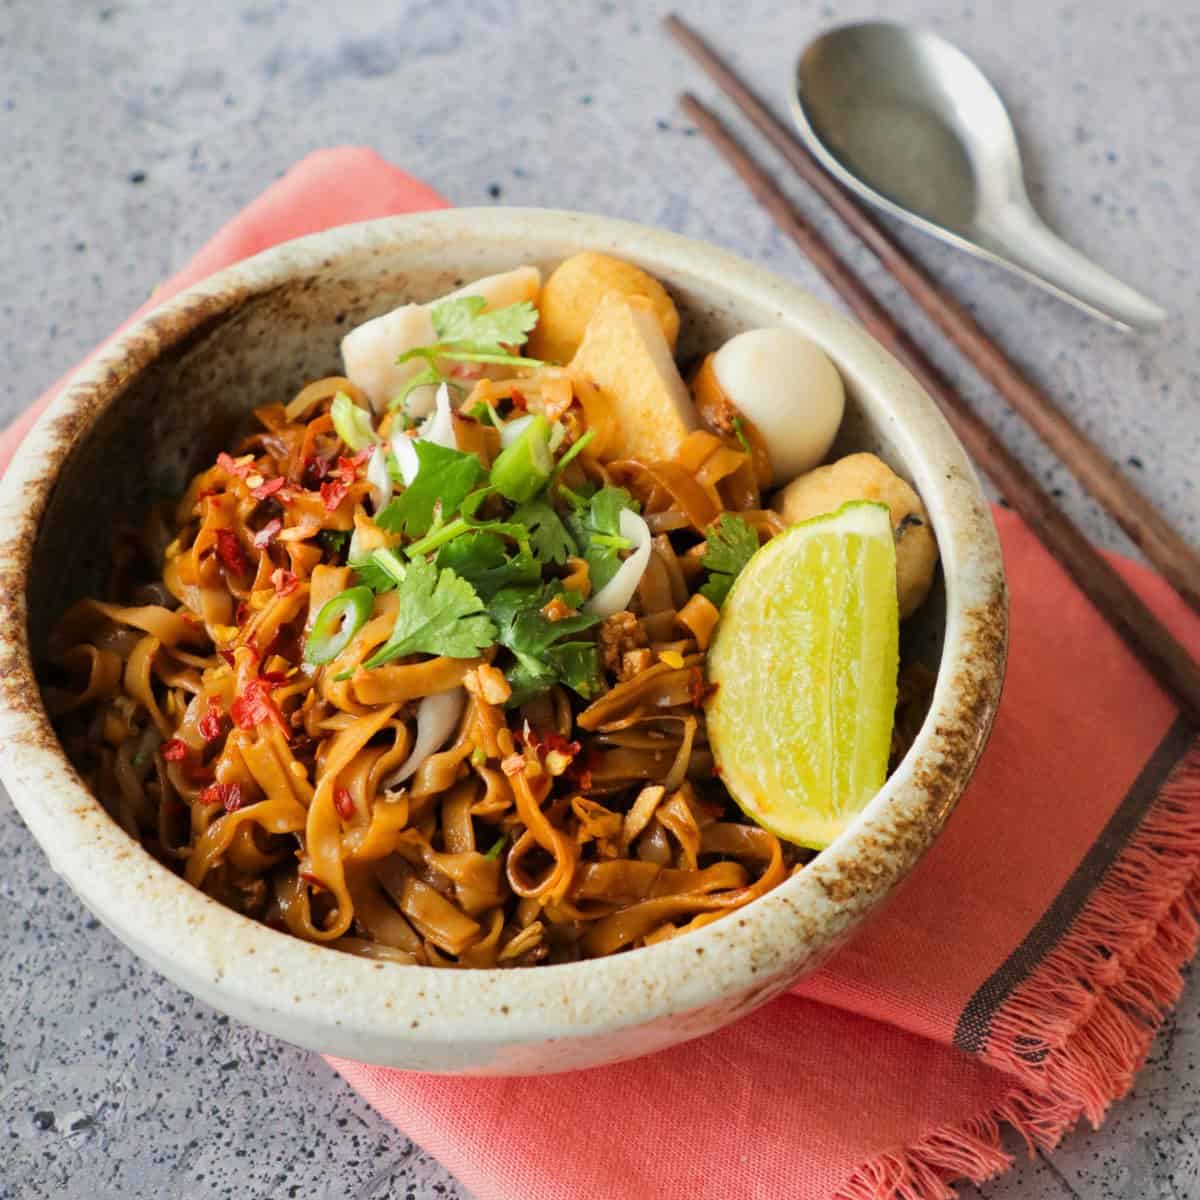
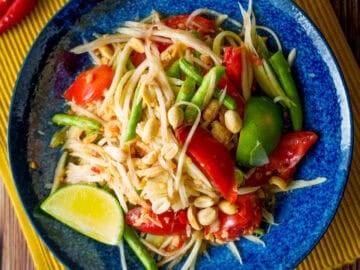
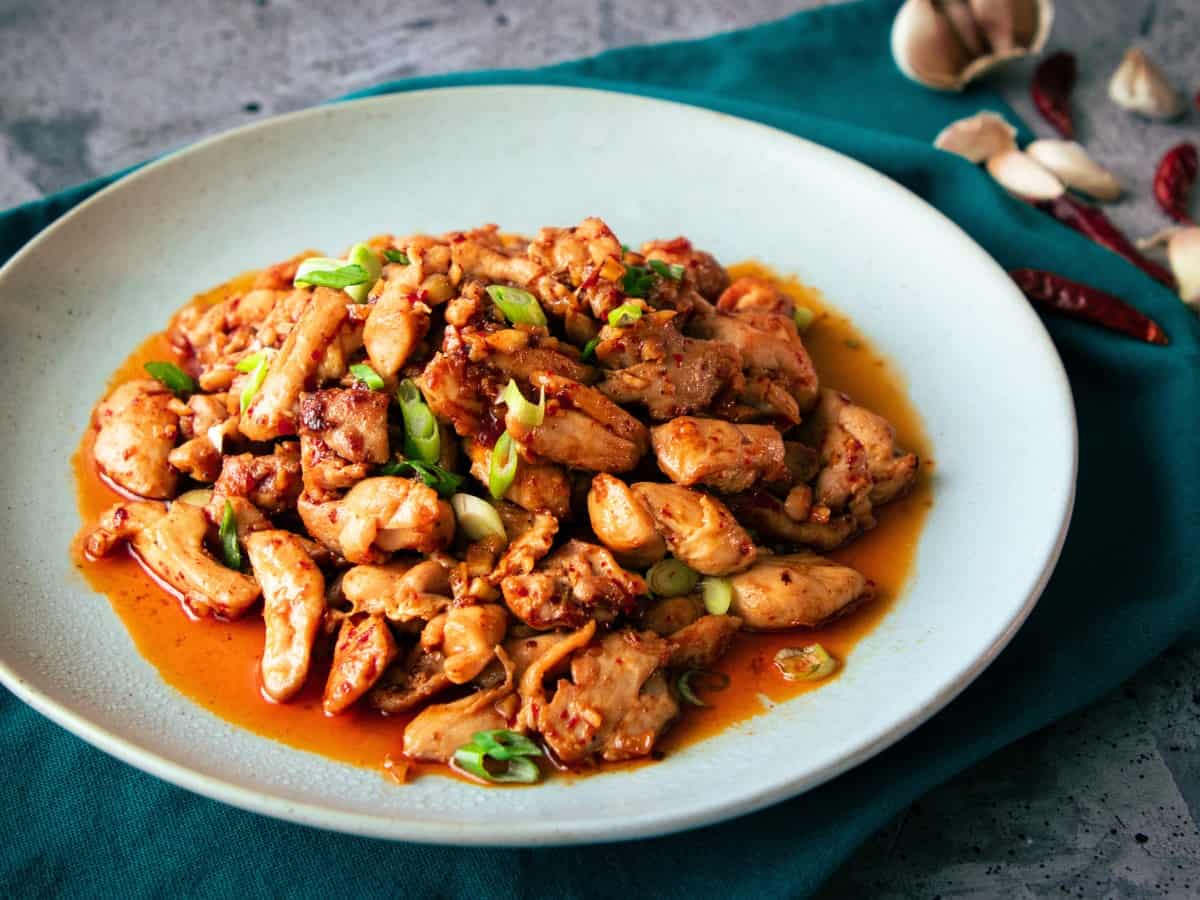
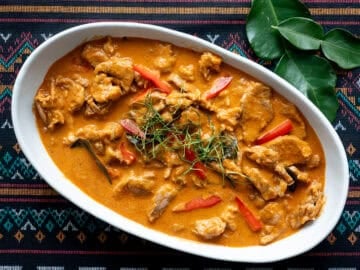
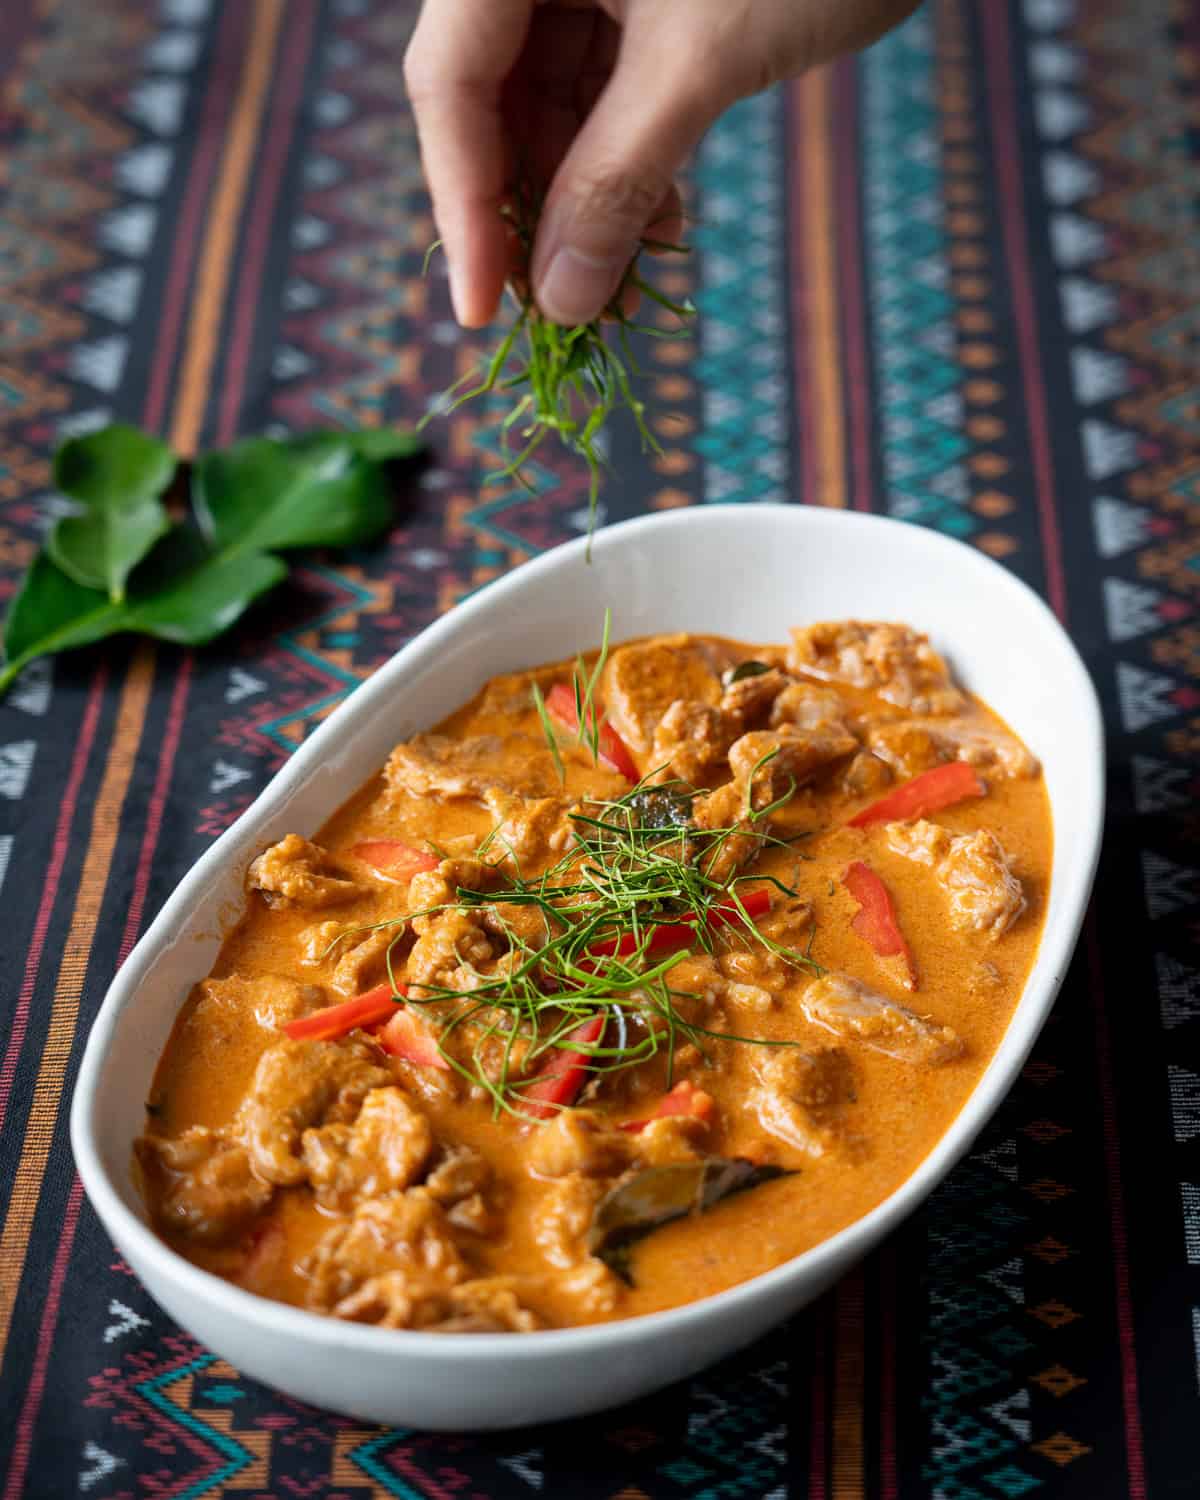
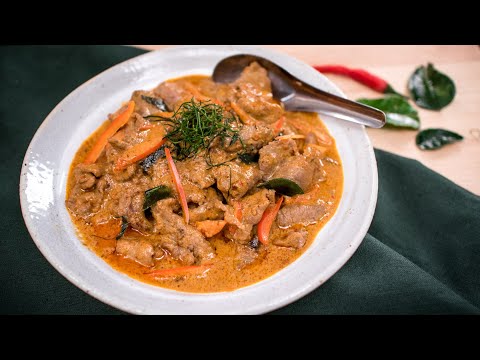
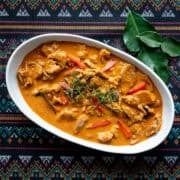
If you want to learn how to make the best possible cashew chicken stir fry at home, get ready. This is my "ultimate guide" to this popular takeout dish. I'm giving you all the tips and tricks that I know, (even some surprising ones), to maximize the flavour. It's also very quick to make; a perfect weeknight dinner. This is my husband's all-time-fave Thai dish, and he wanted to let you know that this version is awesome 😉.
What is Cashew Chicken? Is it Chinese or Thai?
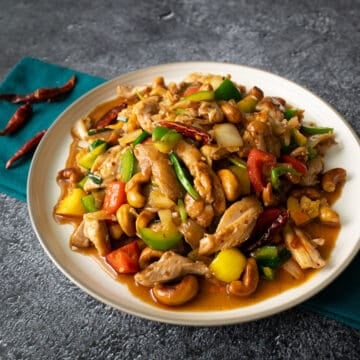
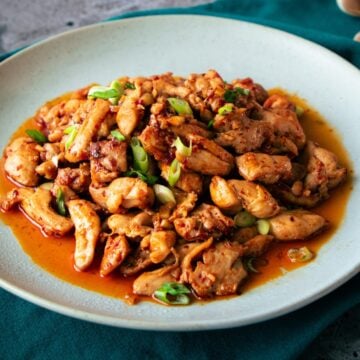
Cashew chicken is simply a stir fry of chicken and cashews with a sauce that's got a salty-sweet flavour profile. Many people might think of cashew chicken as a Chinese dish, and indeed China is where this dish originated. You can tell by the presence of sesame oil, which we don't use very much of in Thai cooking.
But Thai cuisine is heavily influenced by Chinese food, and this is one dish that has become a mainstay in Thailand, and in Thai it's called gai pad med mamuang himmapan ไก่ผัดเม็ดมะม่วงหิมพานต์ . (I swear that whole thing just says "cashew chicken stir fry"!)
But as usual, no matter where dishes come from, once they arrive in Thailand, Thai people put our own spin on it. So the flavours are a little different in predictable ways; a little lighter, a little spicier, and with a little more fish sauce 😉.
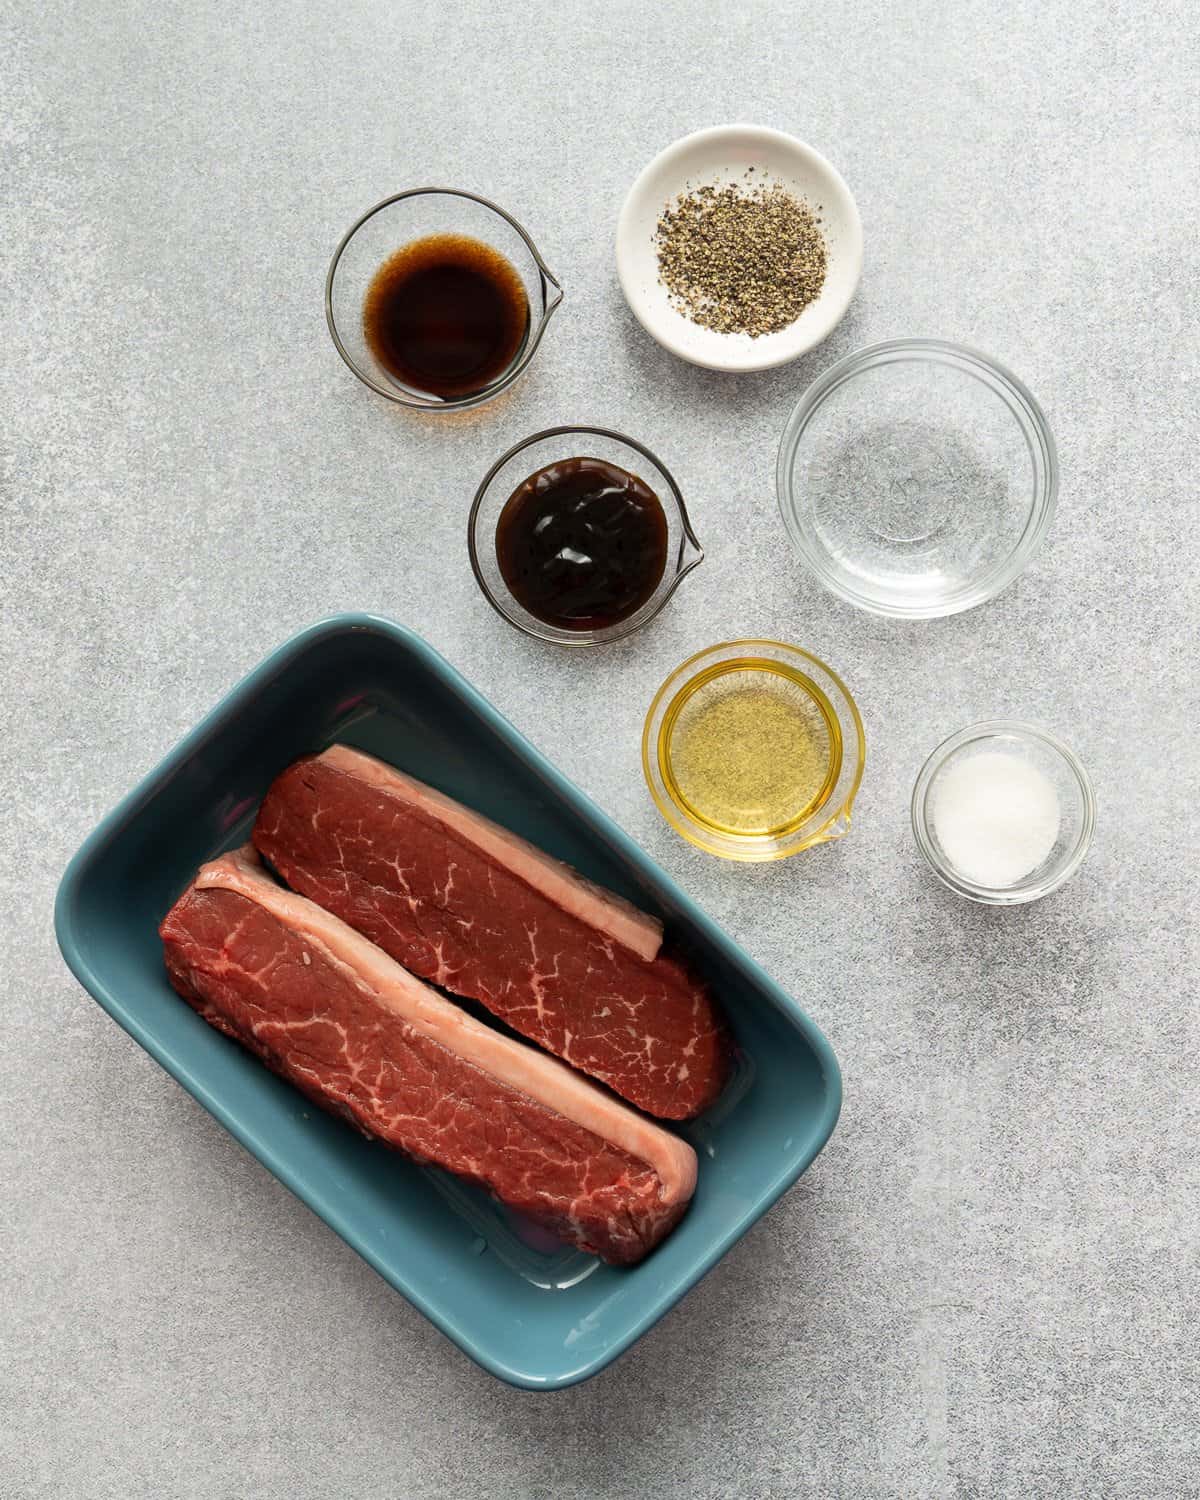
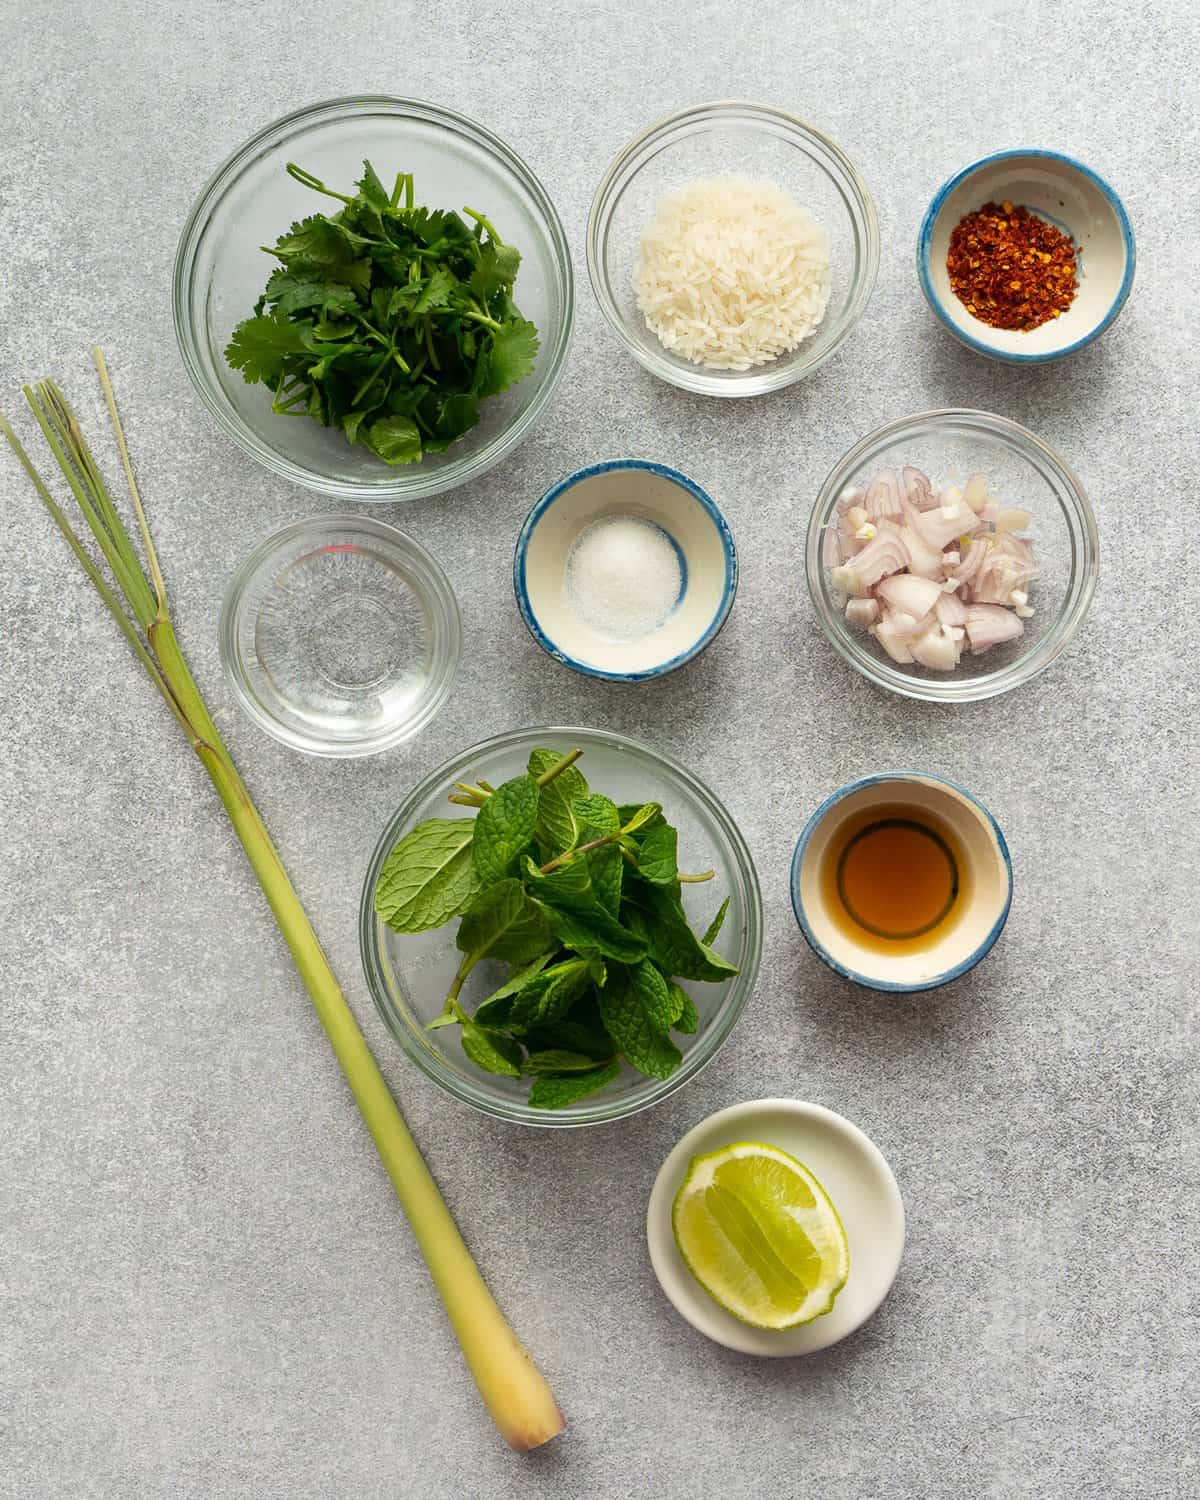
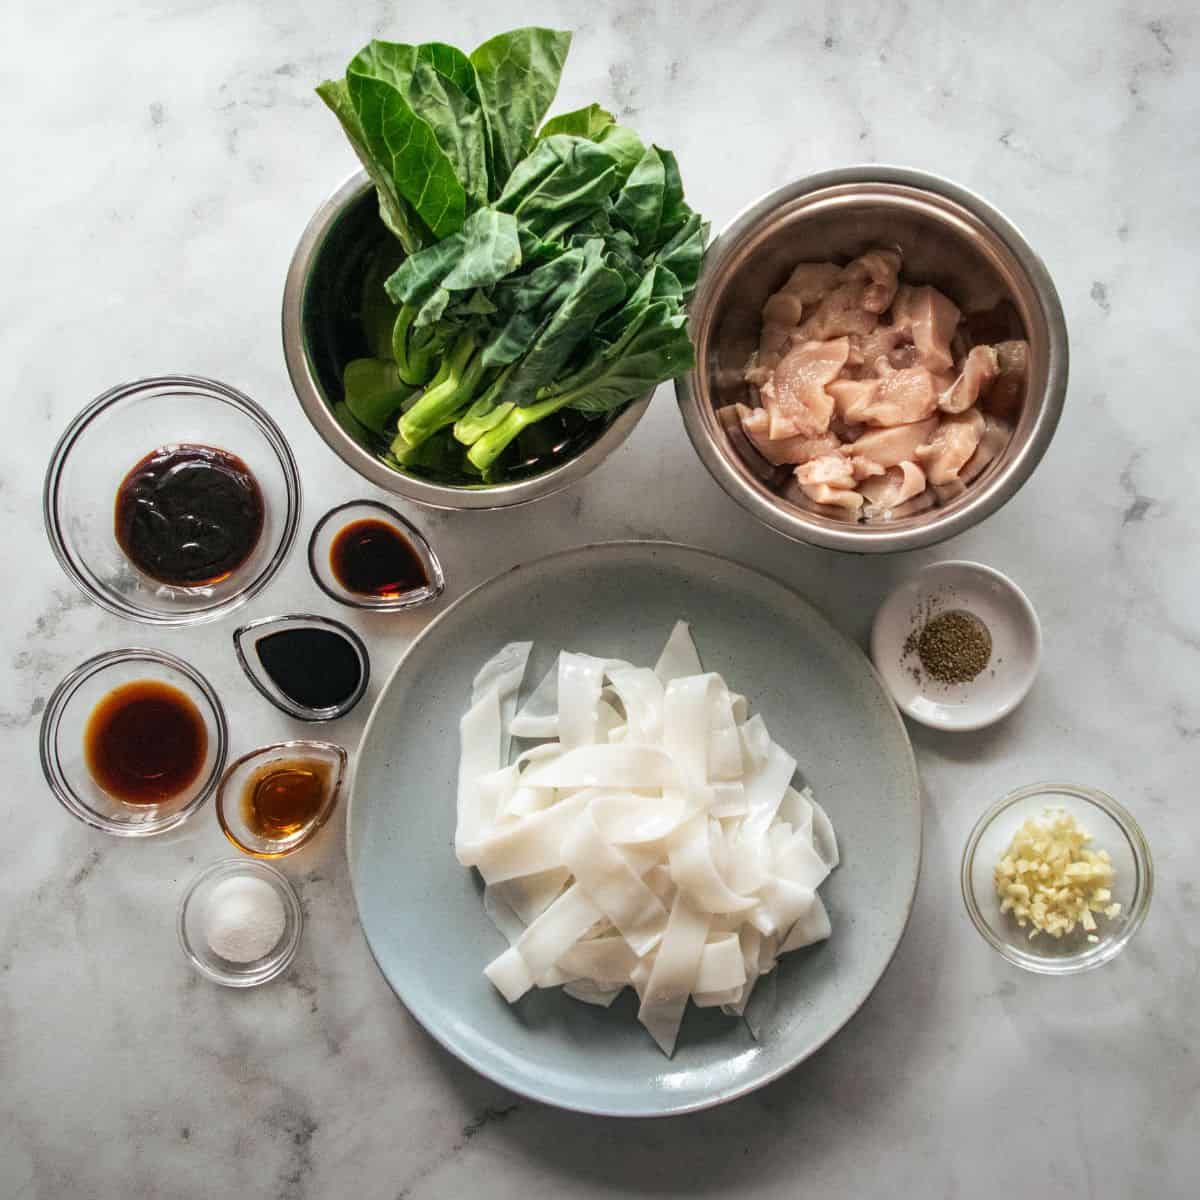
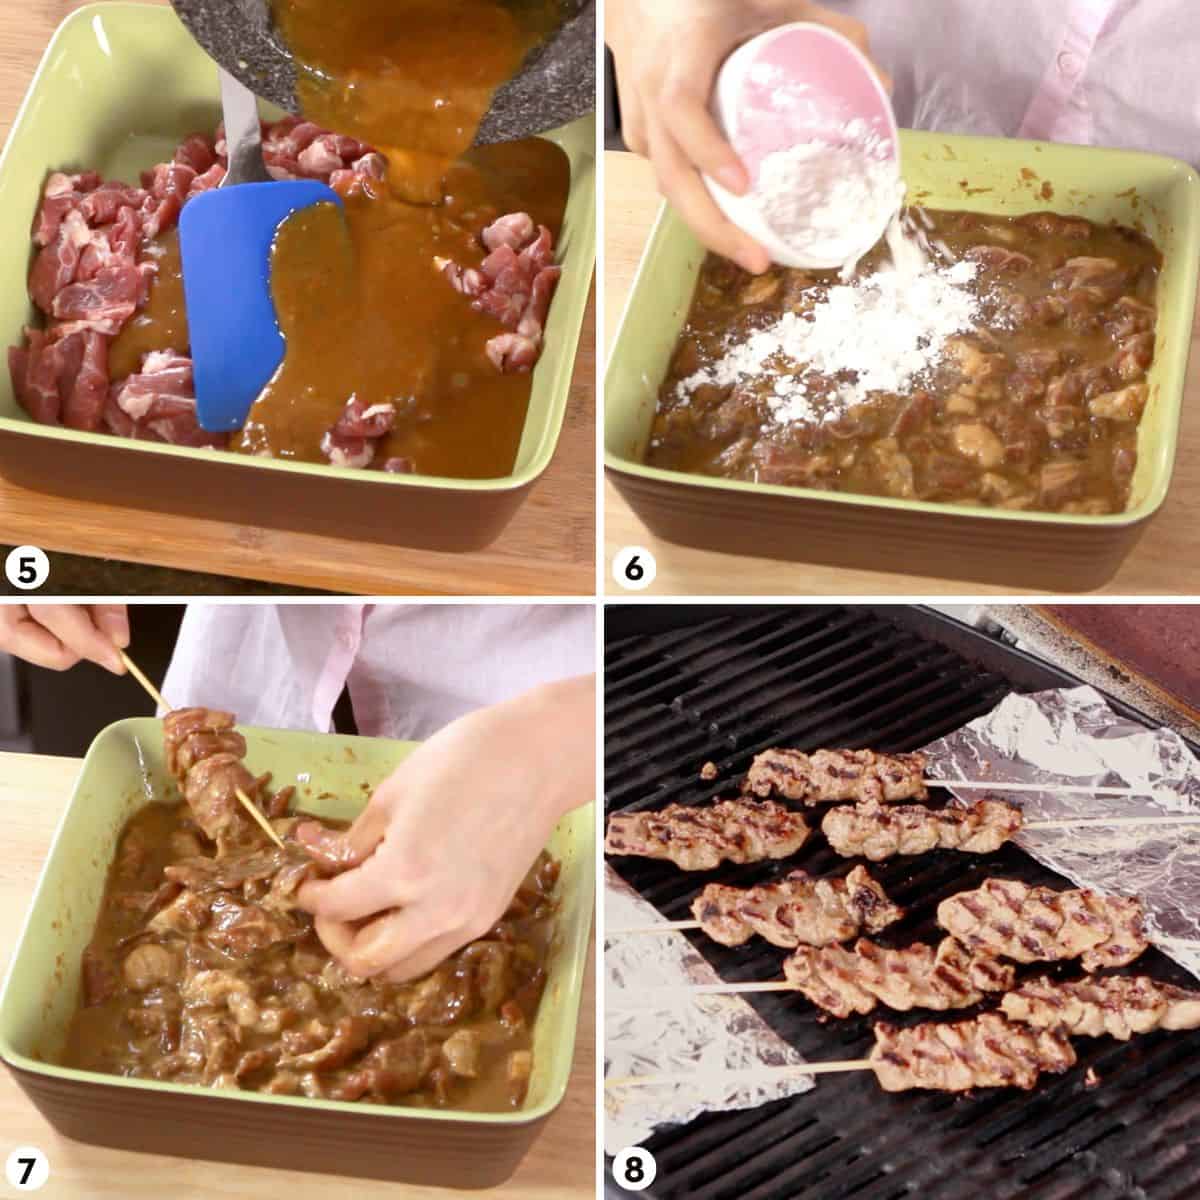
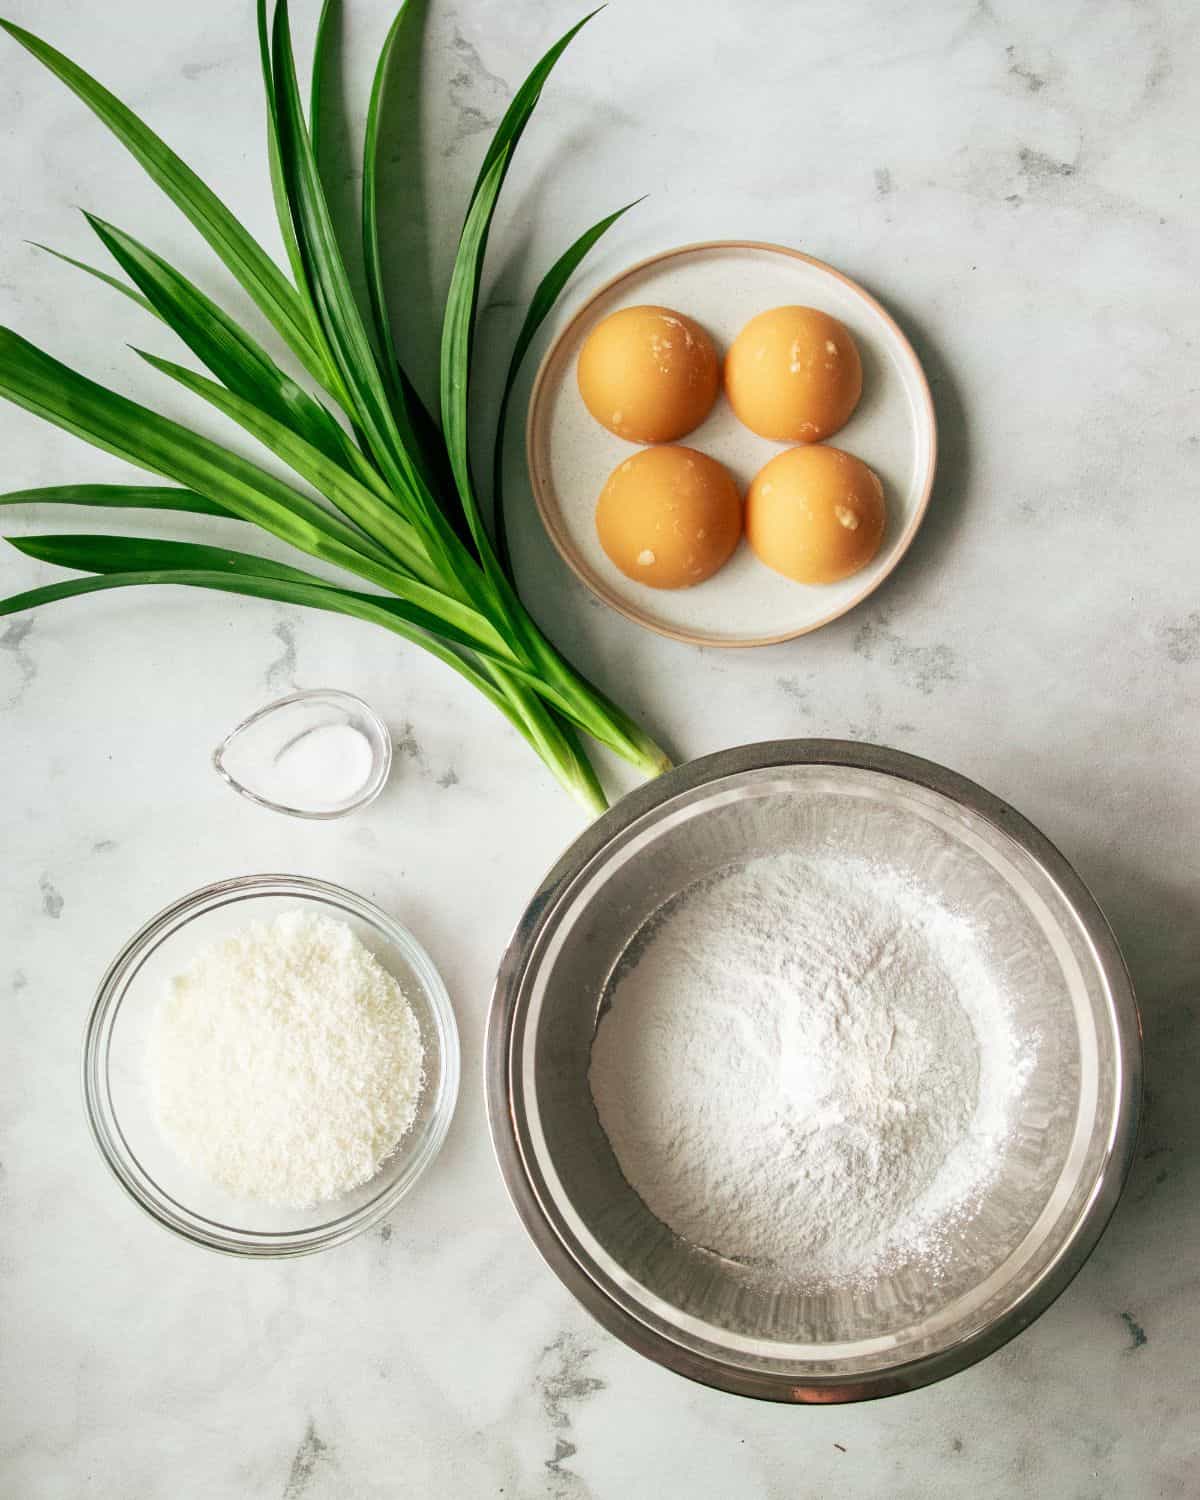
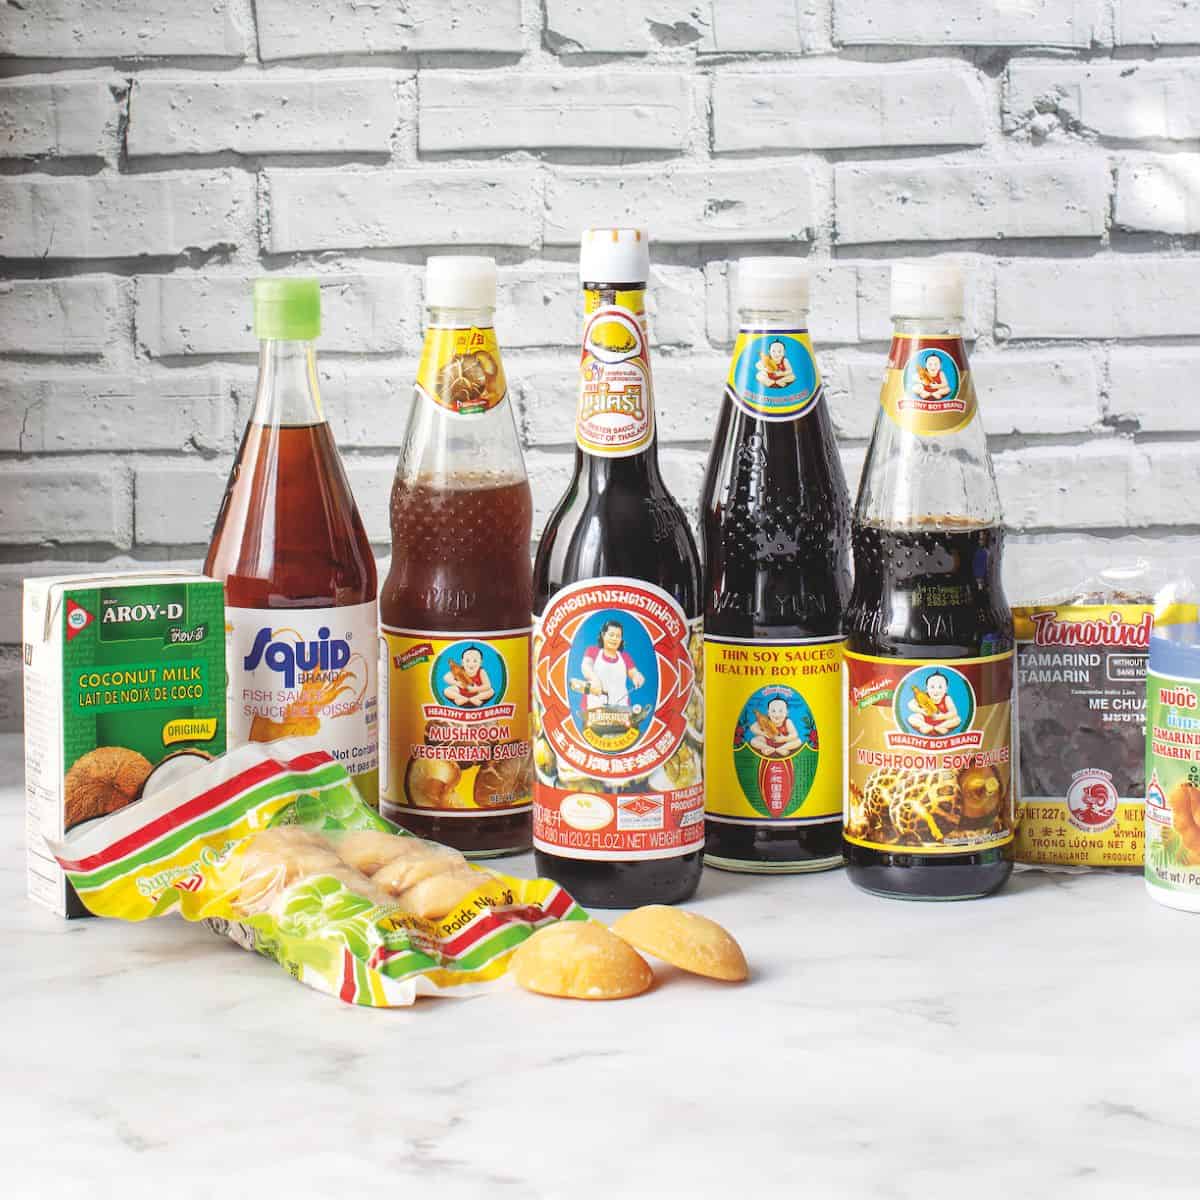
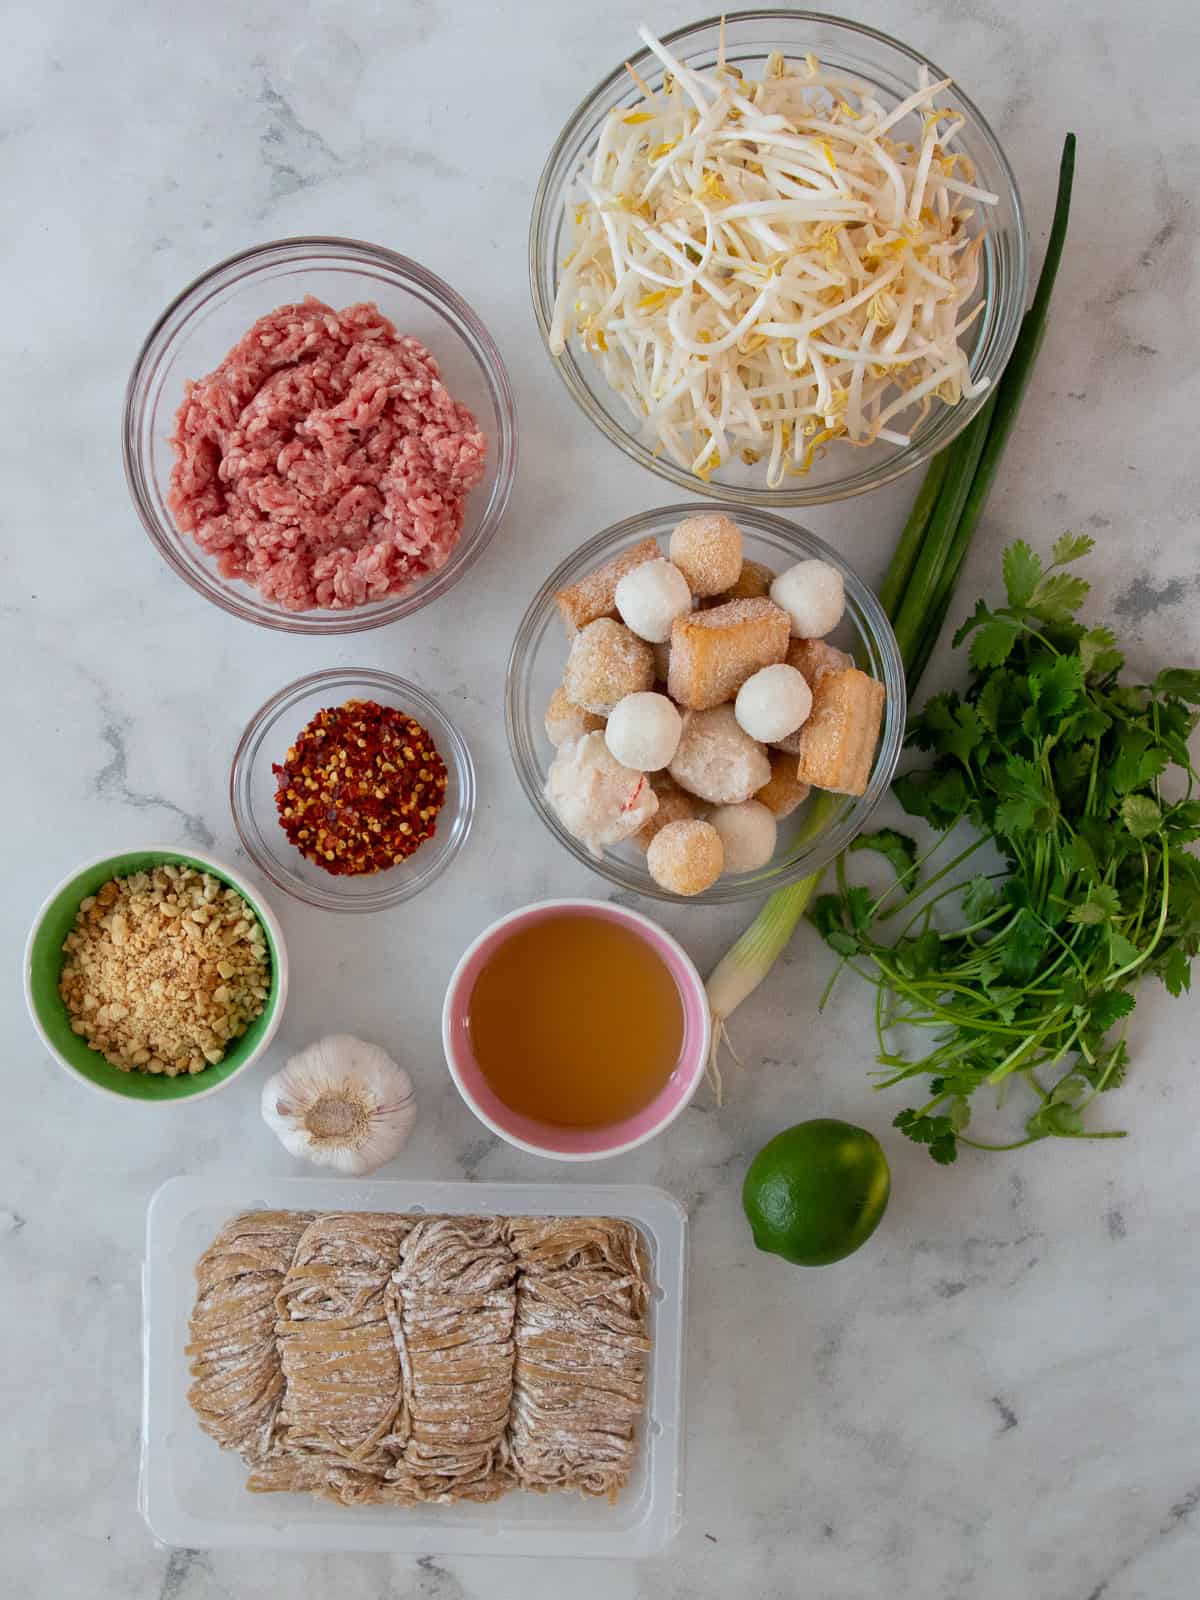
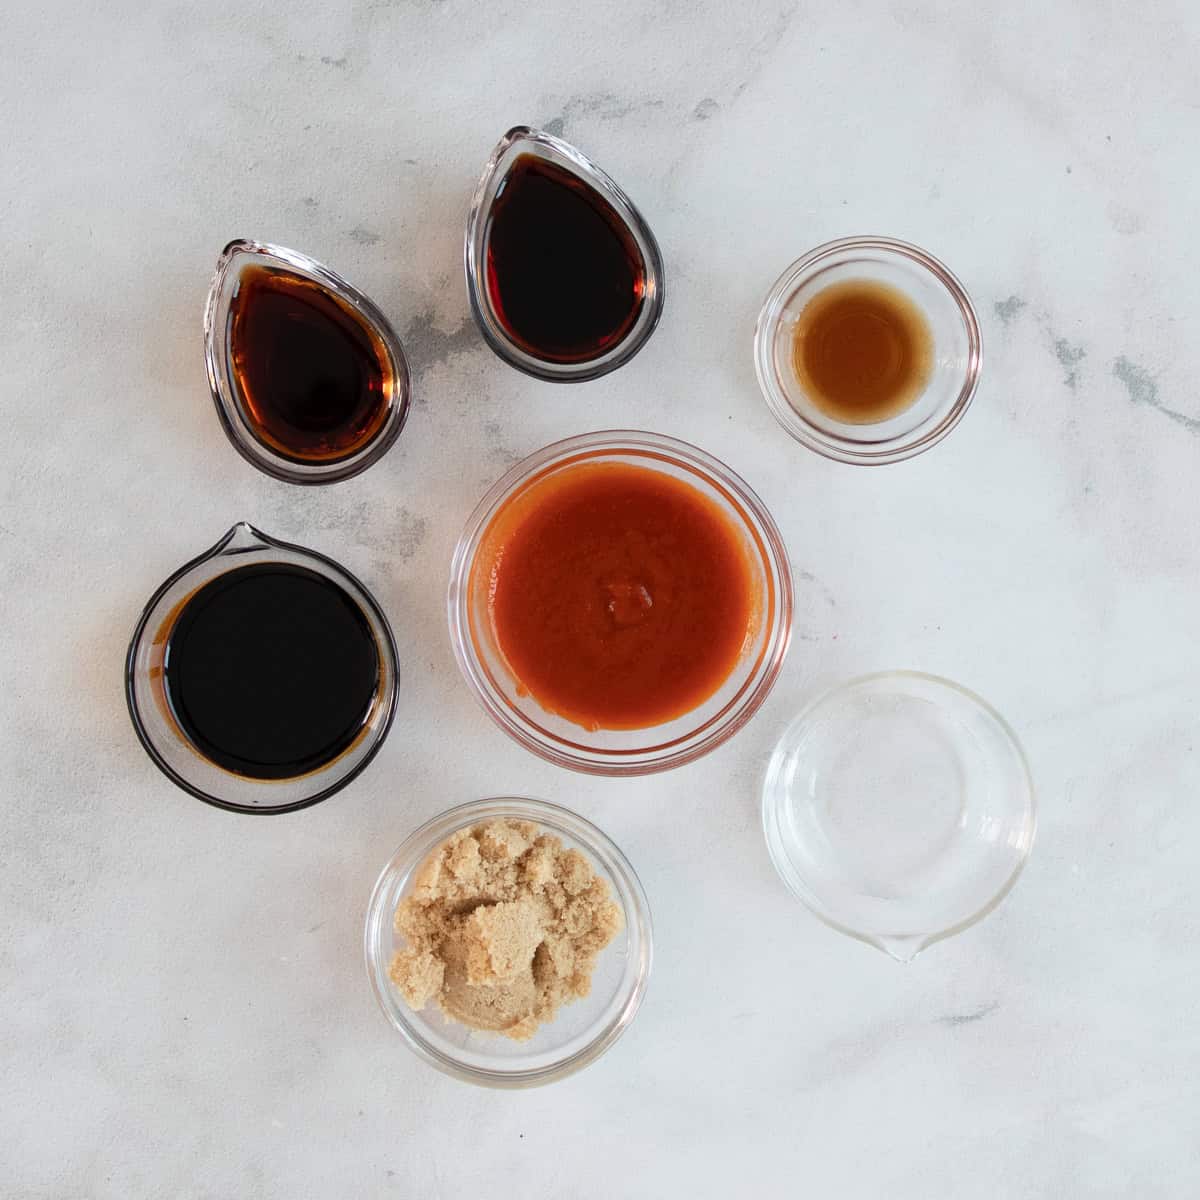
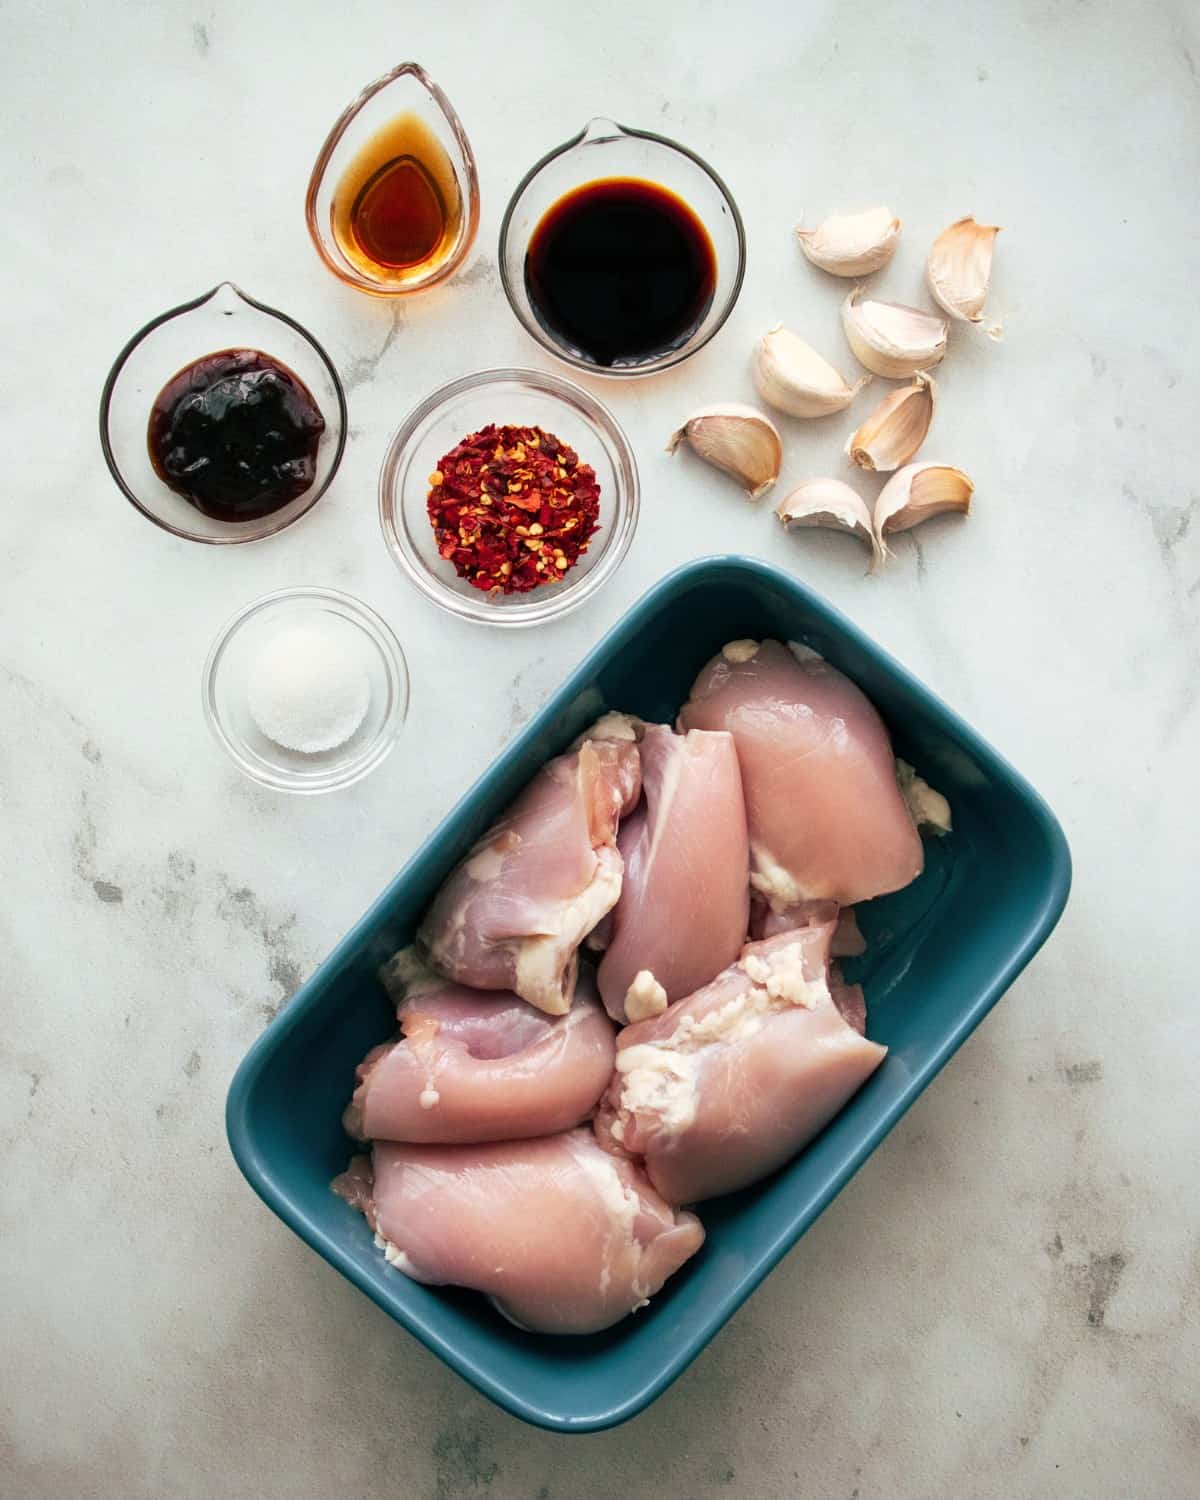
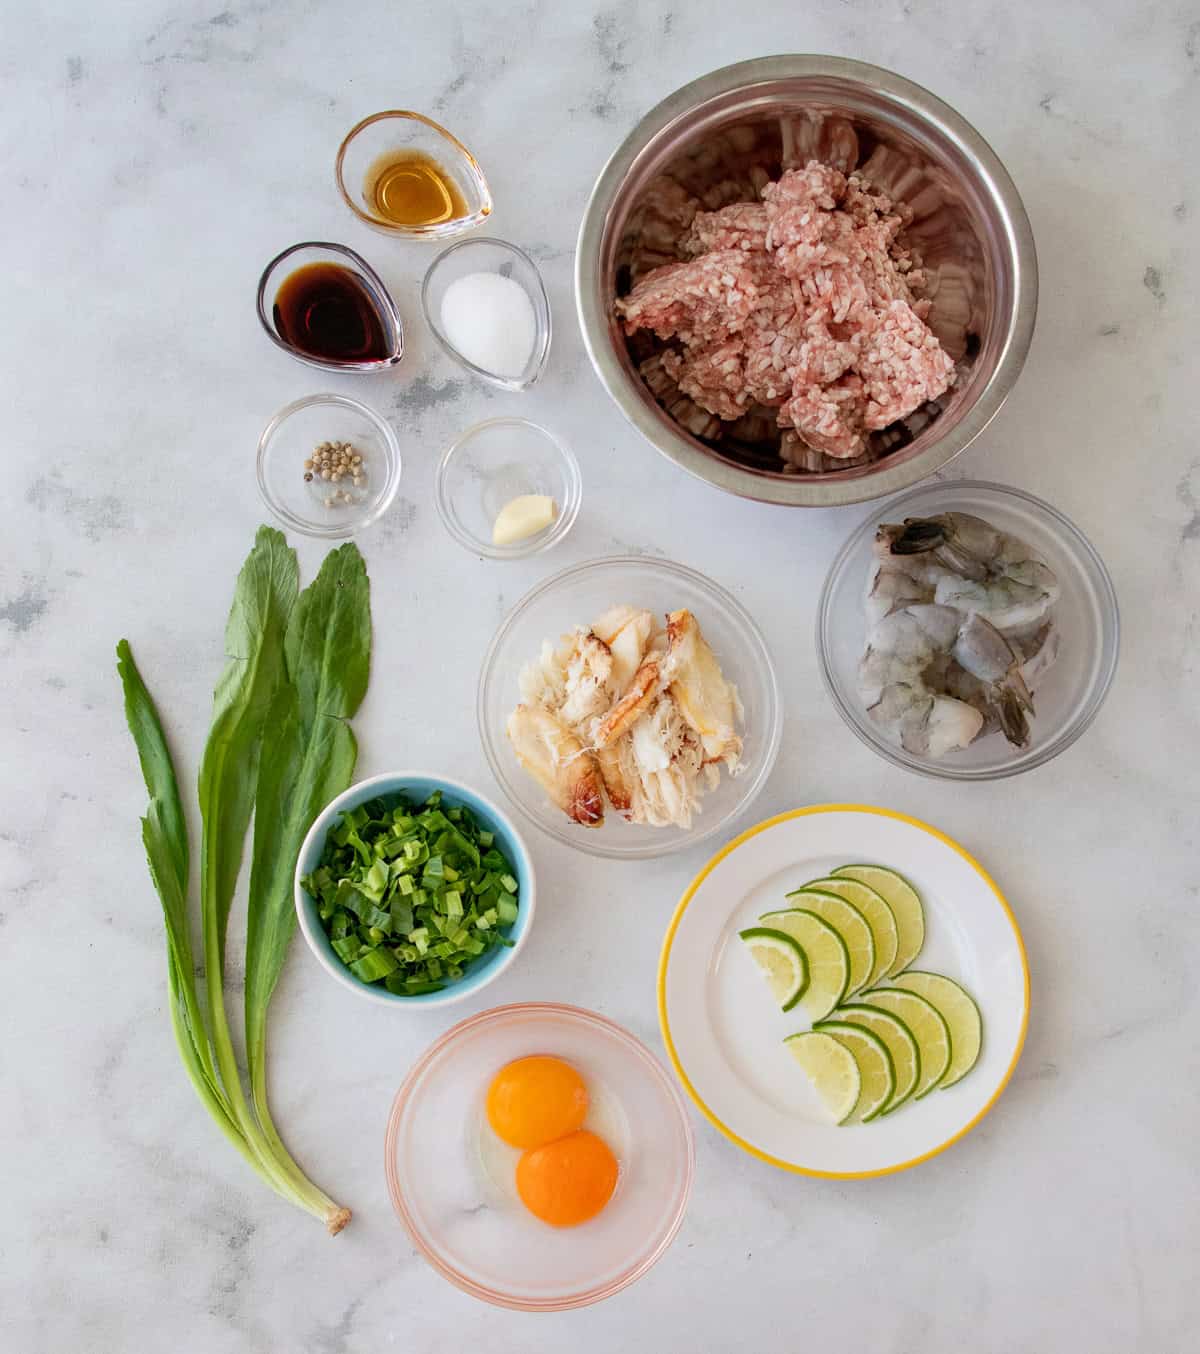
Ingredients and Notes
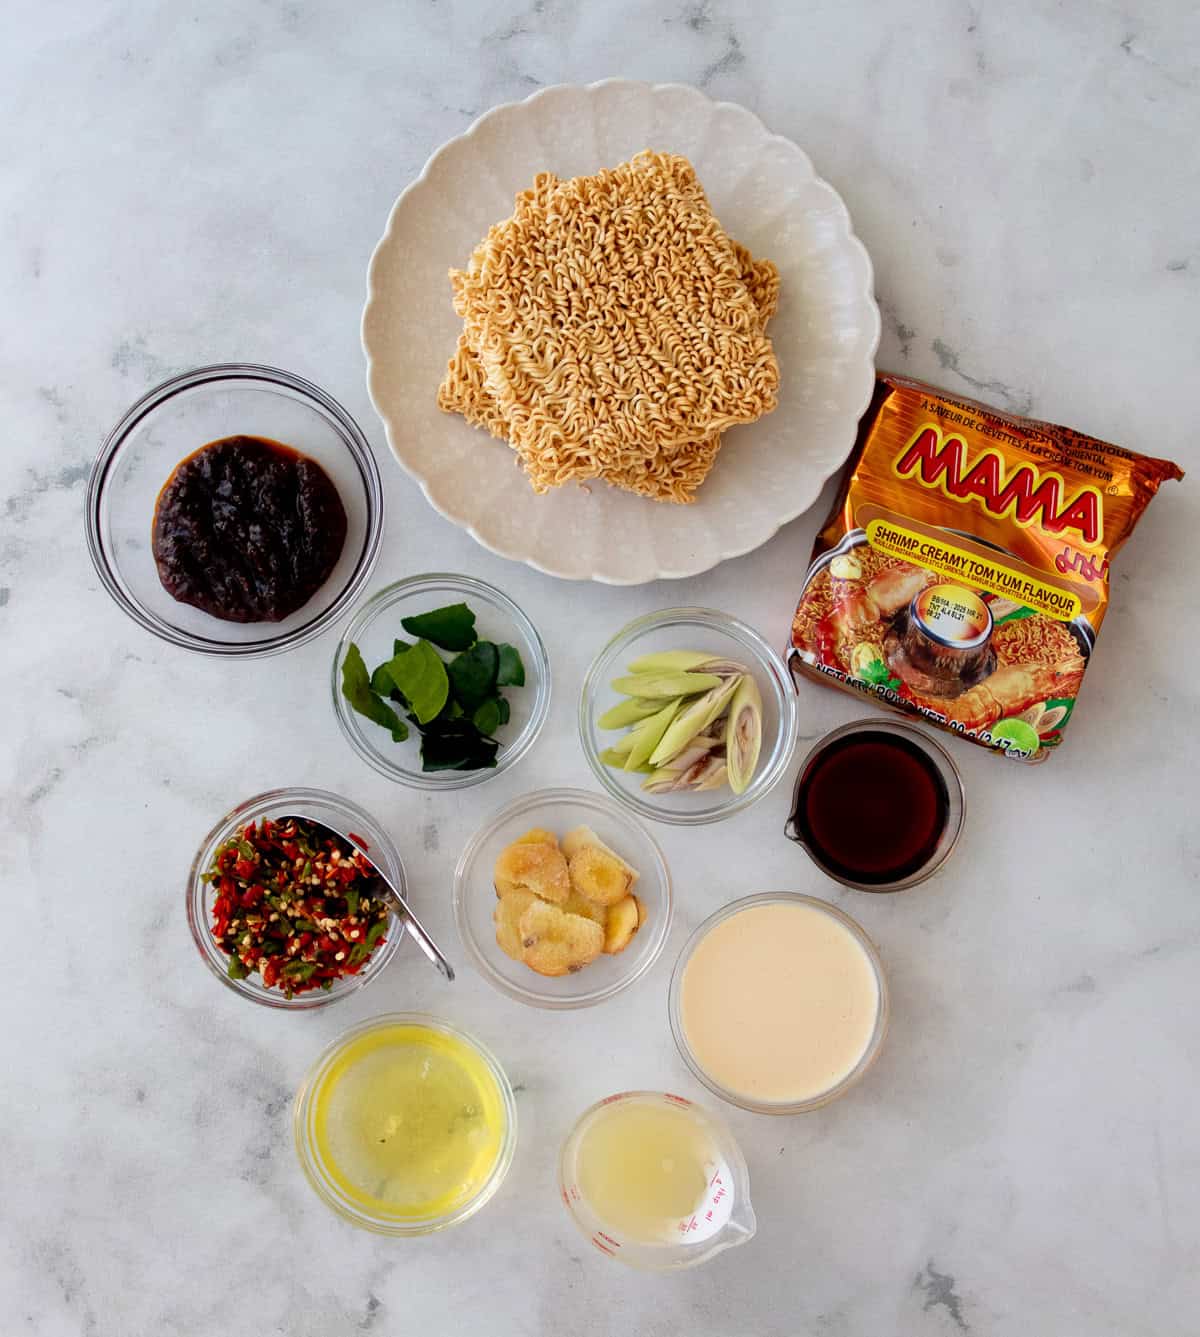
Here are all the ingredients for Thai cashew chicken with important notes. It looks like a lot, but many of these you probably already have on hand. And if anything looks unfamiliar, not to worry - I'll explain everything you need to know!
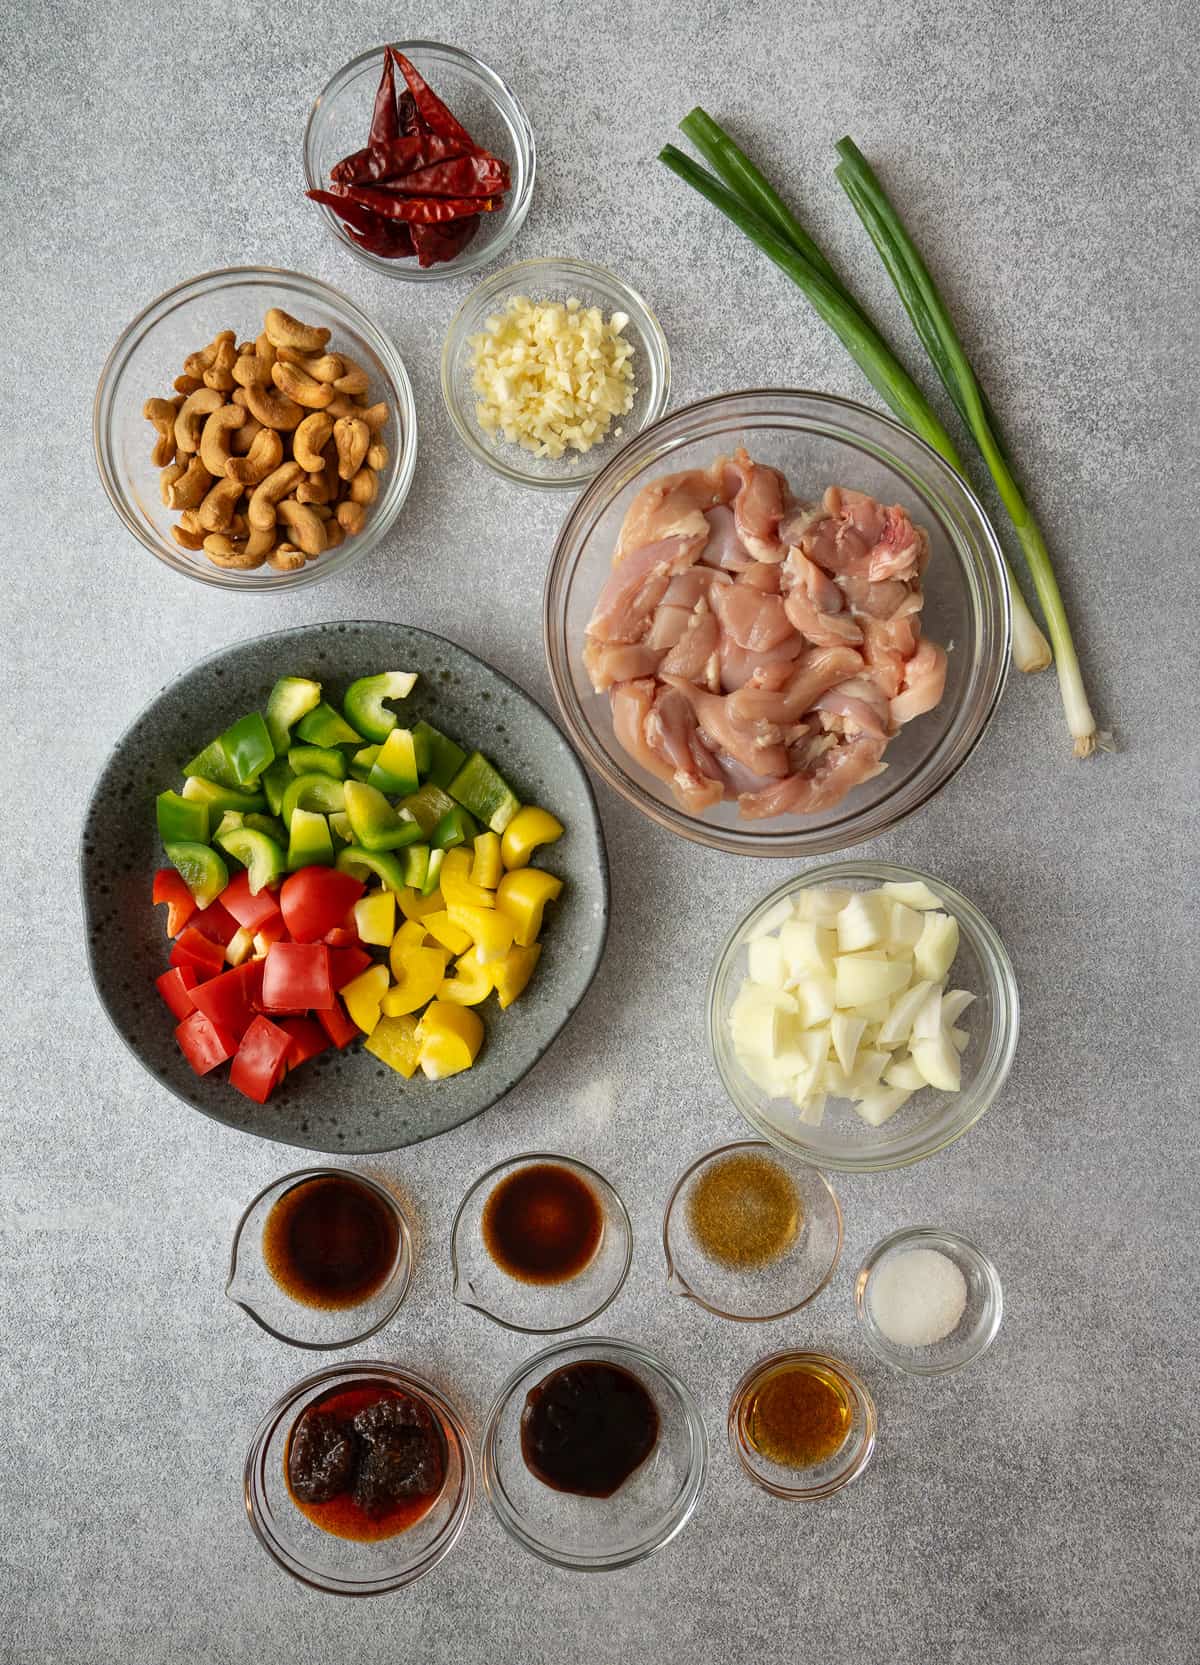
- Spicy dried chilies (optional). You can use any kind you want, I uses the generic dried chilies you find at Chinese markets. These are totally optional, but they are a classic part of cashew chicken in Thailand. They serve mostly as garnishes but people can also break them up for extra heat.
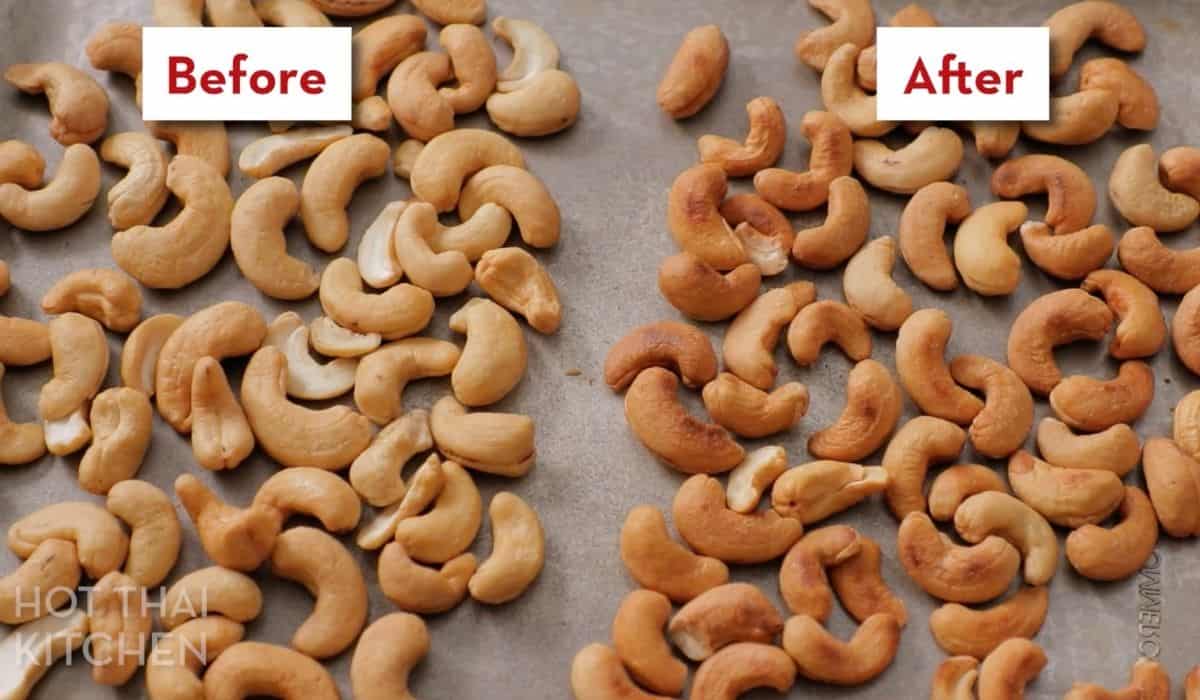
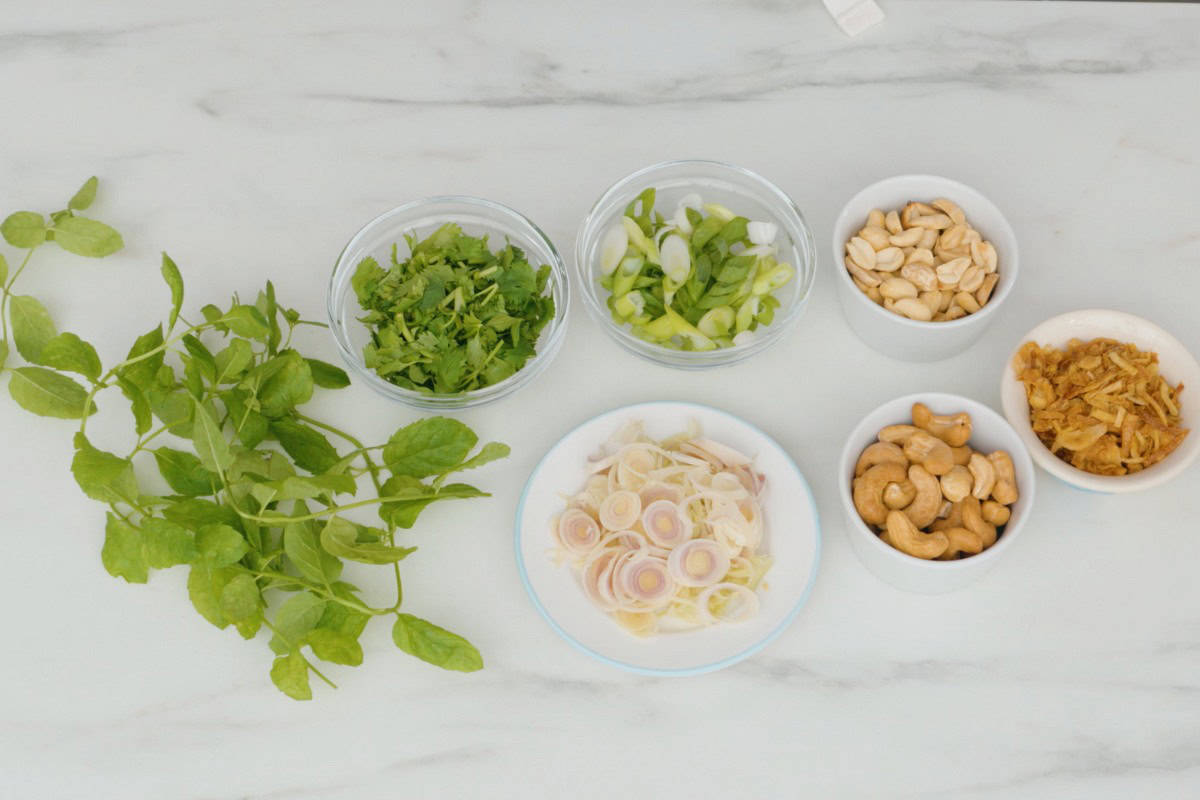
- Extra-roasted cashews. The extra roasting makes them a little darker, crunchier, and nuttier! (See more under Pro Tip)
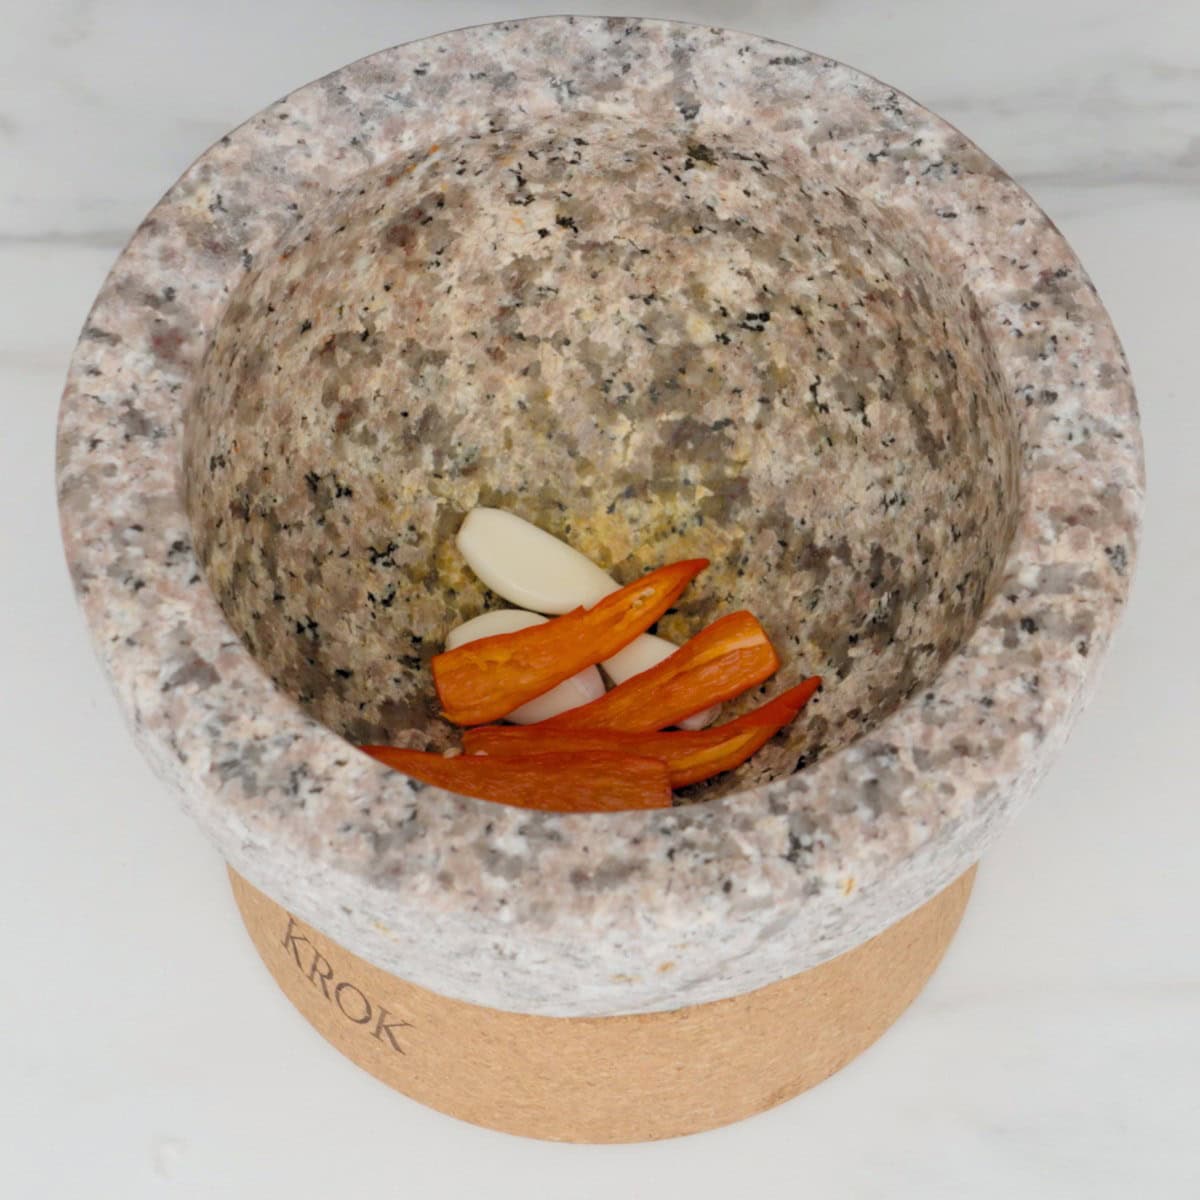
- Garlic, chopped
- Green onions, halved lengthwise and cut into 1-2 inch pieces.
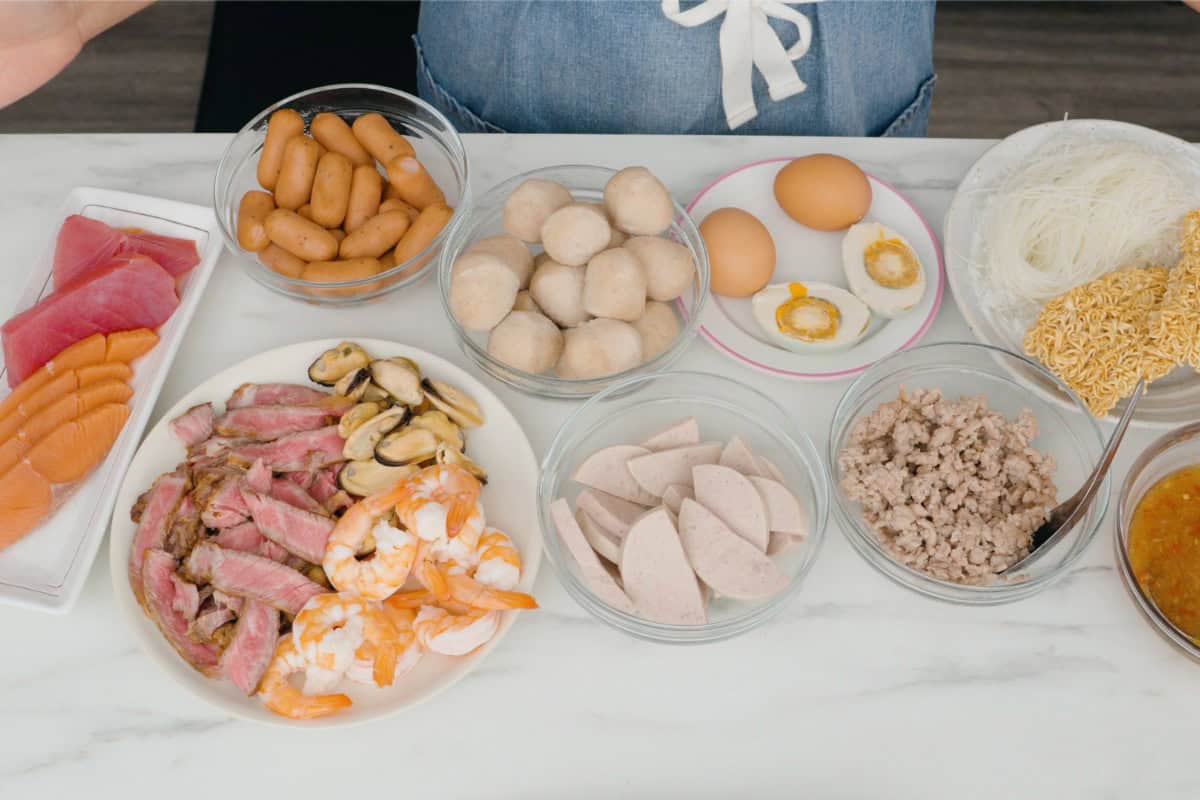
- Chicken thigh or breast, cut into bite-sized pieces. If using breasts don't cut them thinner than ½-inch to prevent them from drying out too quickly.
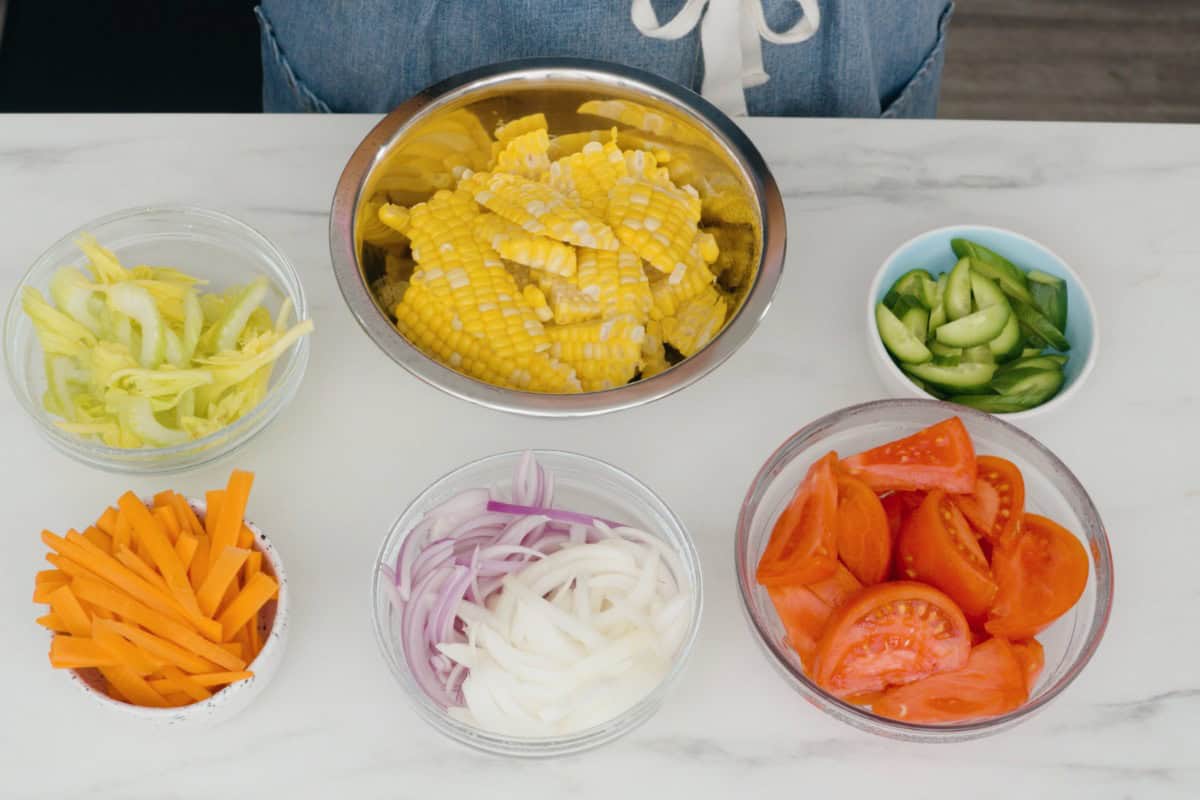
- A mix of green, red and/or yellow bell peppers, 1-inch diced
- Onion, 1-inch diced
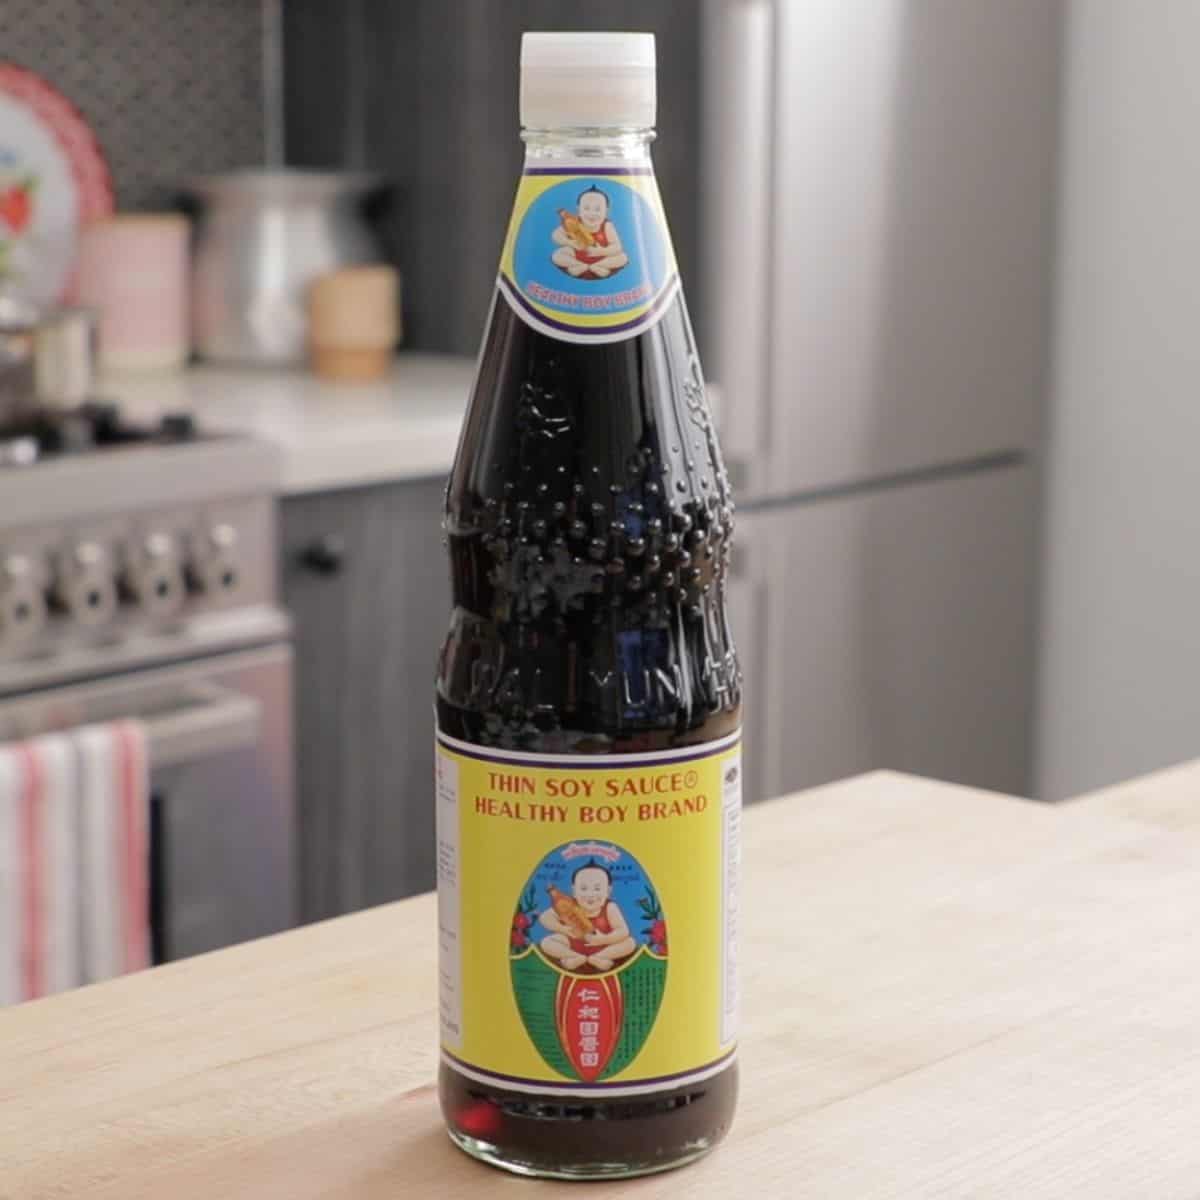
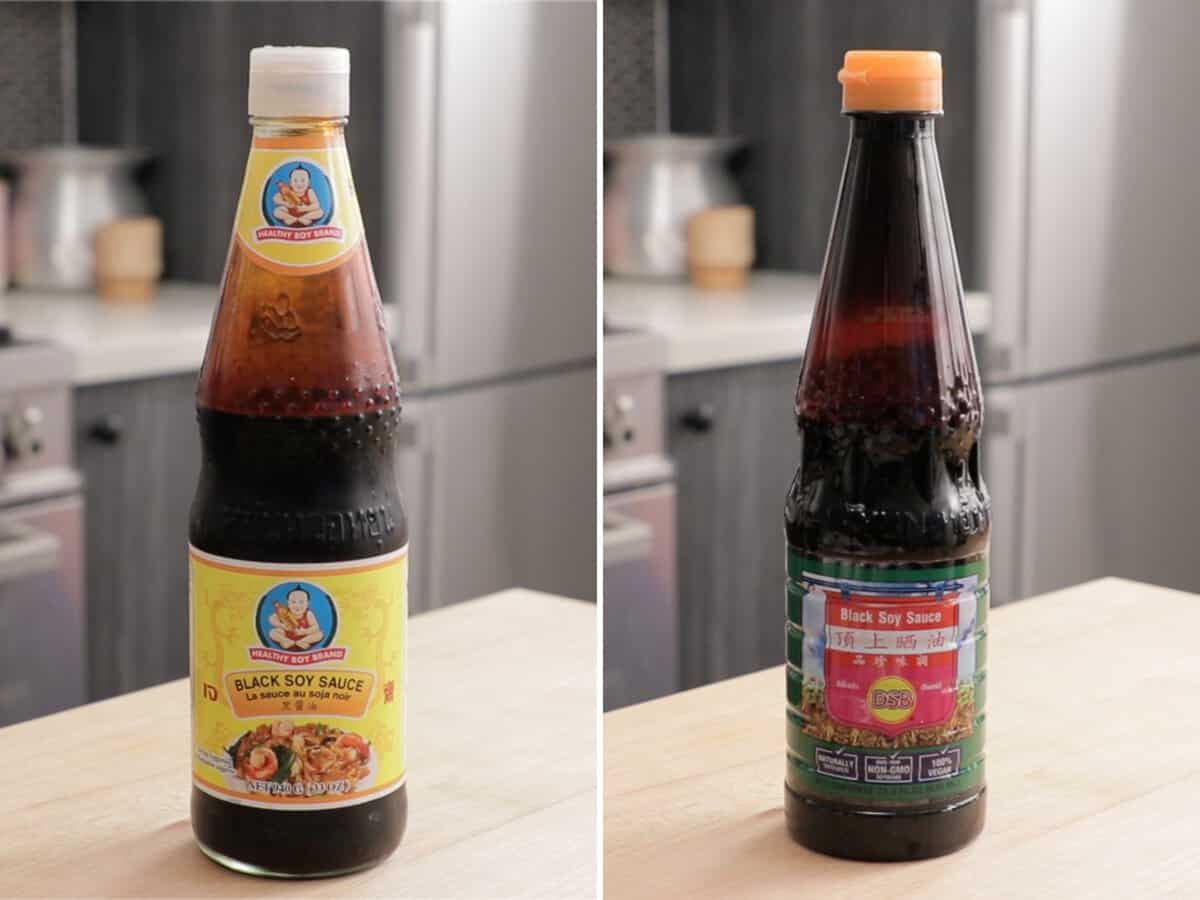
- Soy sauce
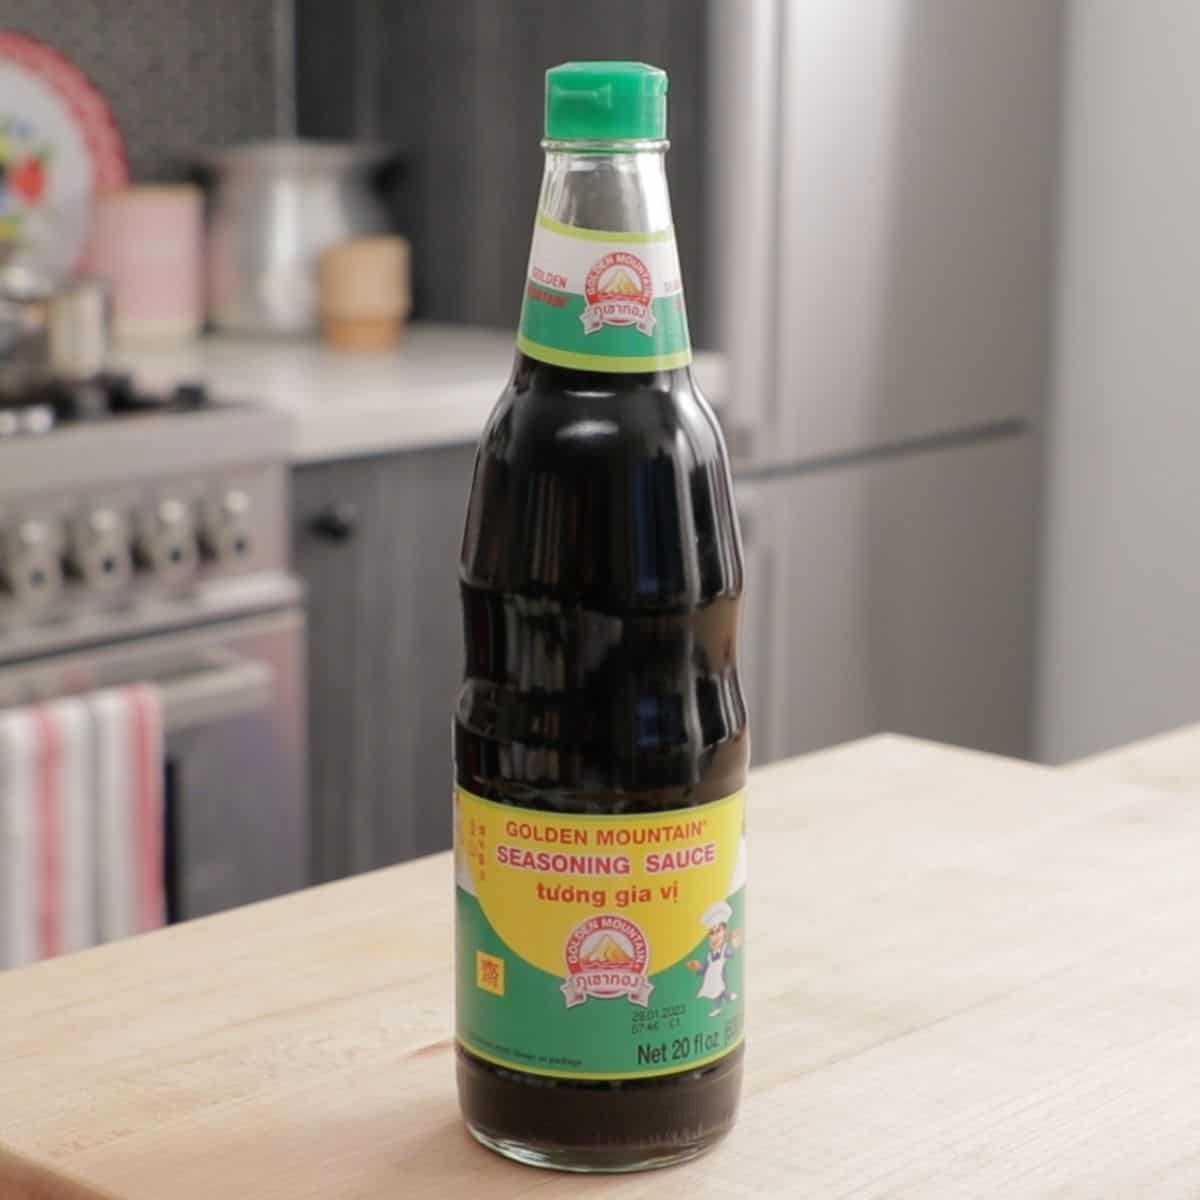
- Golden Mountain Sauce, this is another type of Thai soy sauce. You can use Maggi Seasoning instead which is very similar, or sub more fish sauce.
- Fish sauce
- Sugar
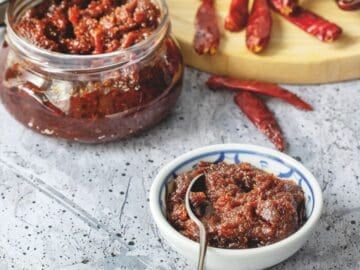
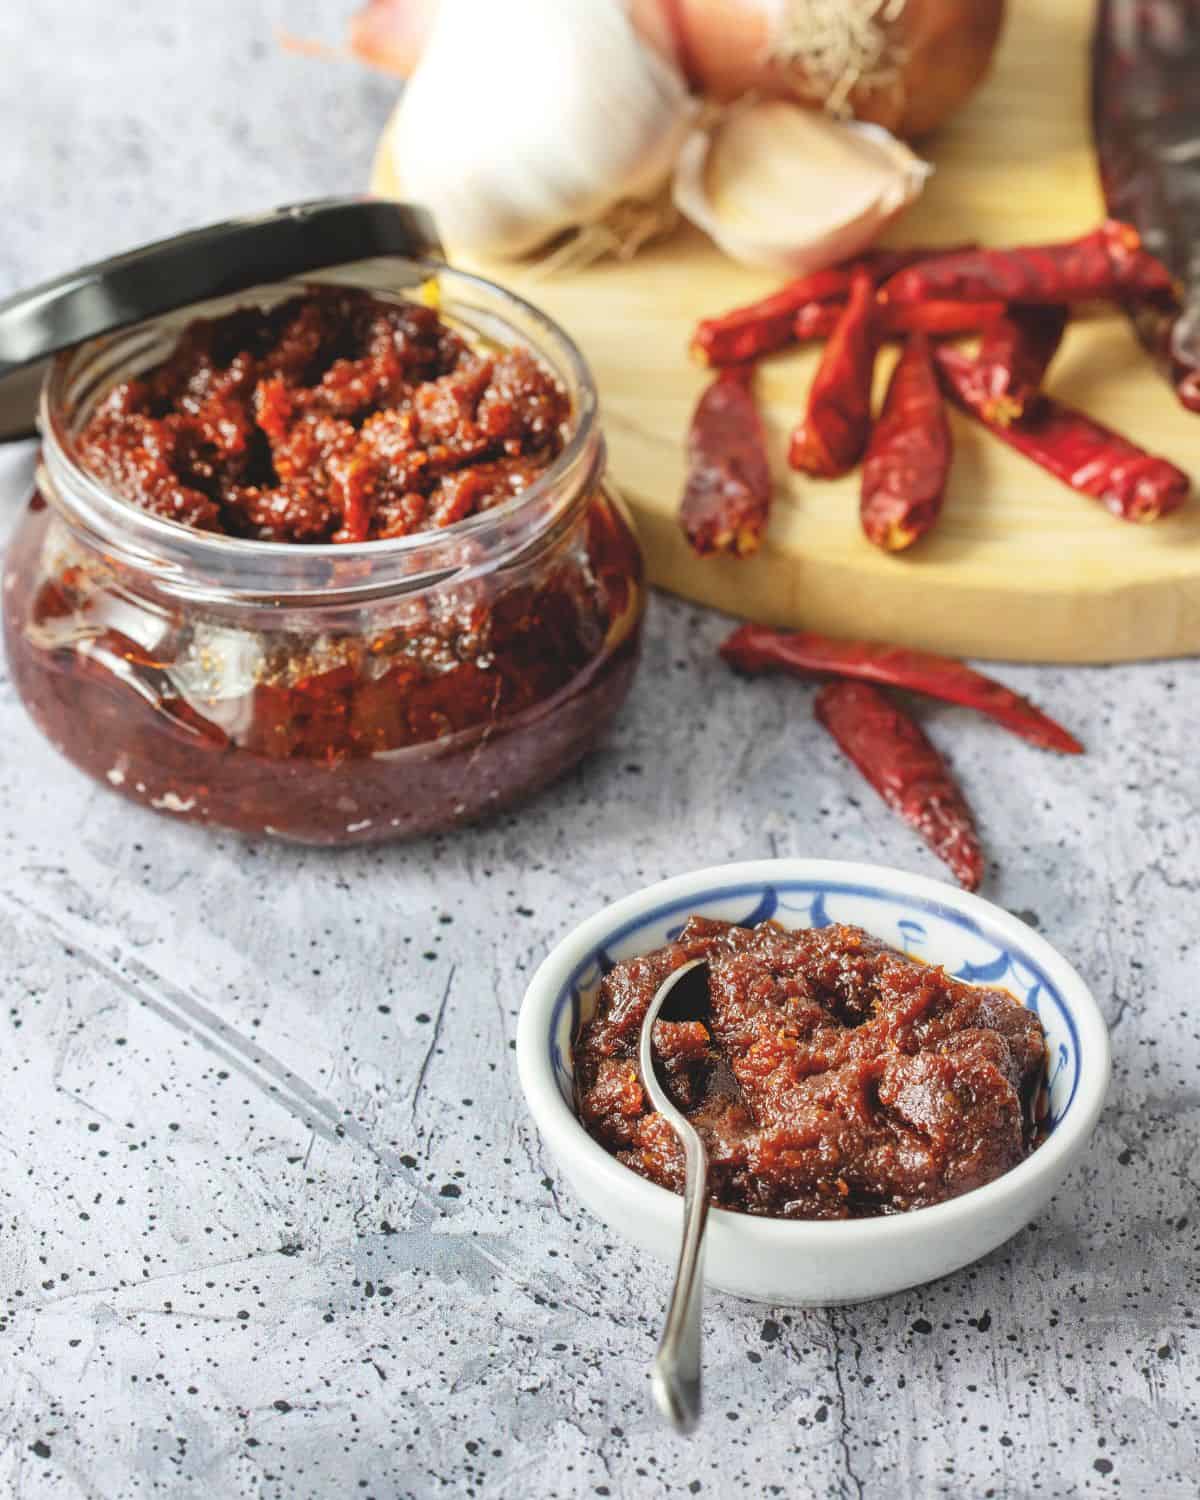
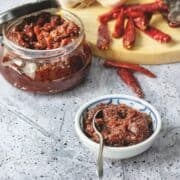
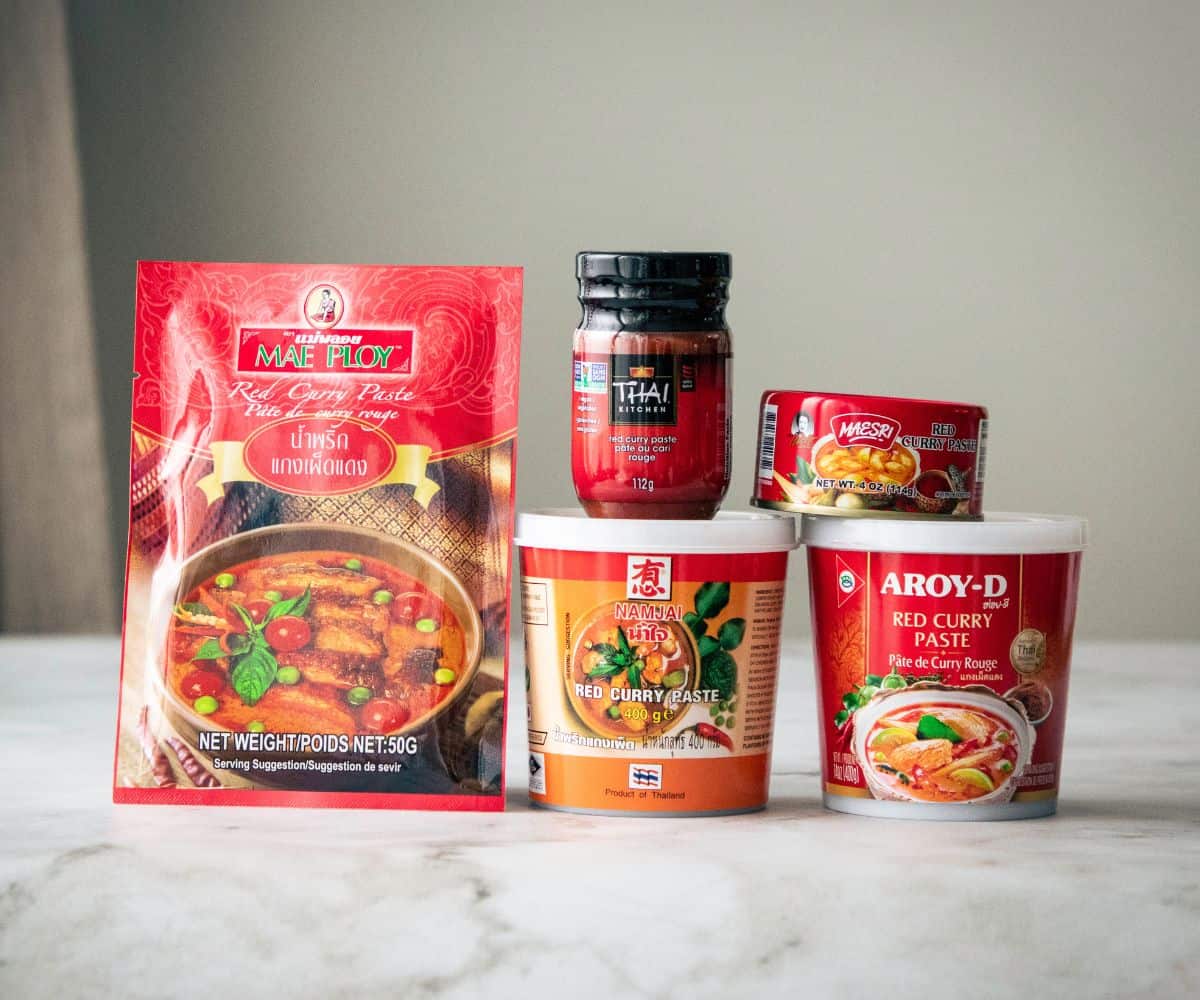
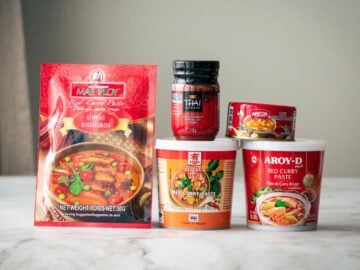
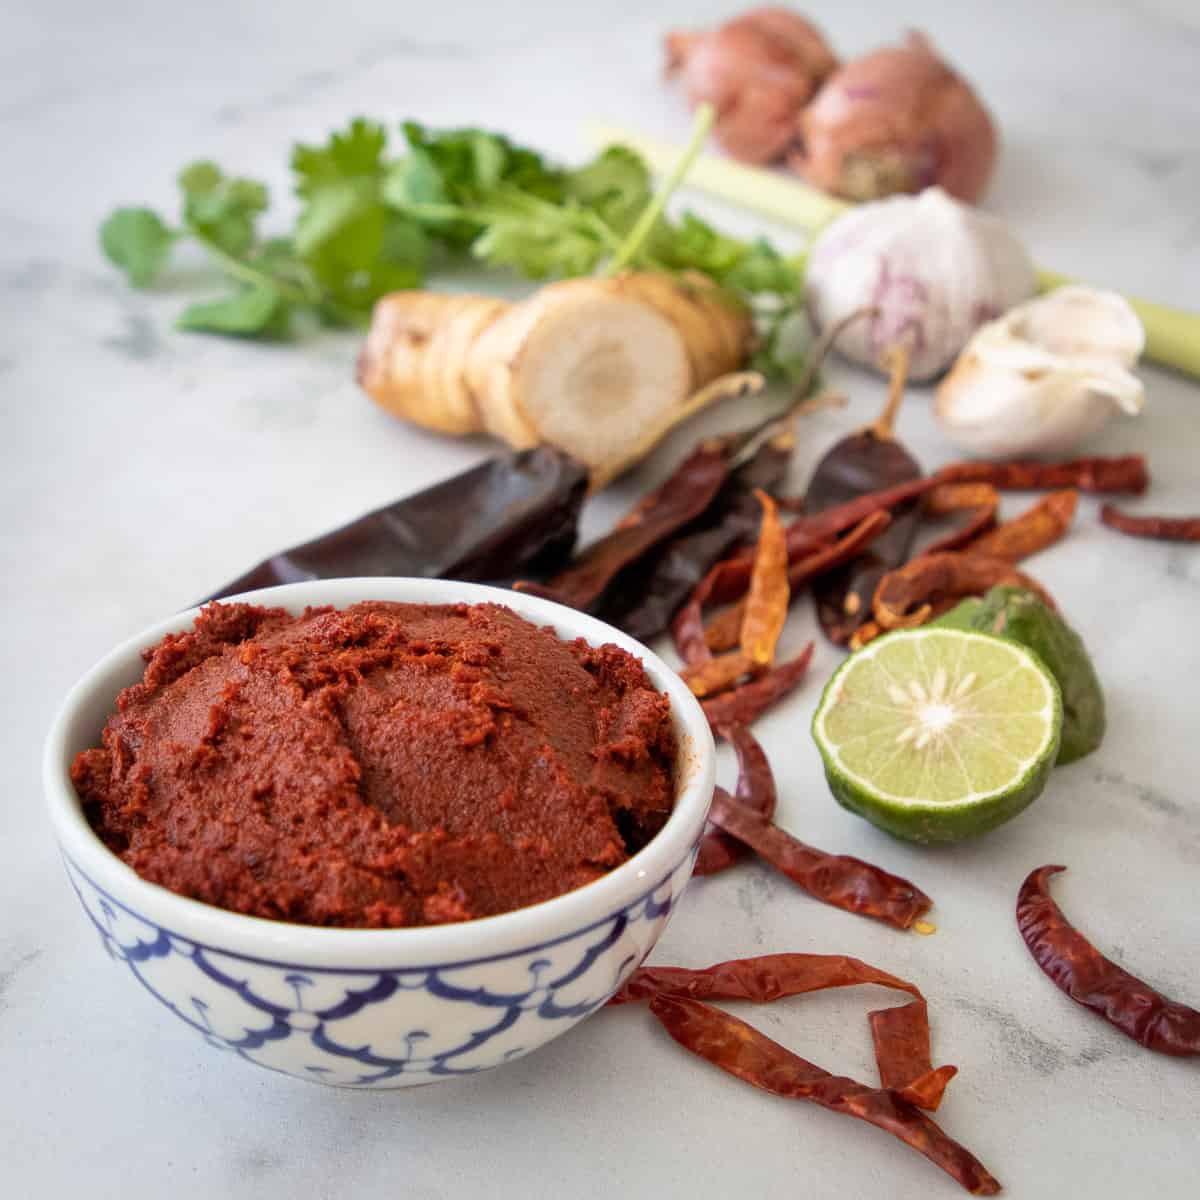
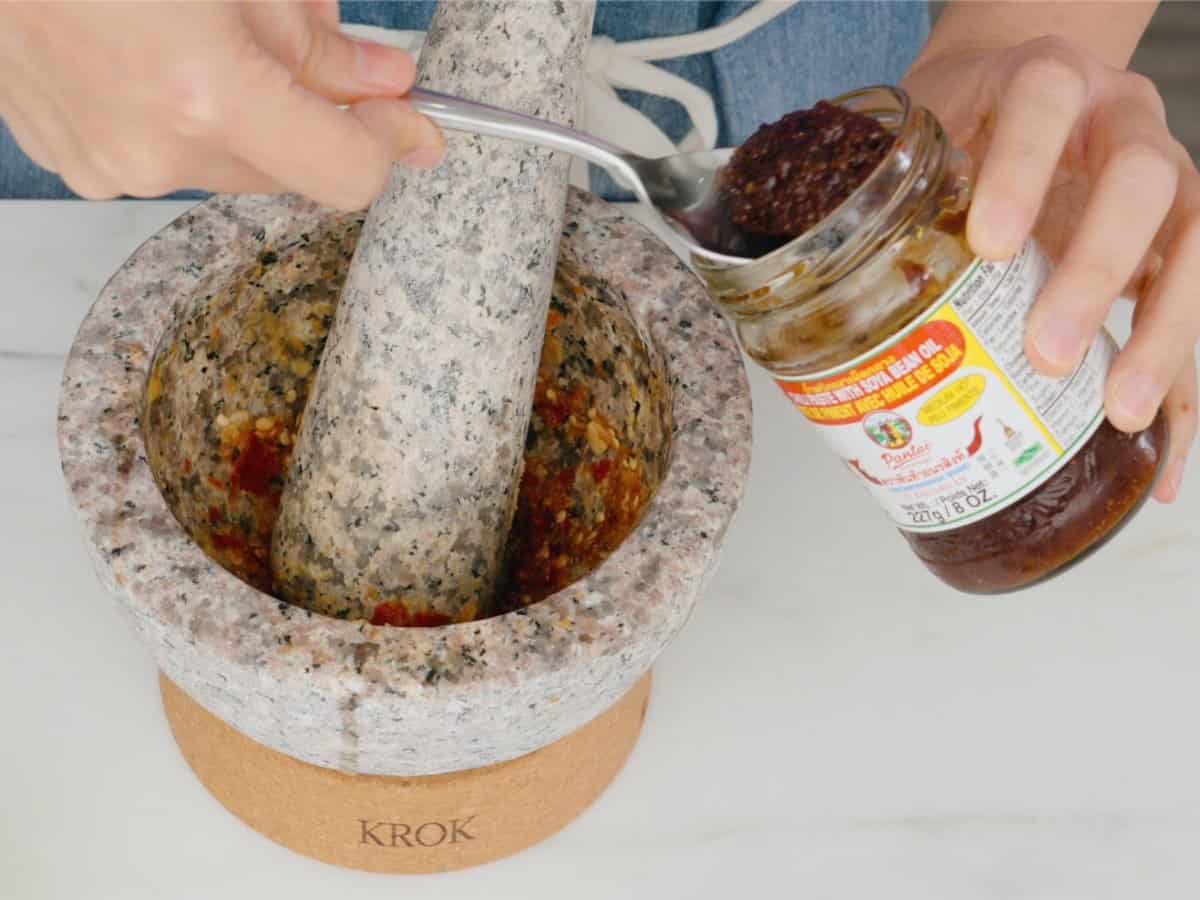
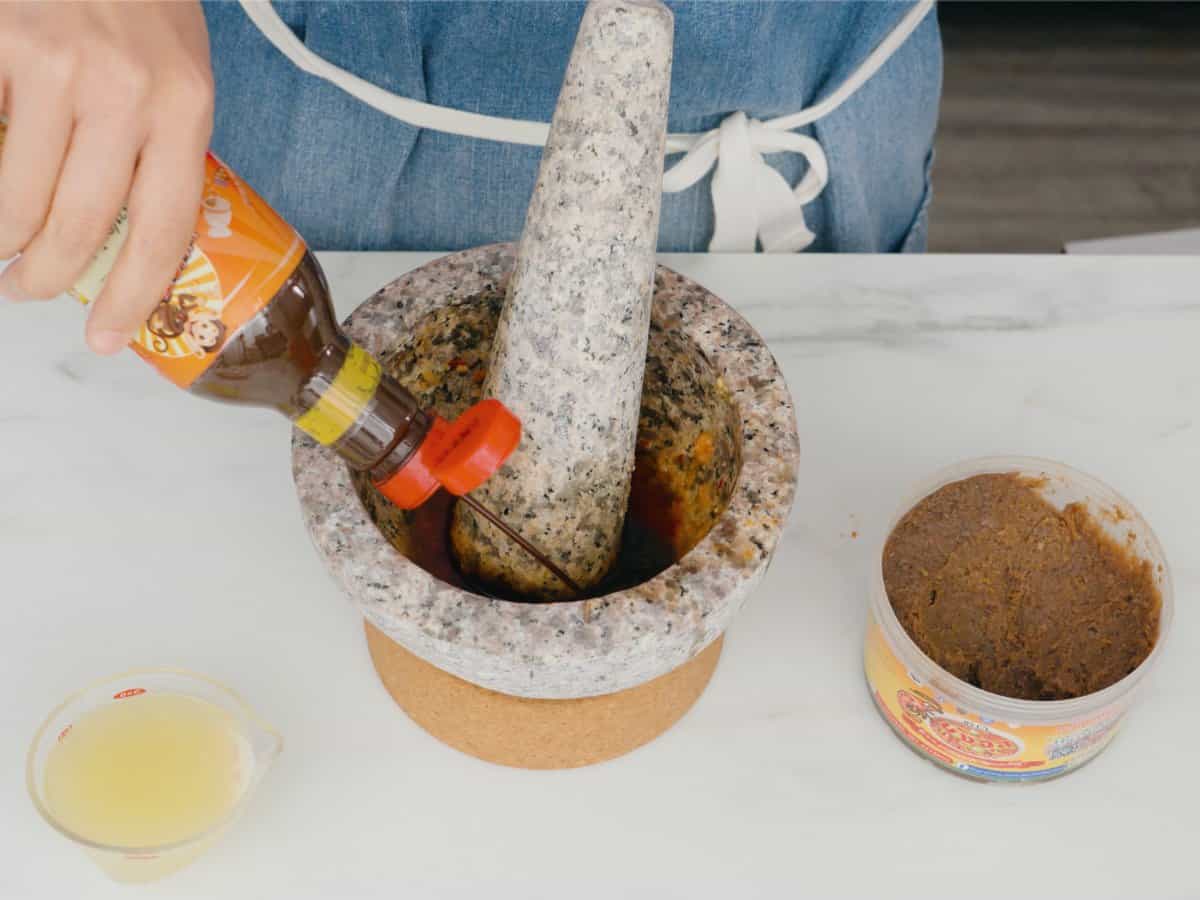
- Thai chili paste, store bought or homemade. For store bought I like Mae Pranom brand, but Pantai brand is also good. (See more on this in the FAQ)
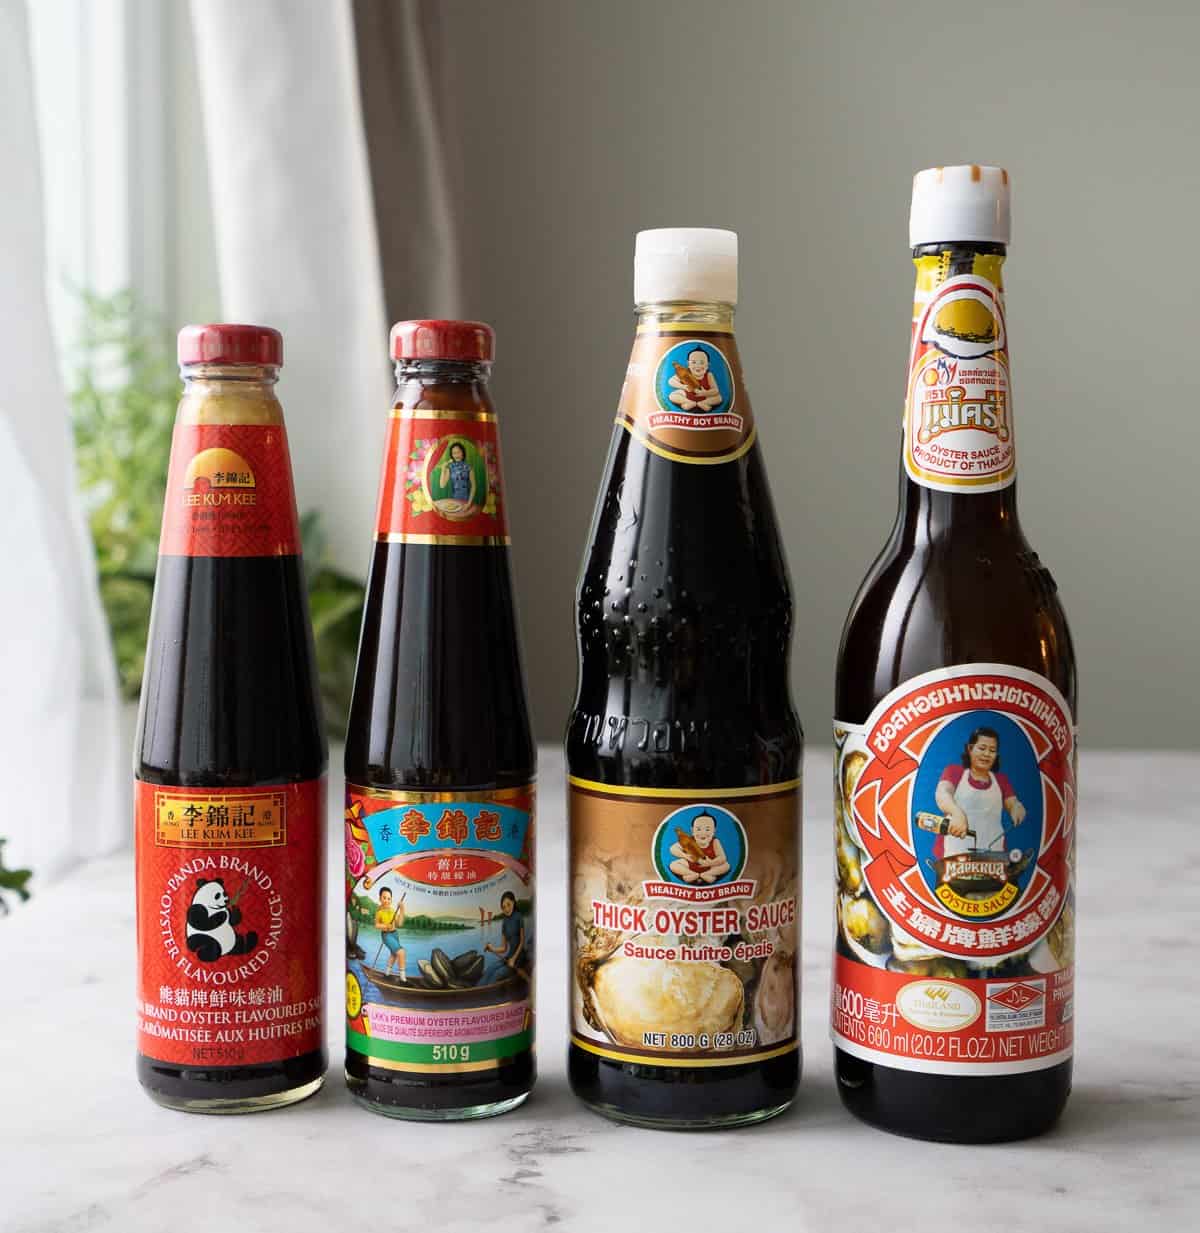
- Oyster sauce
- Toasted sesame oil
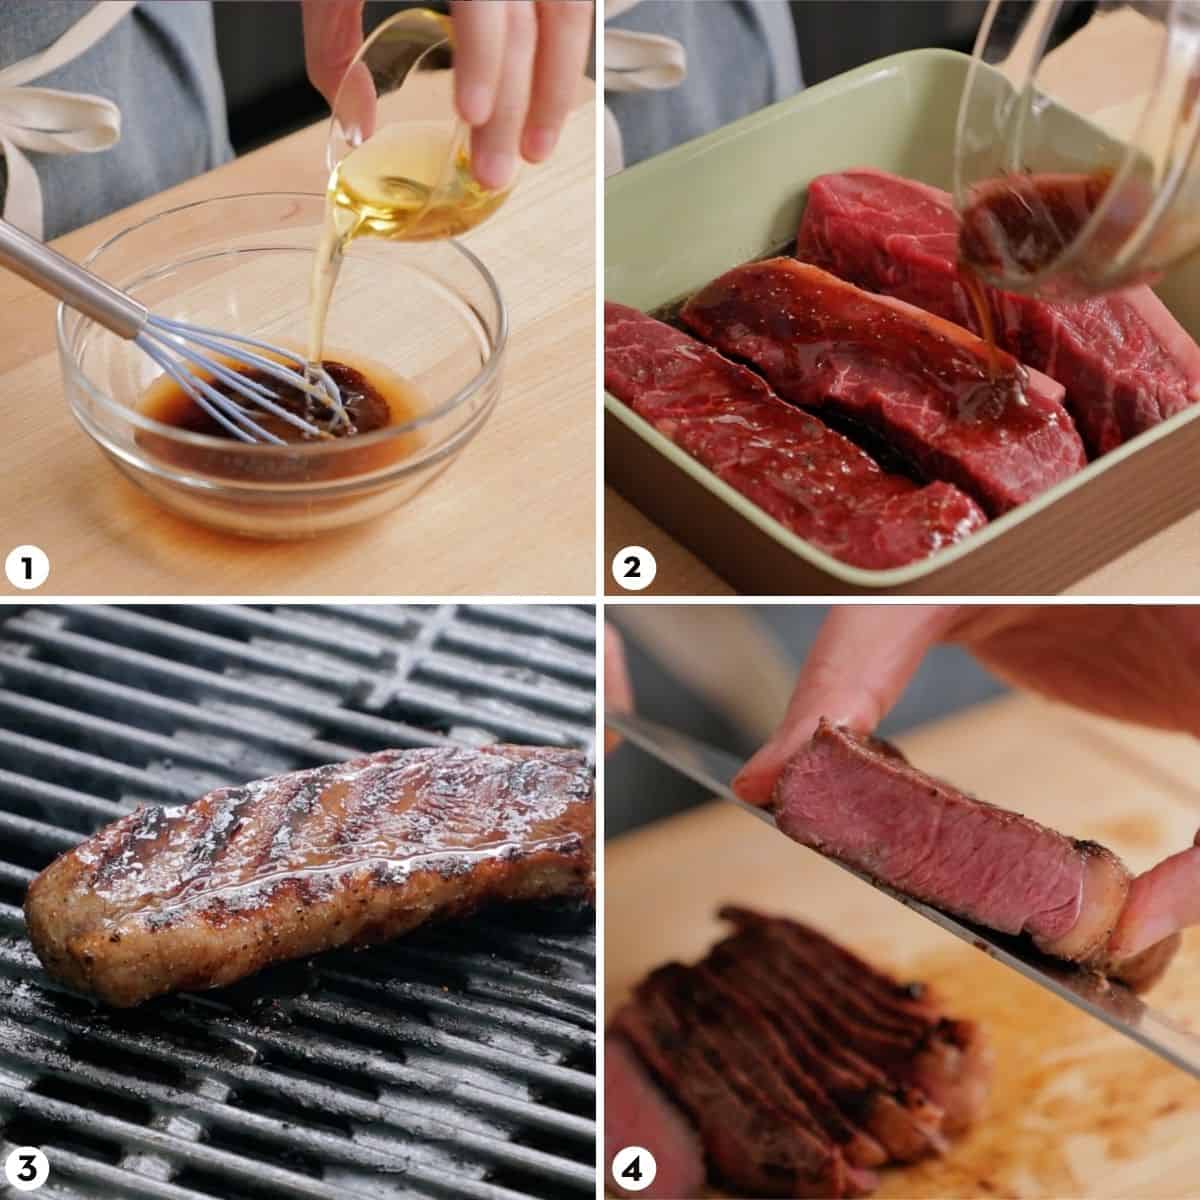
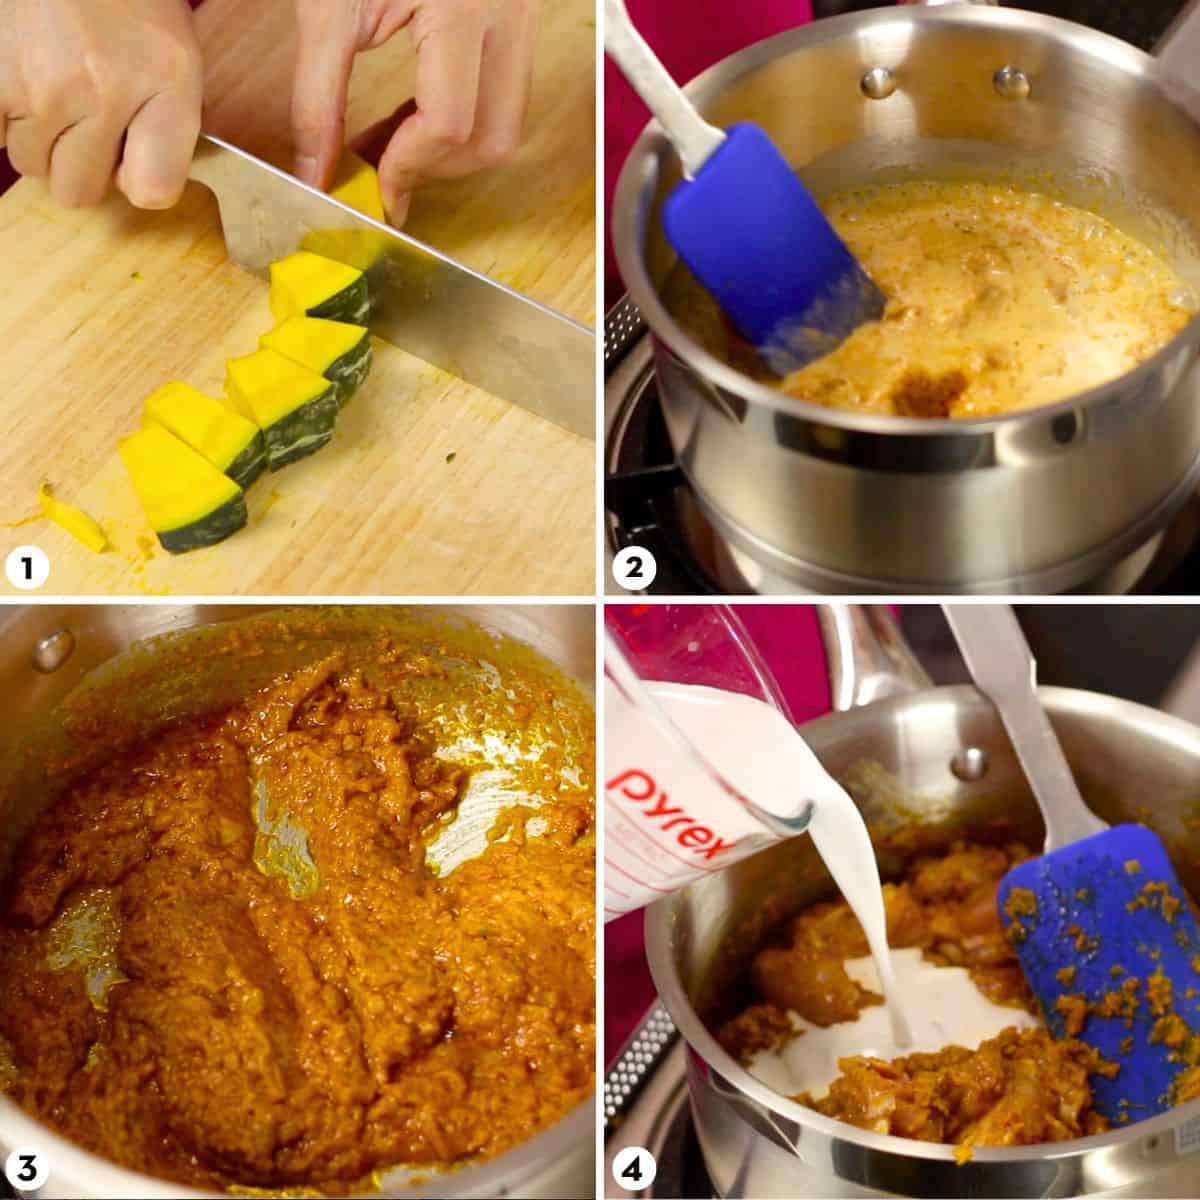
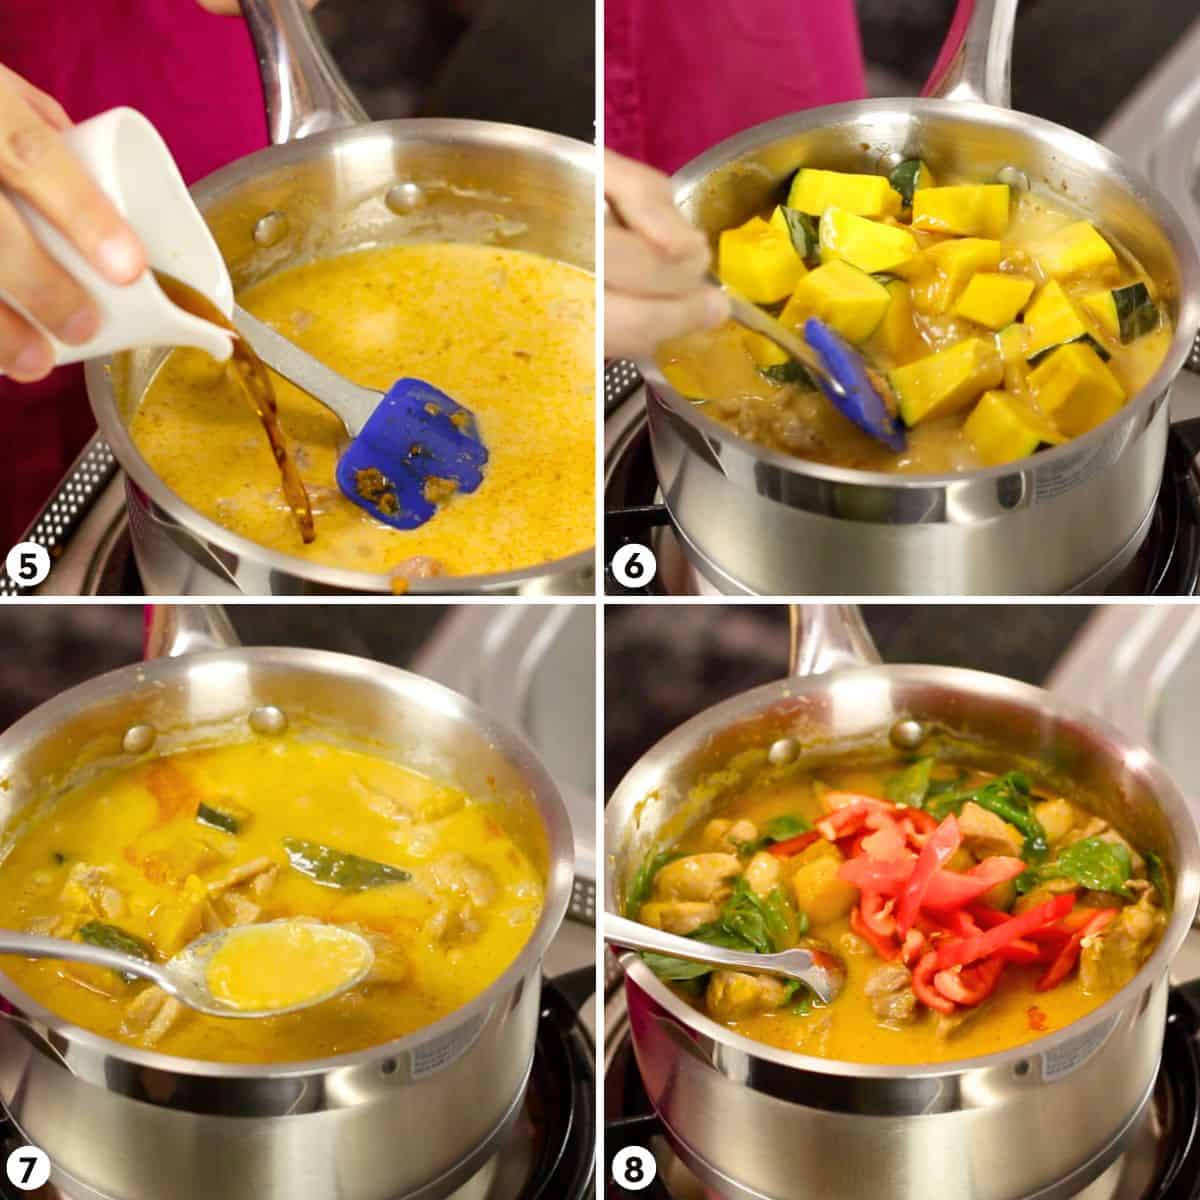
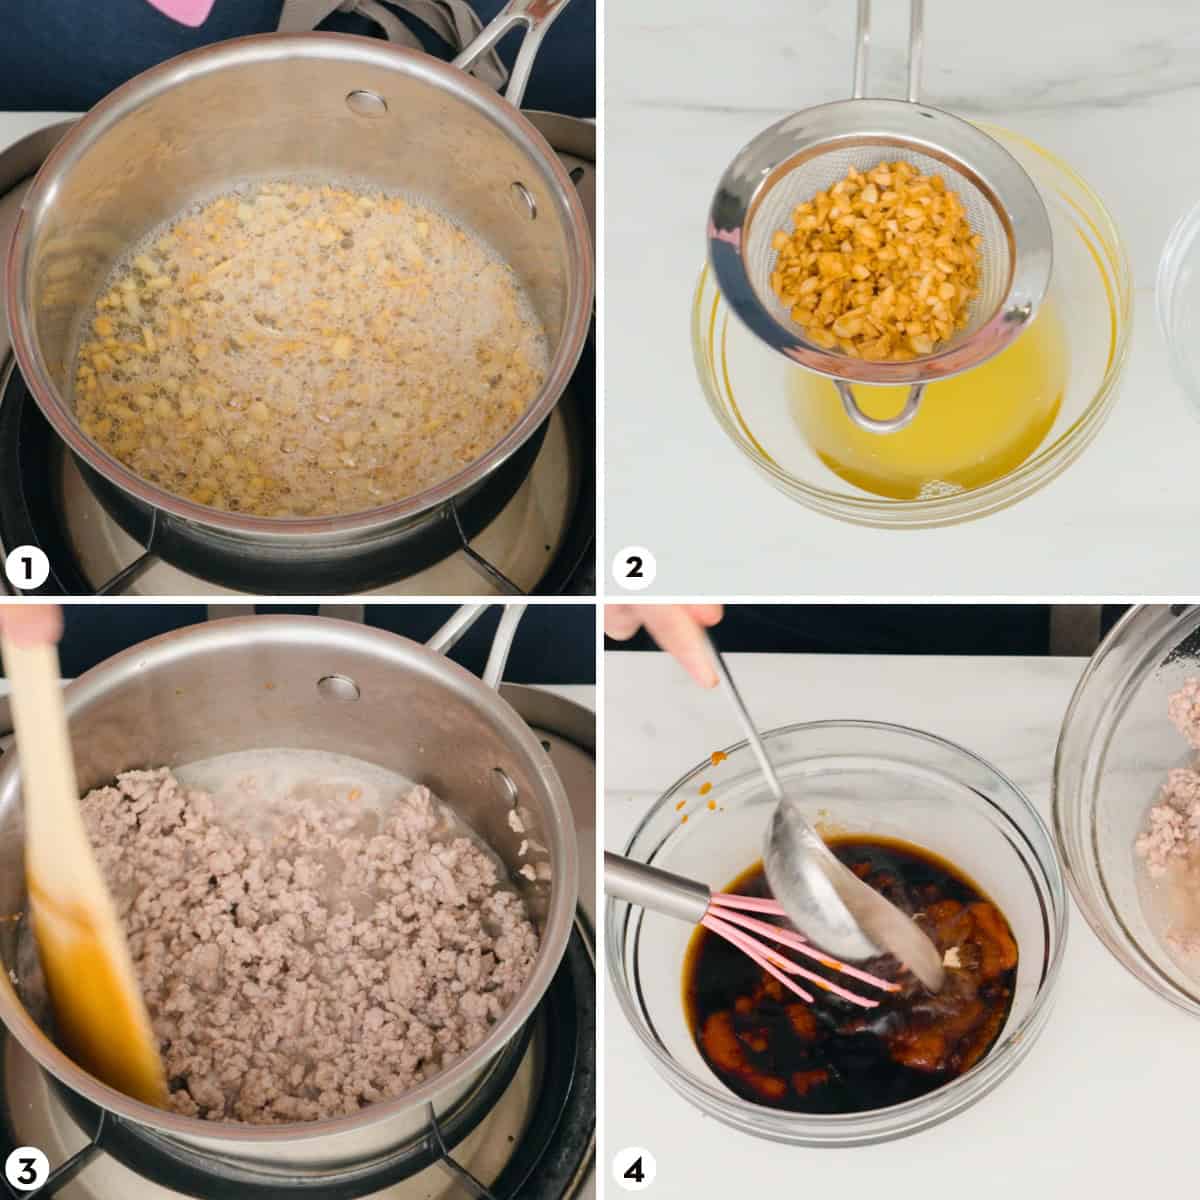
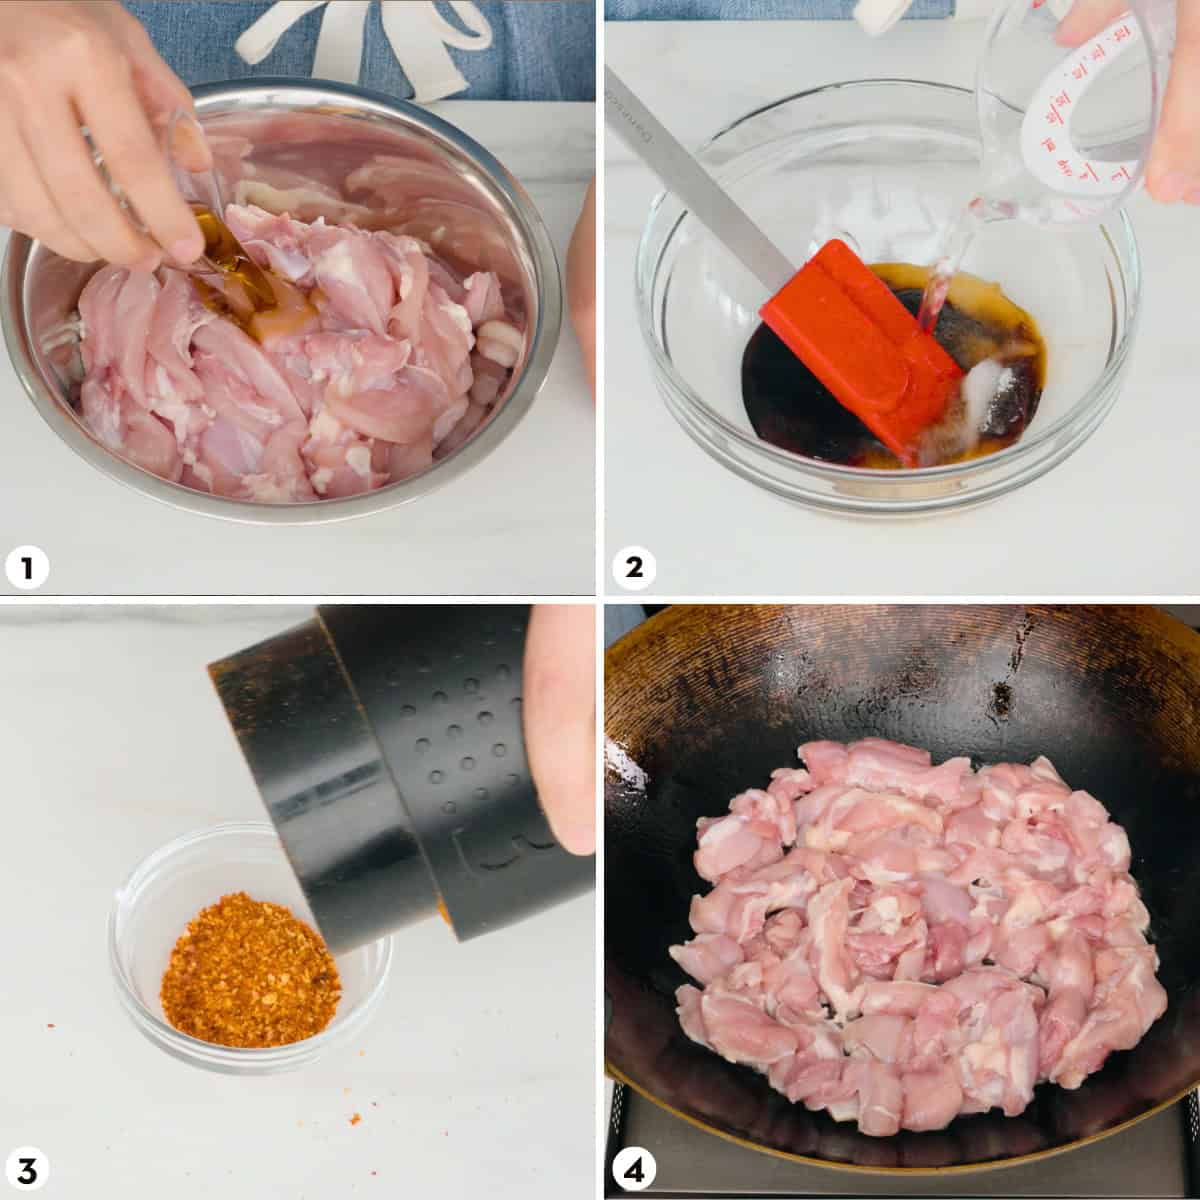
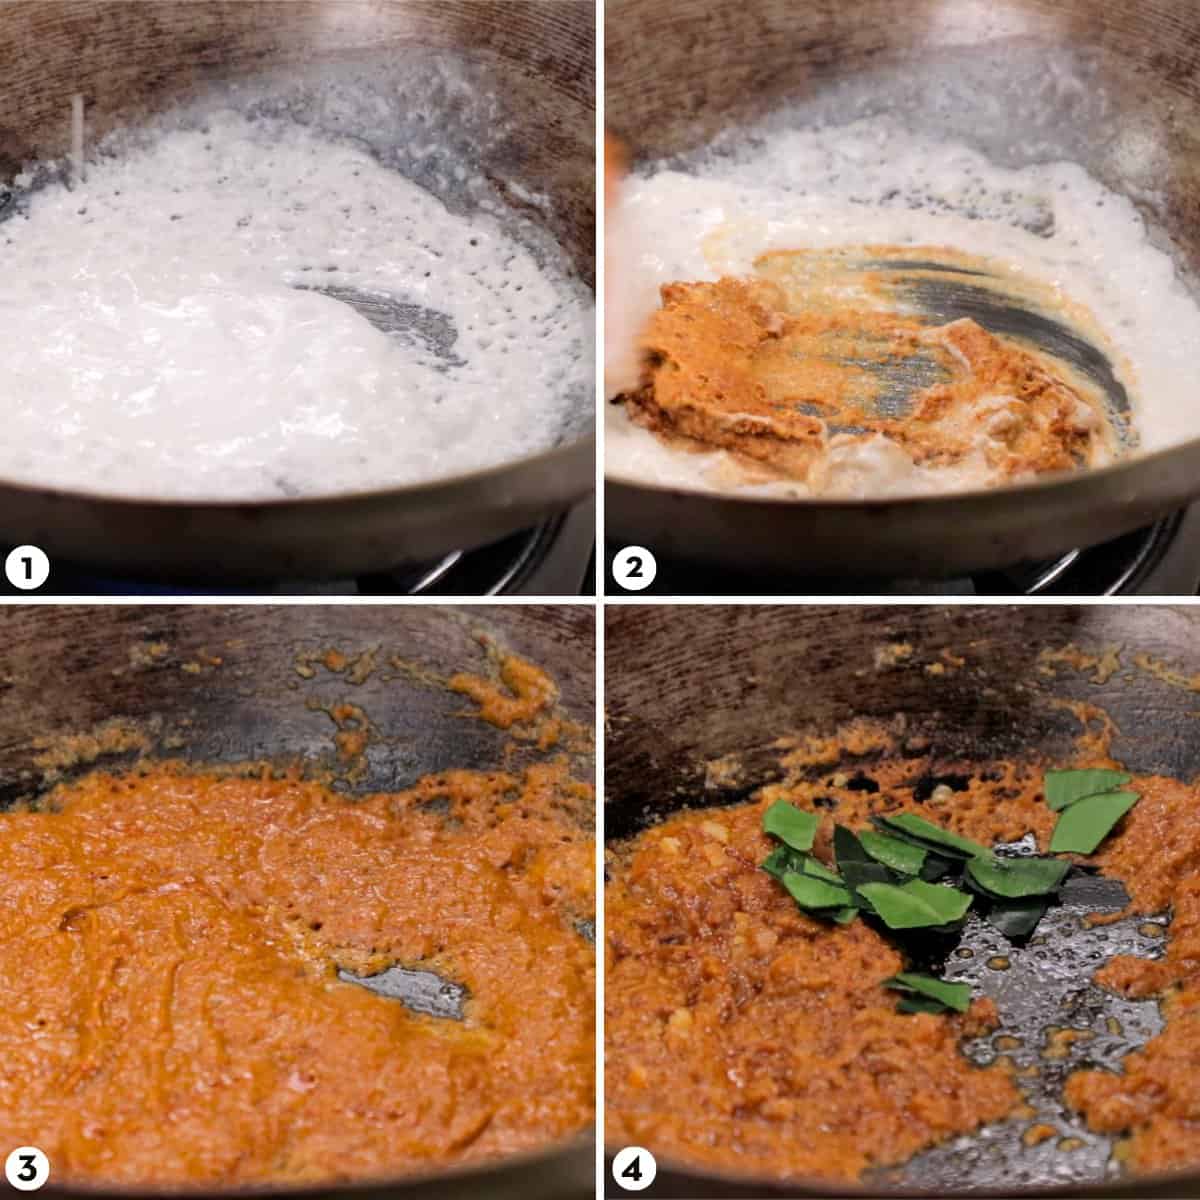
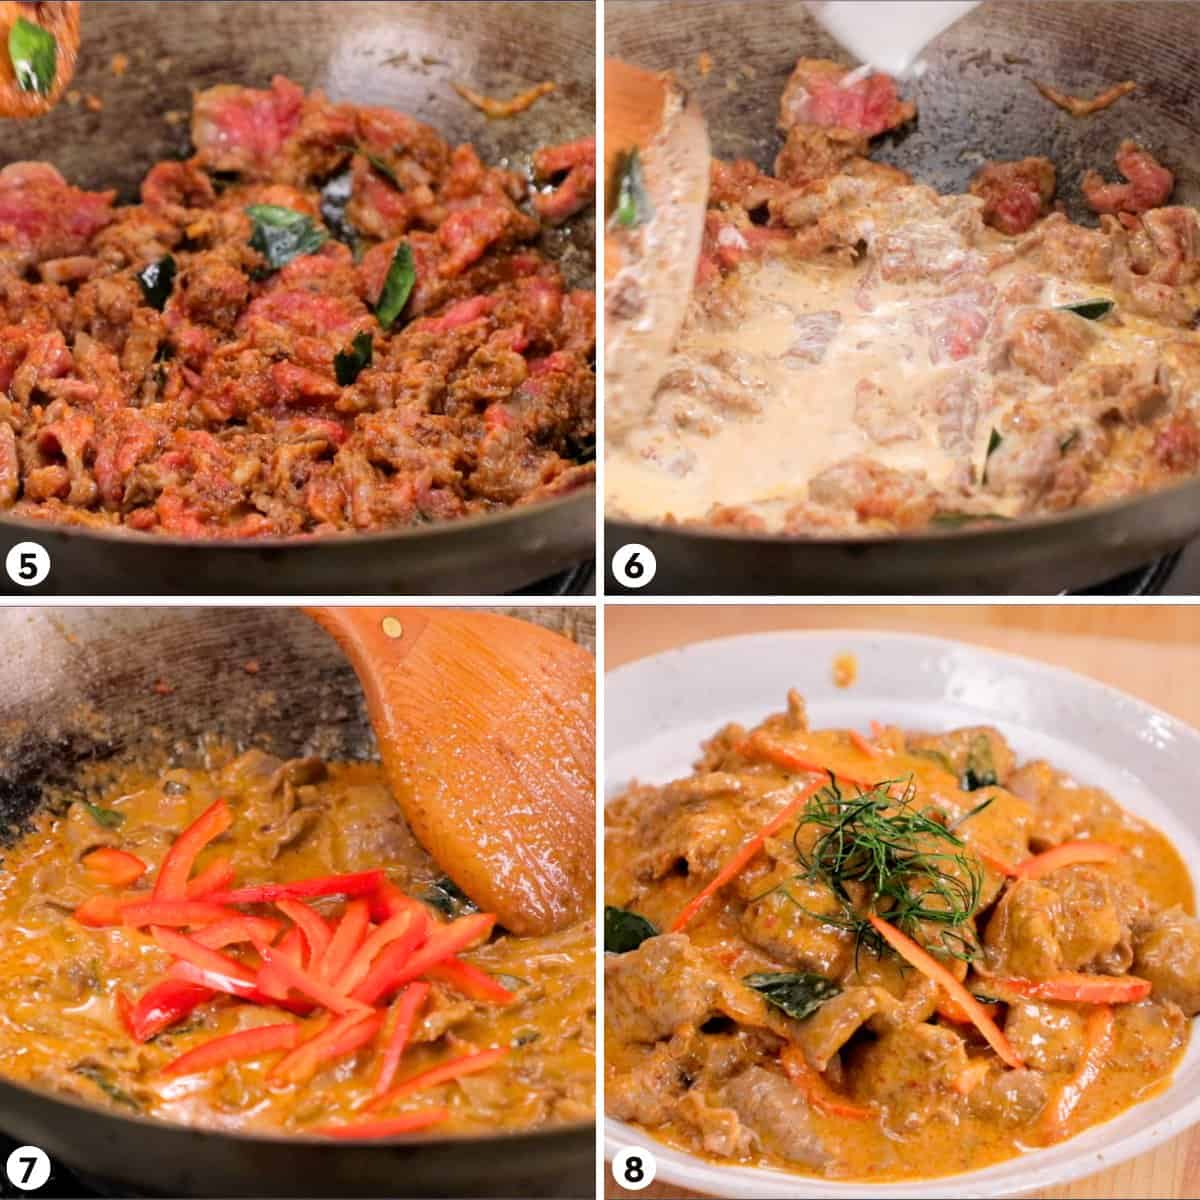
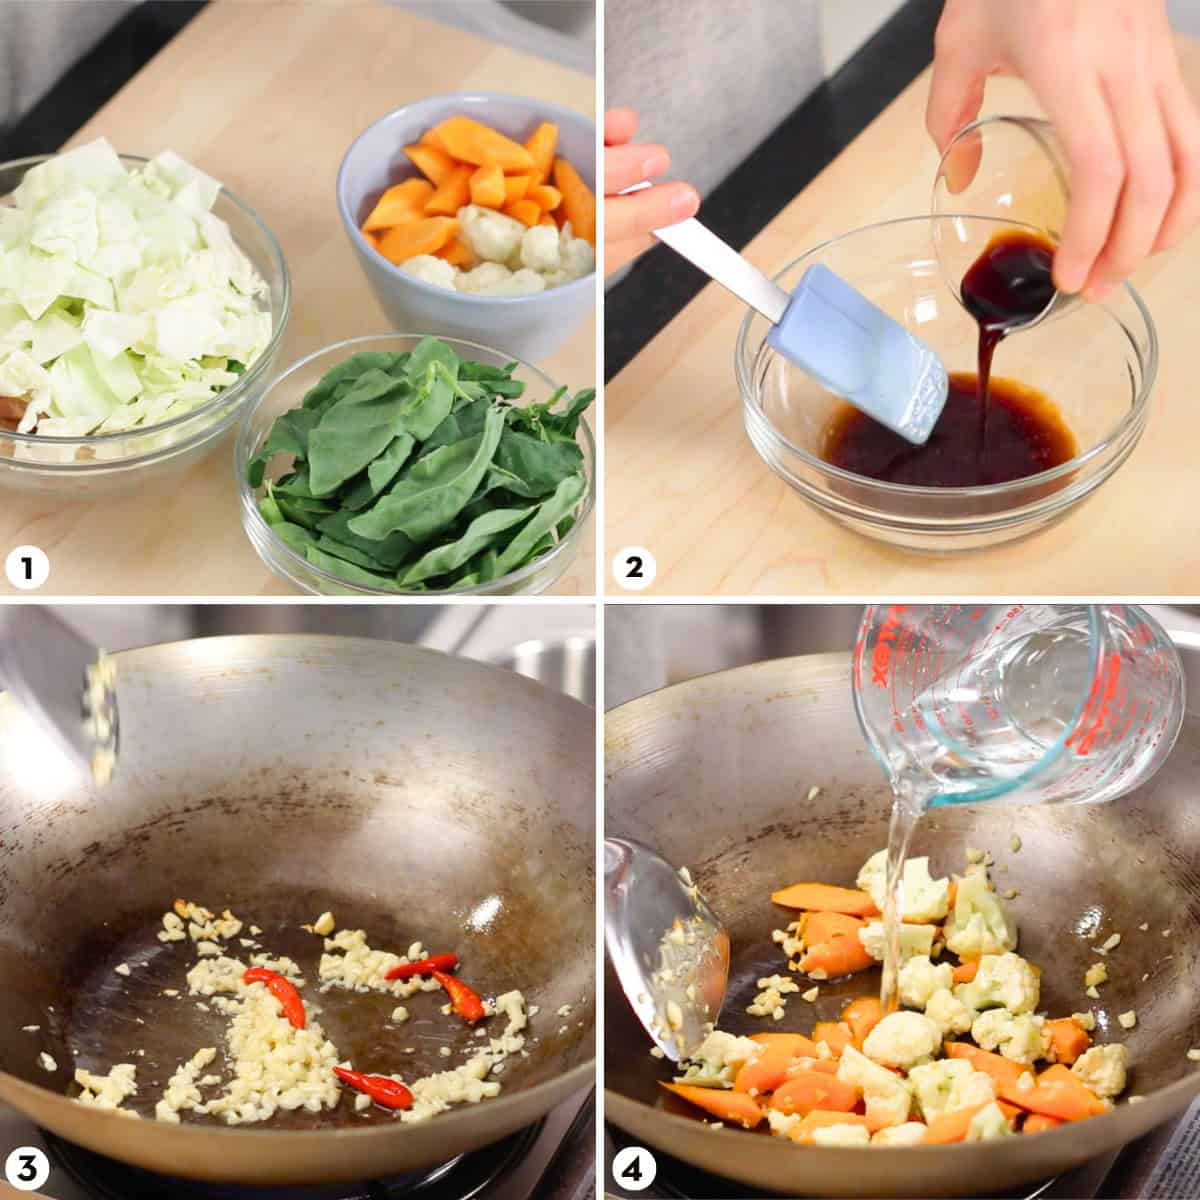
How to Make Cashew Chicken
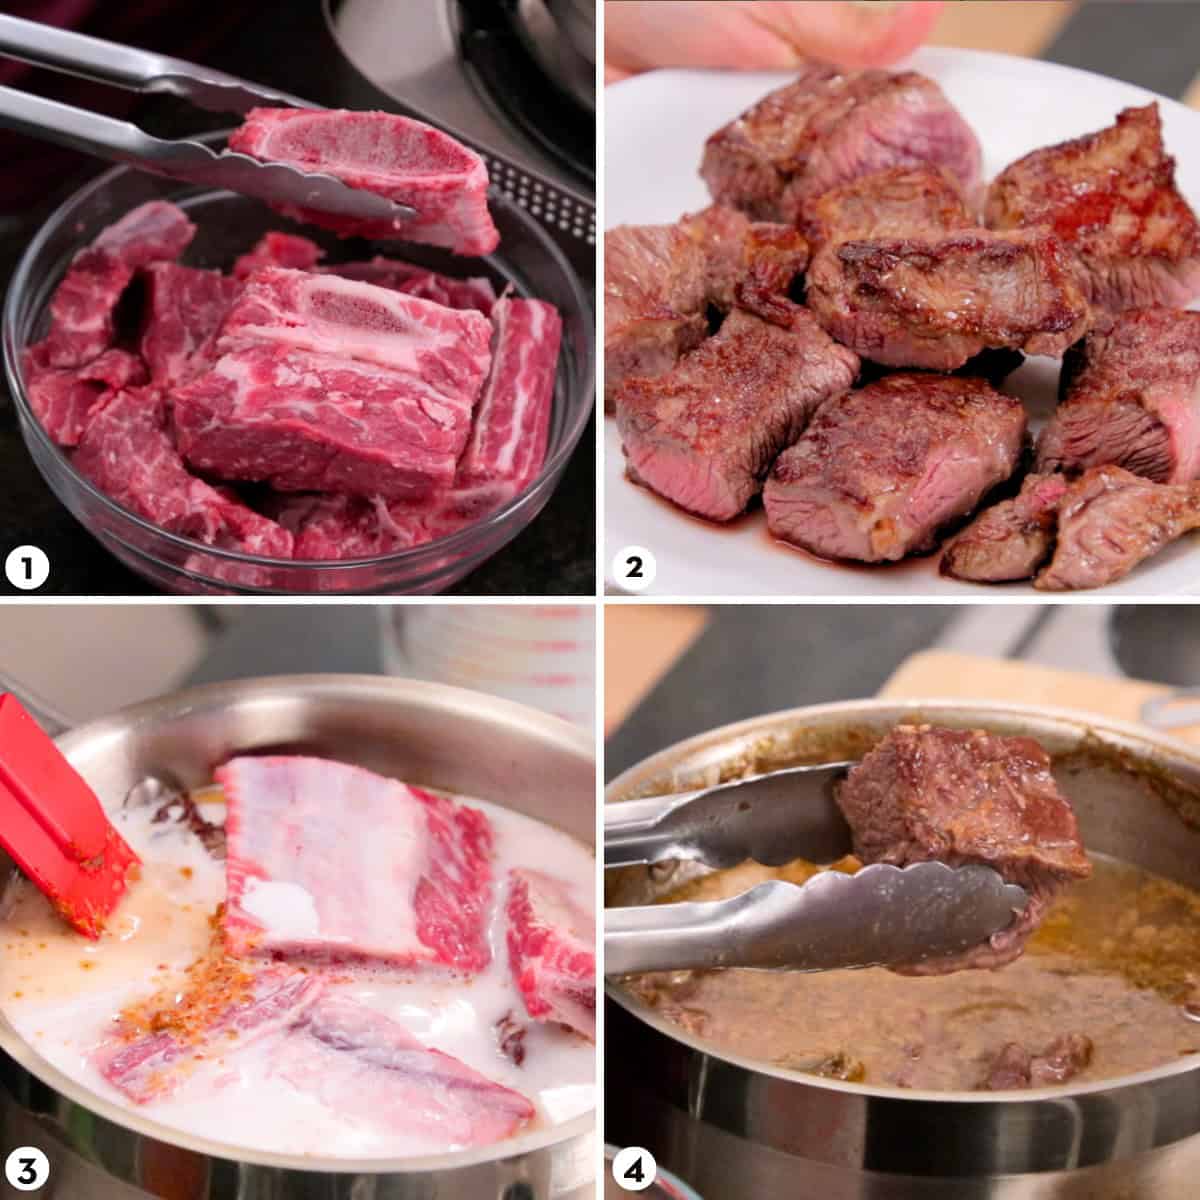
Here's a bird's eye view of the steps. But to ensure success I highly recommend watching the video tutorial before you start, as I often include extra tips; and for a very fast-cooking dish like this it's always good to see the whole process ahead of time, as you won't have time to read the recipe once the stove is on!
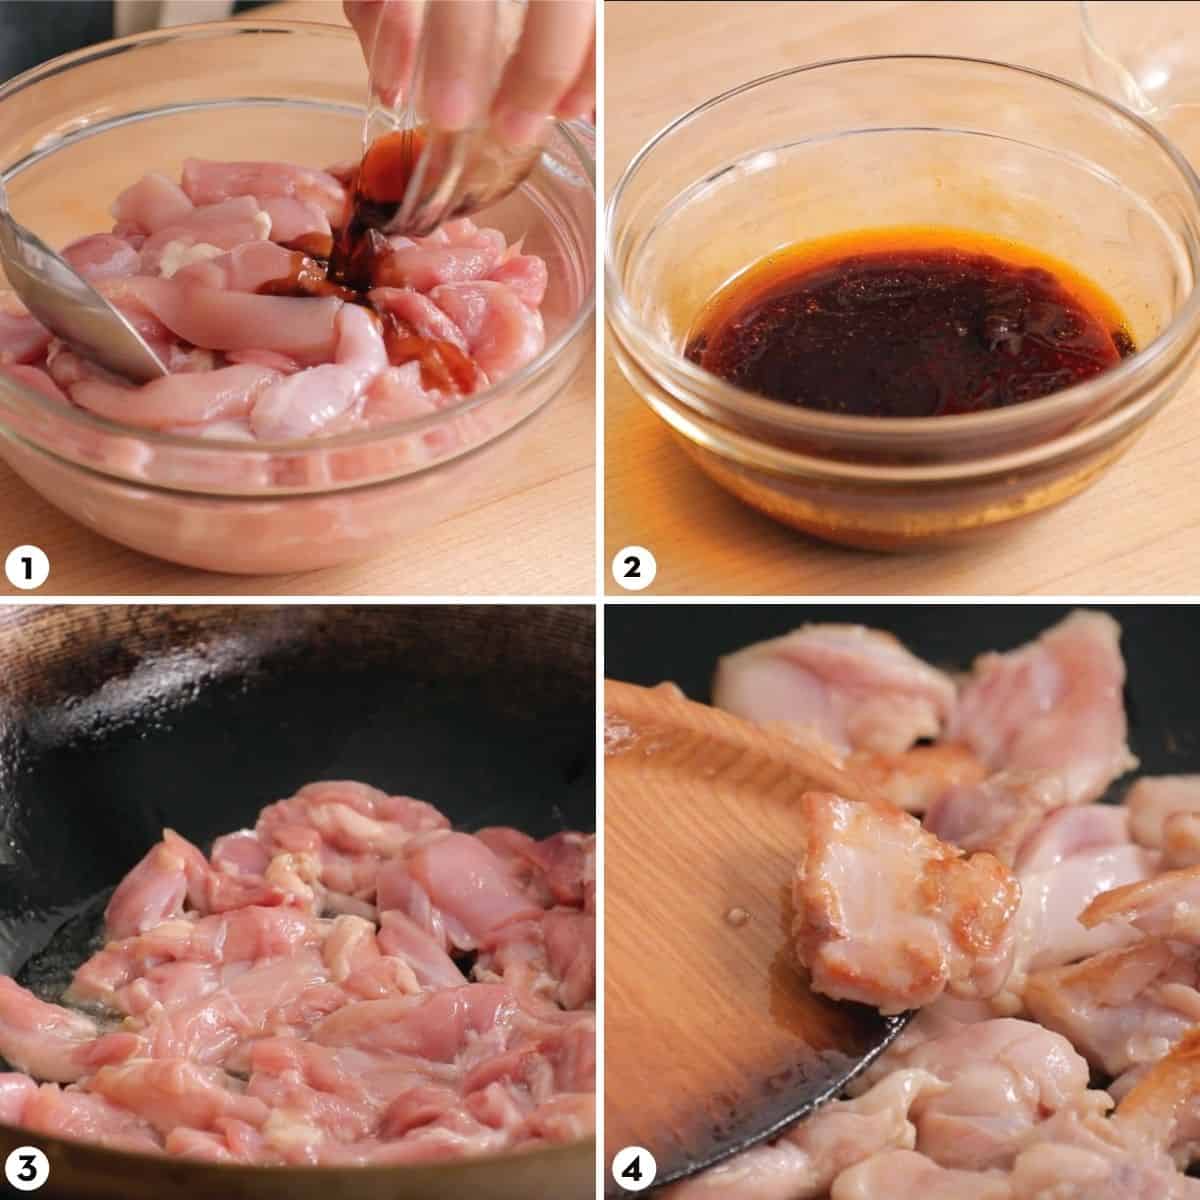
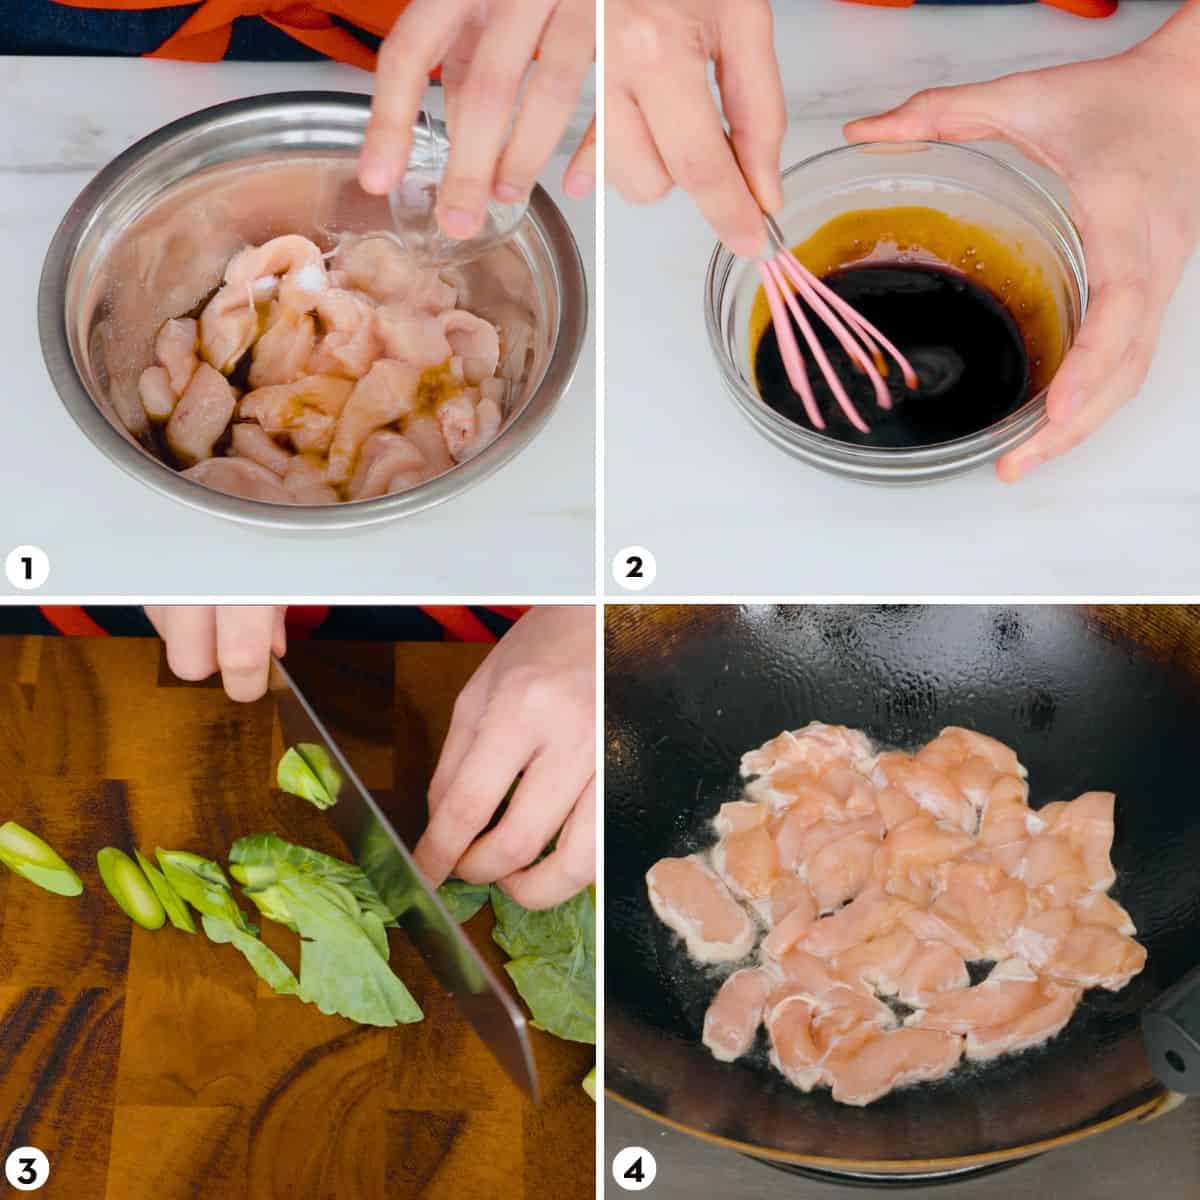
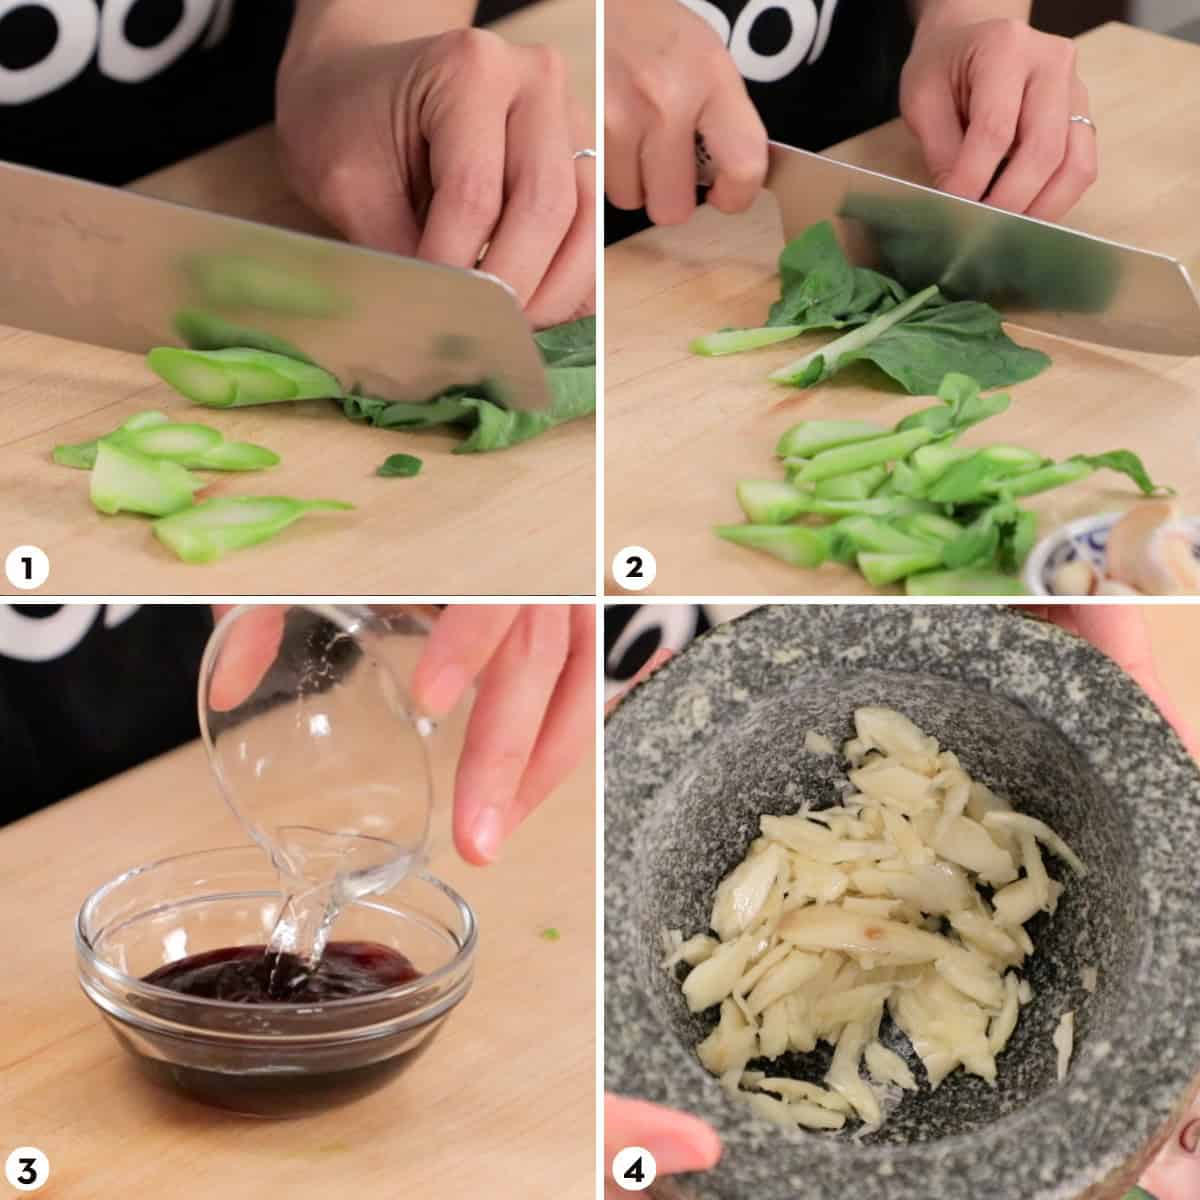
- Marinade chicken in soy sauce. If using breast, add a little water.
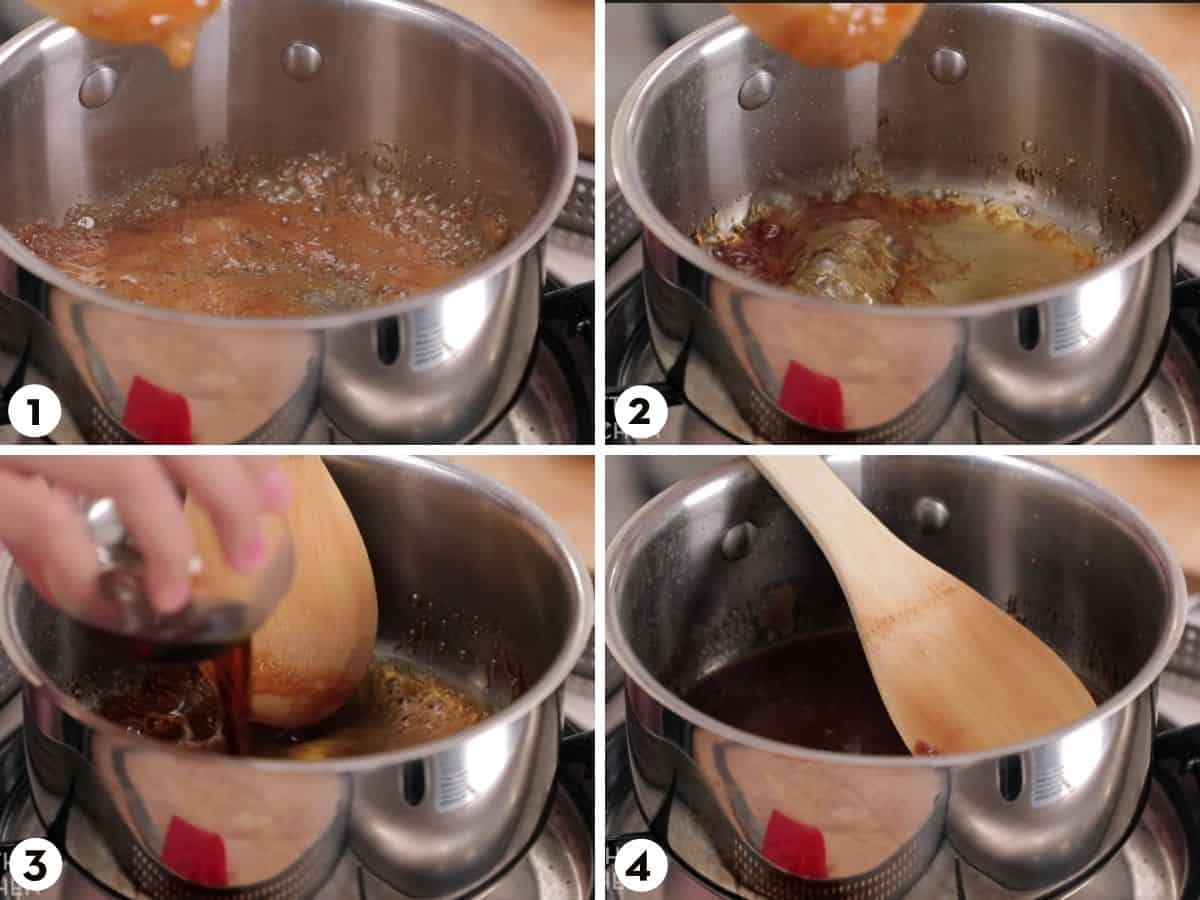
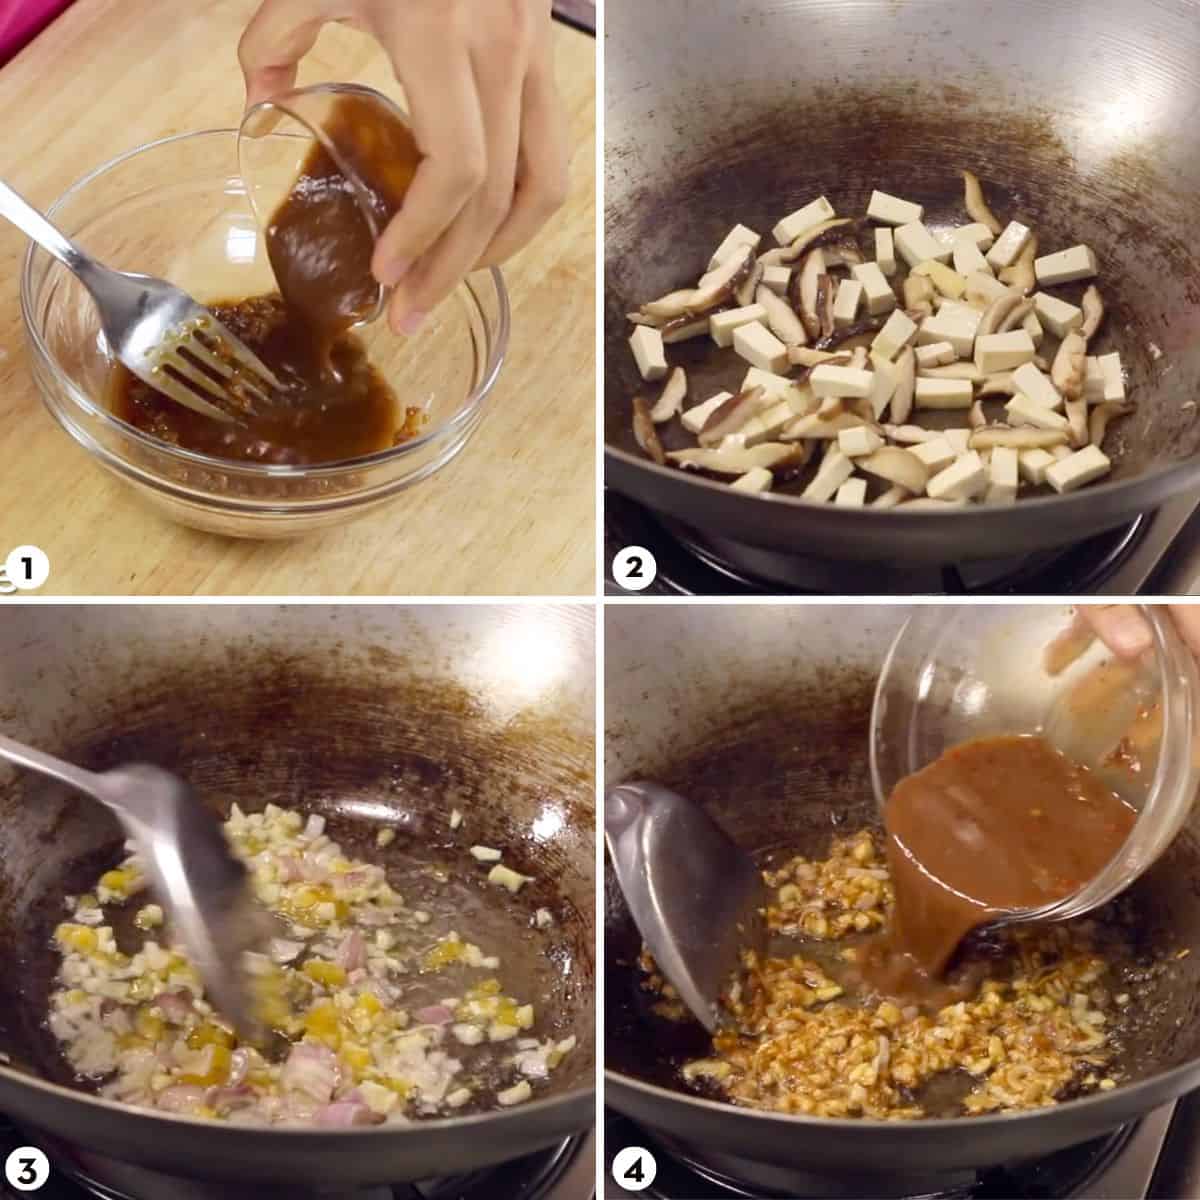
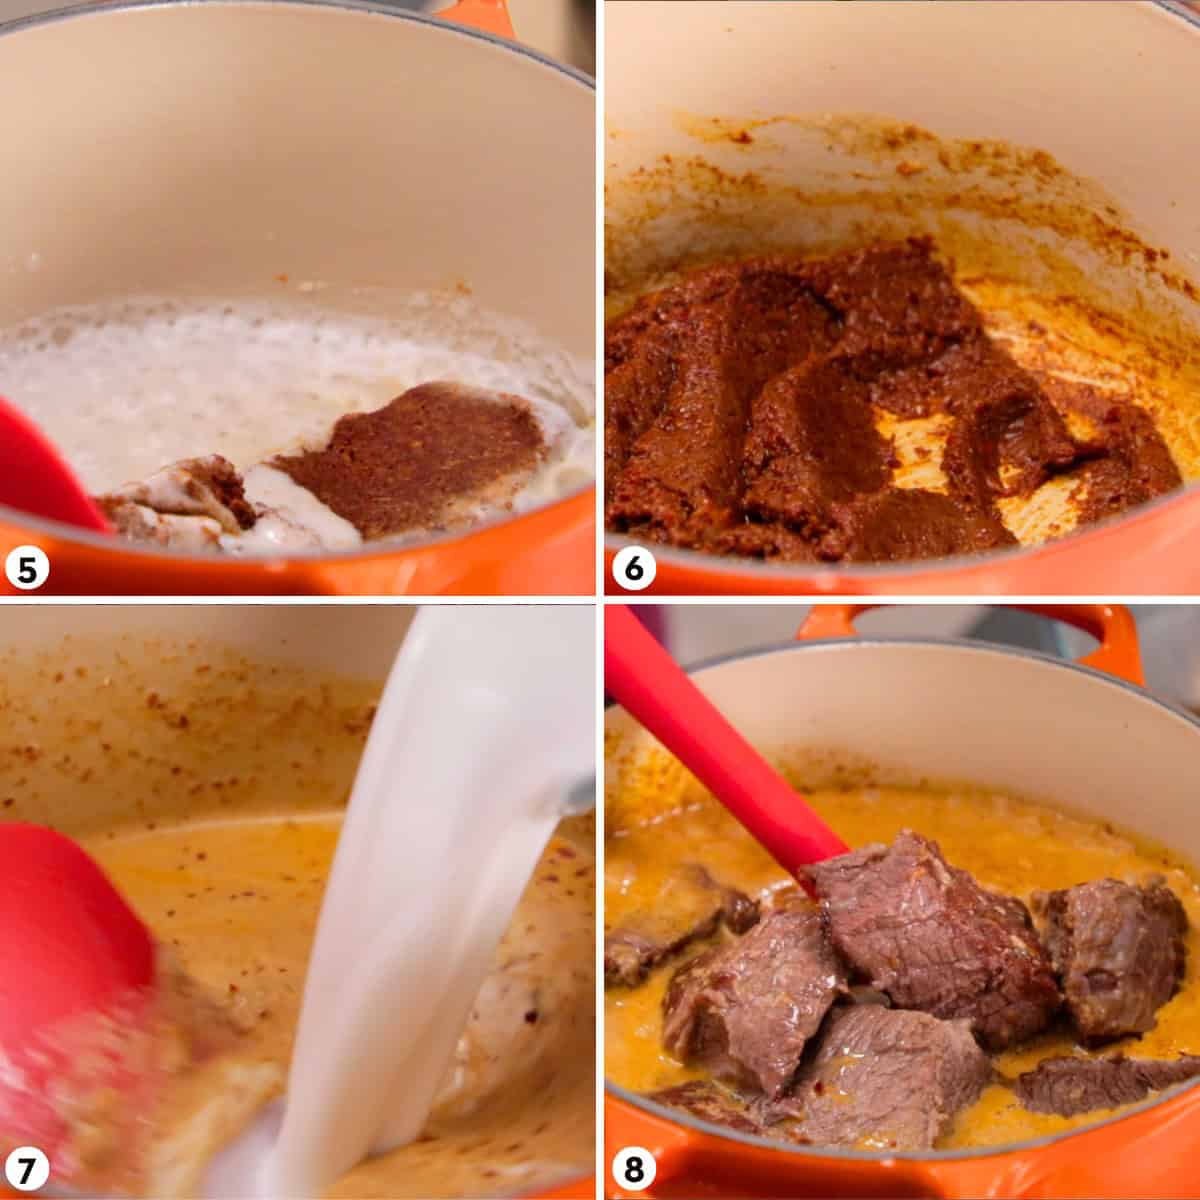
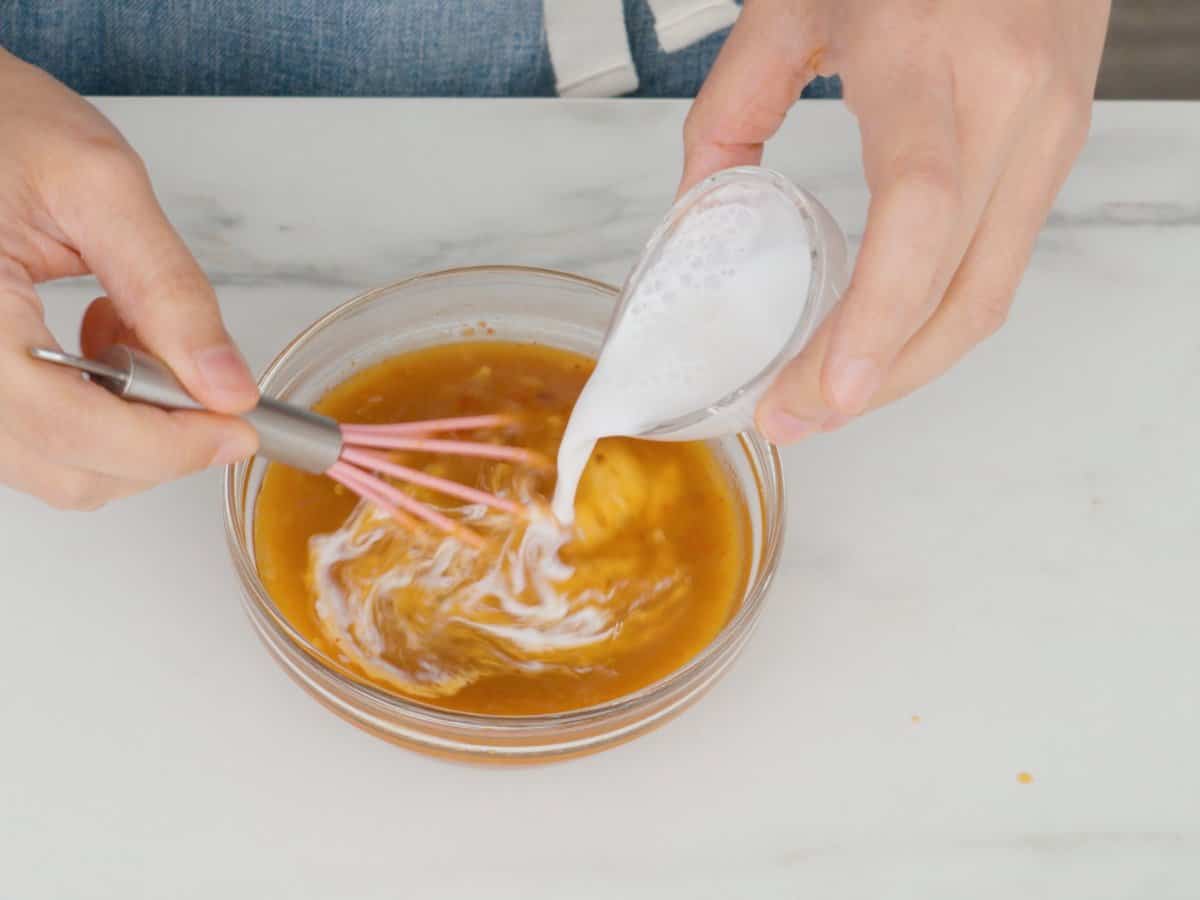
- Combine all sauce ingredients together.
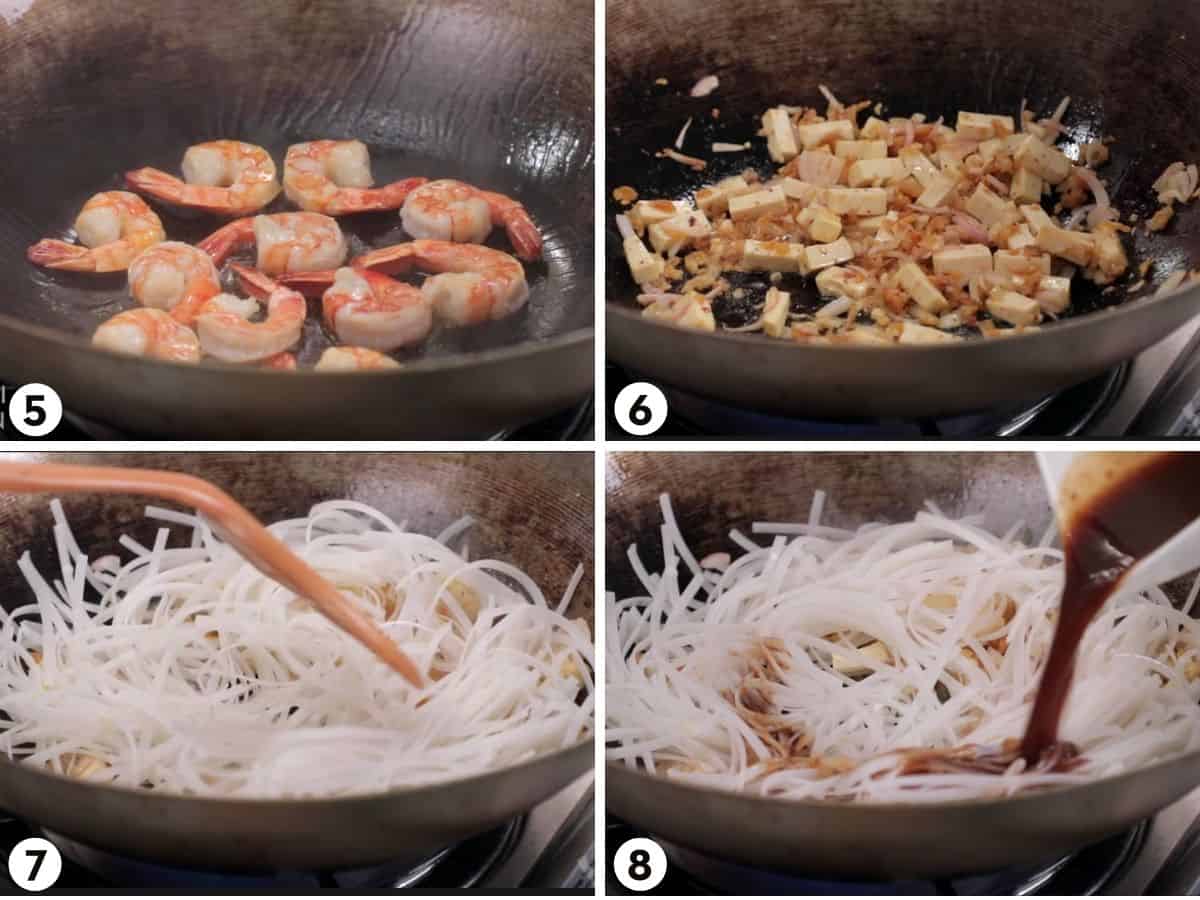
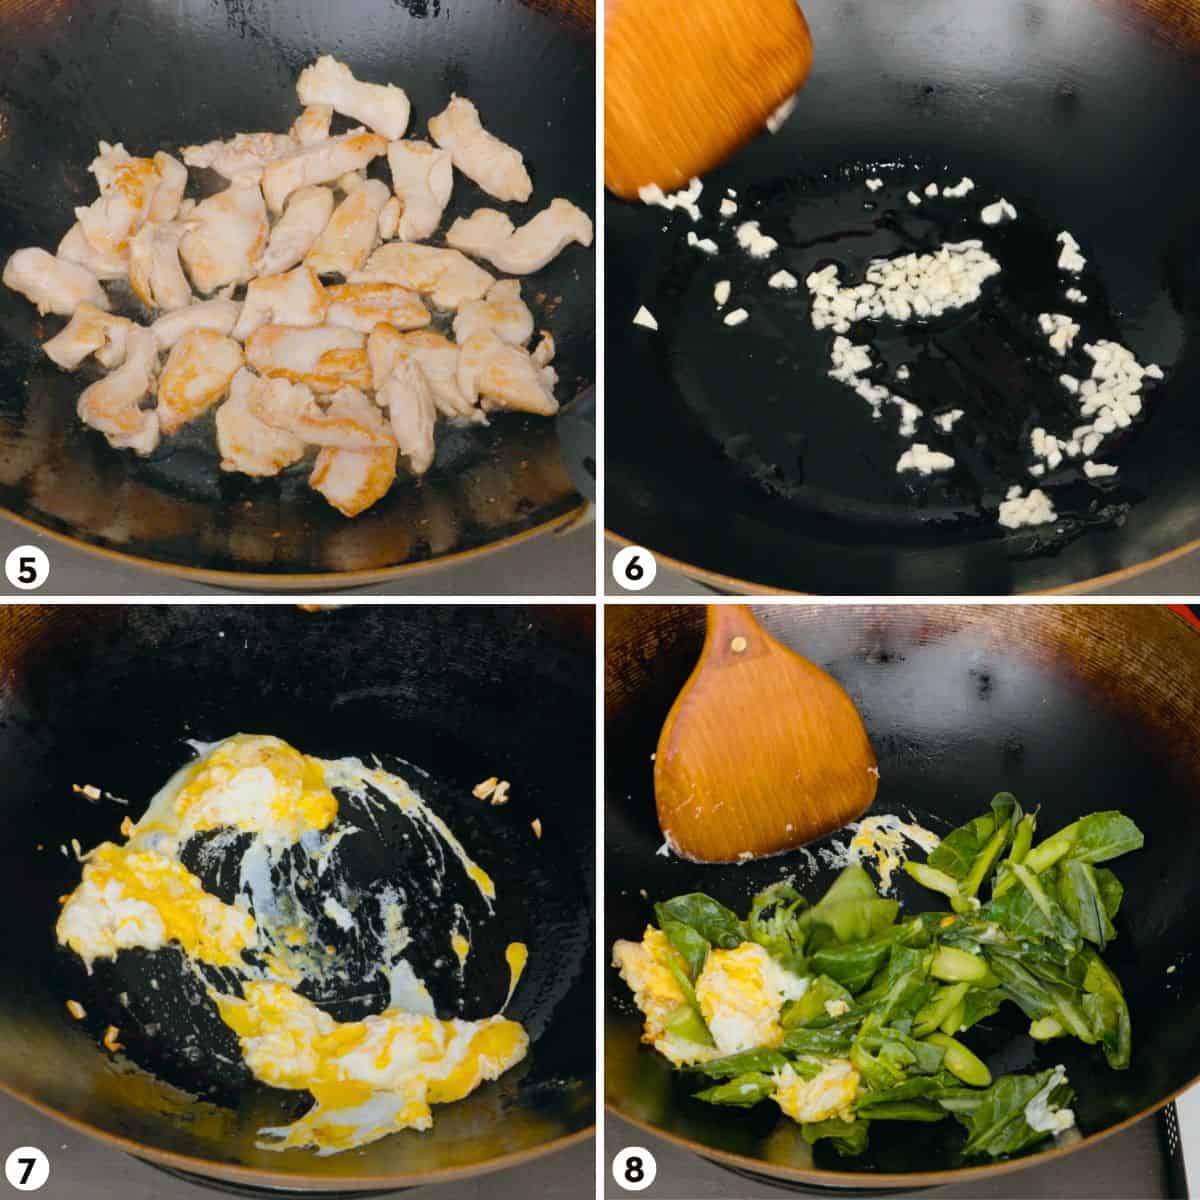
- Heat oil in a wok until very hot and spread the chicken in one layer and allow to sear.
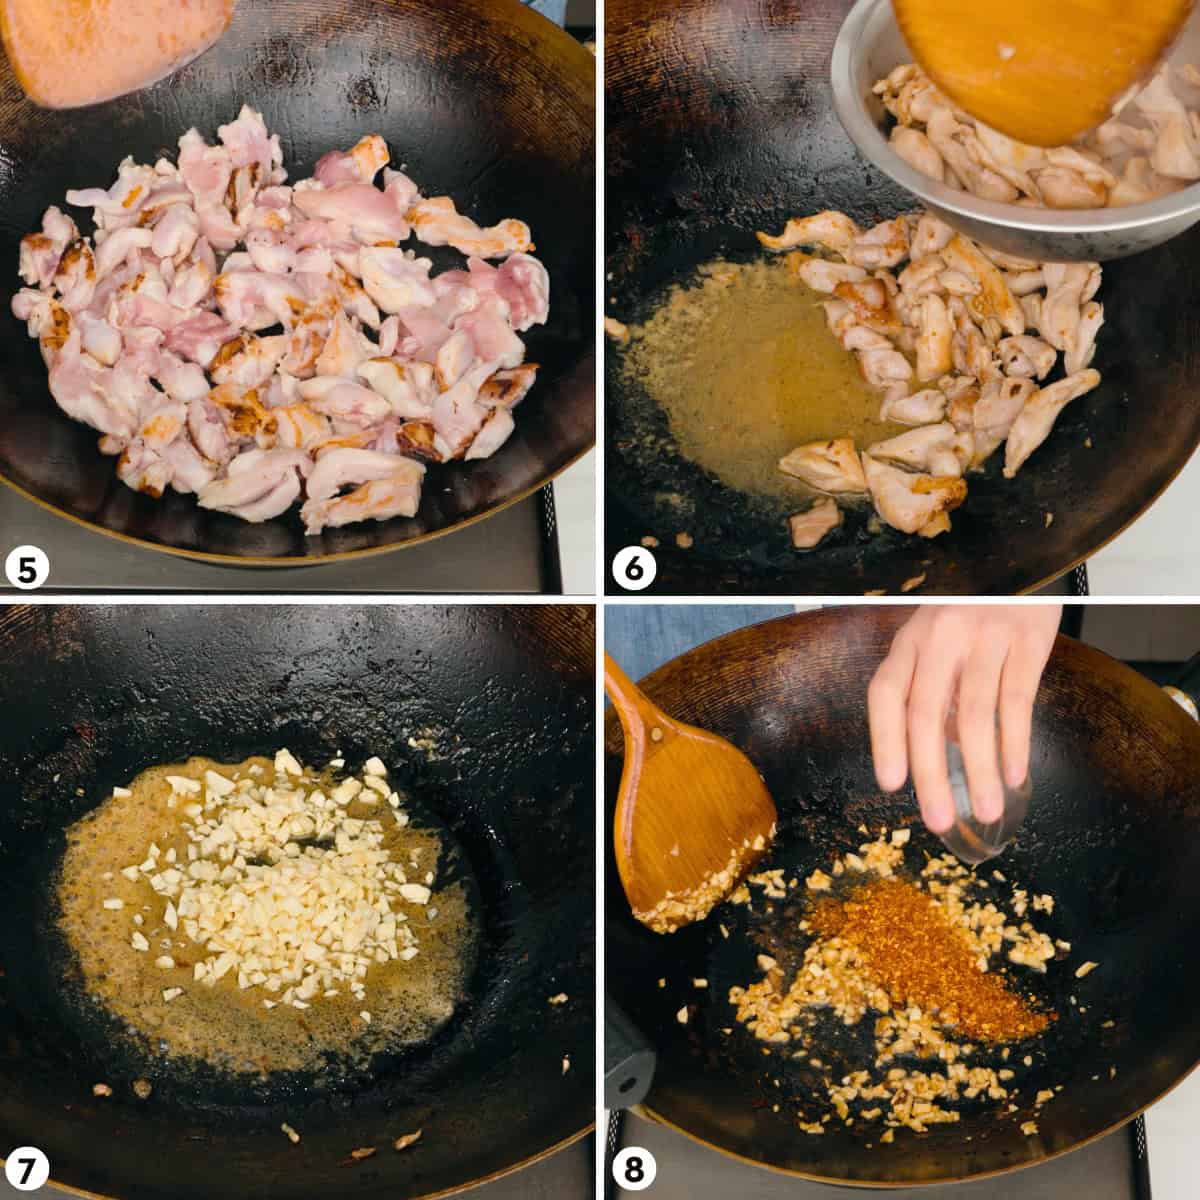
- Once browned, toss the chicken until fully cooked. Remove from the pan.
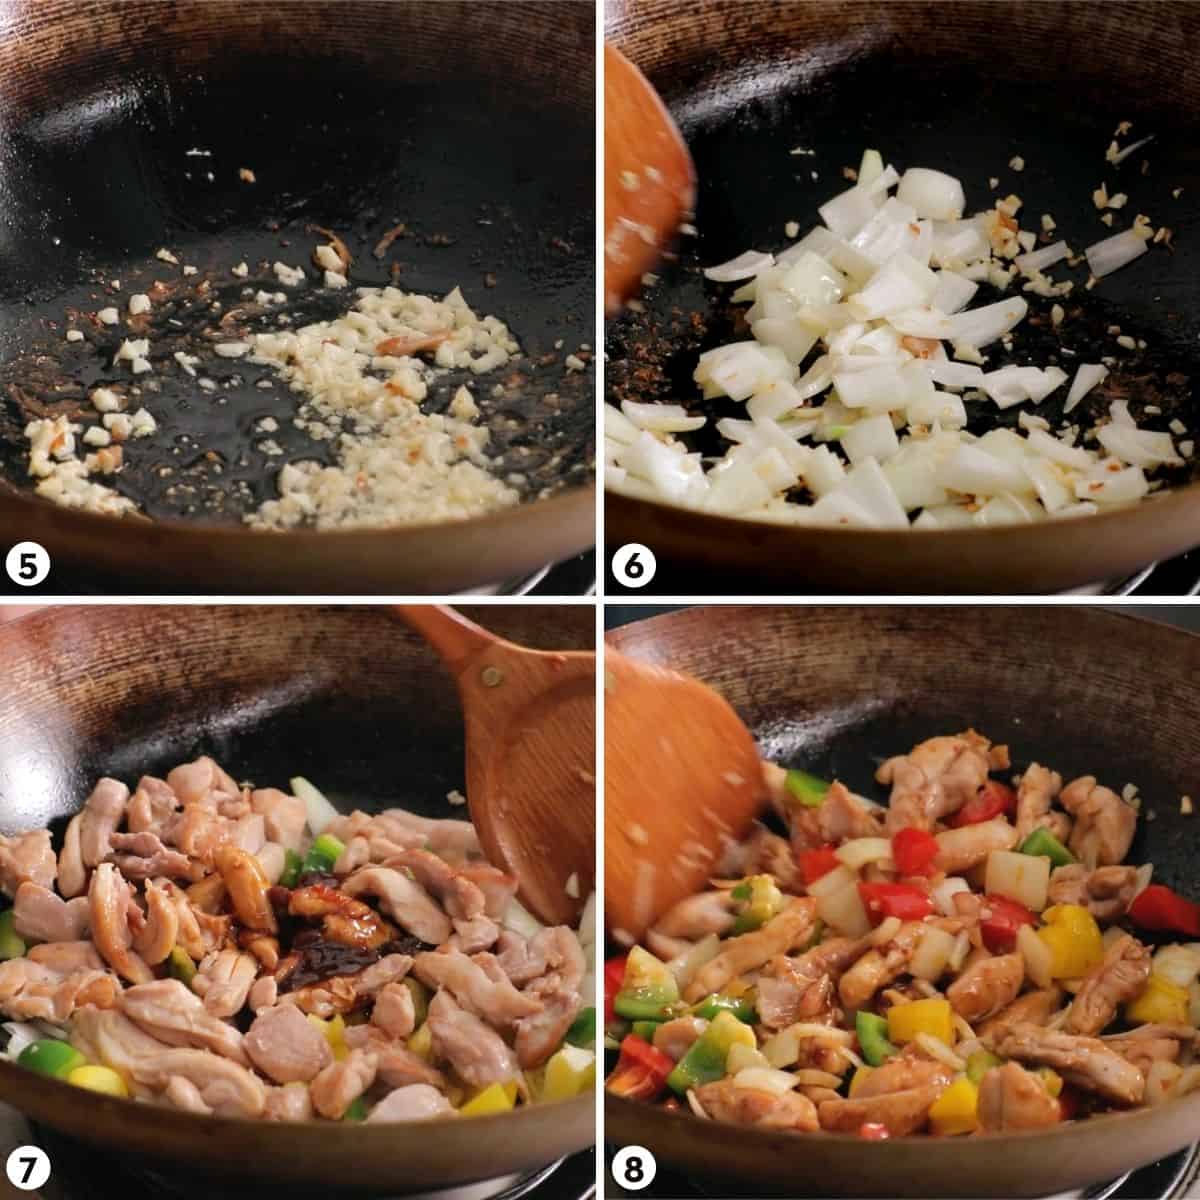
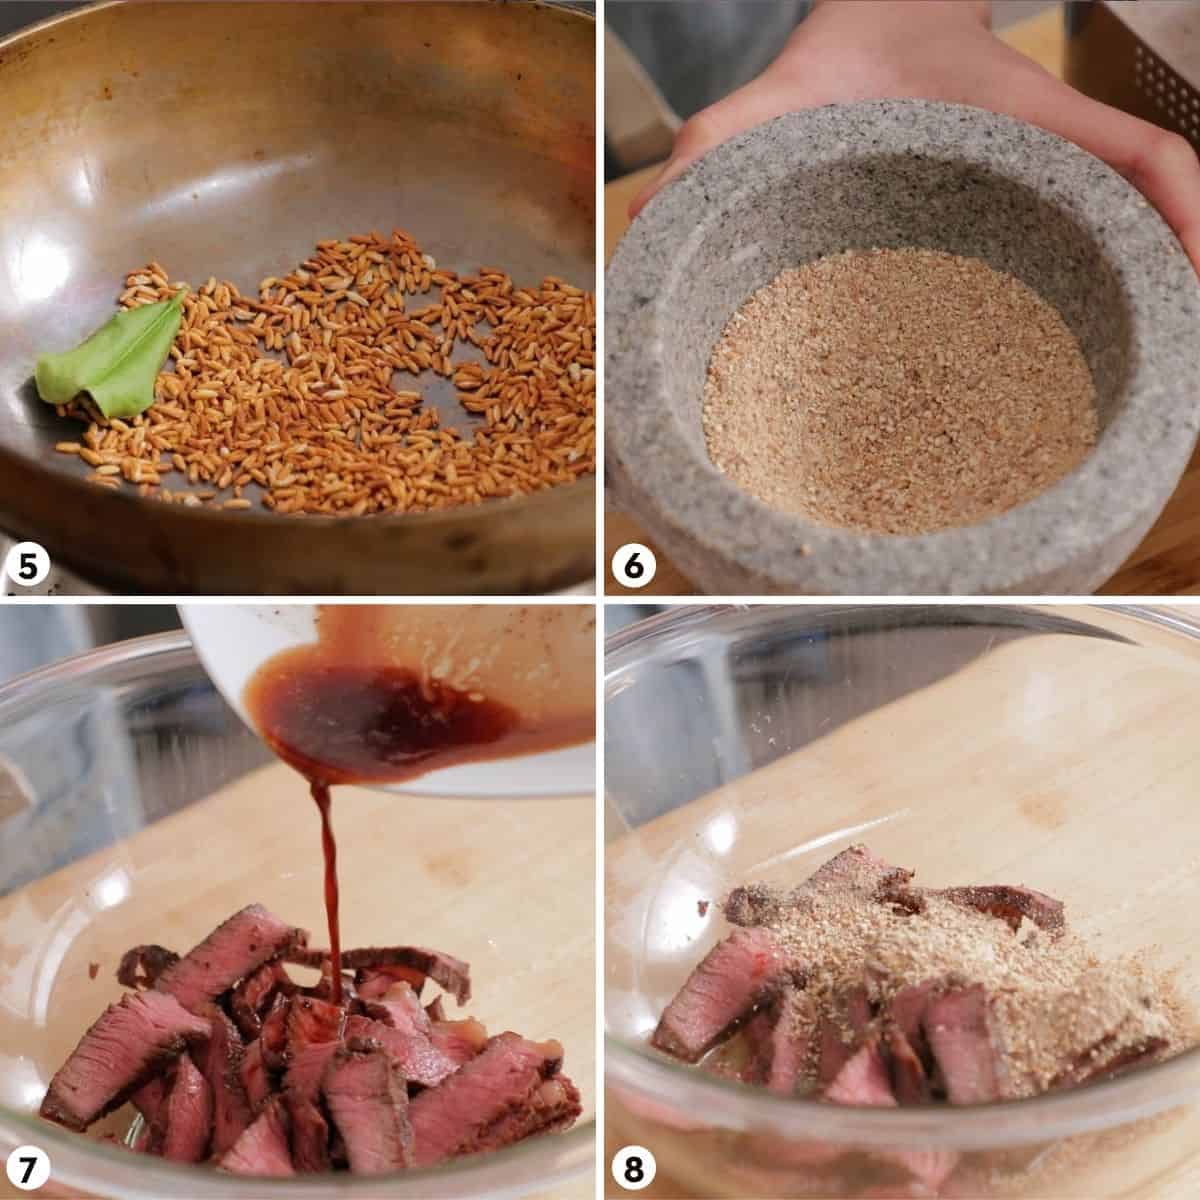
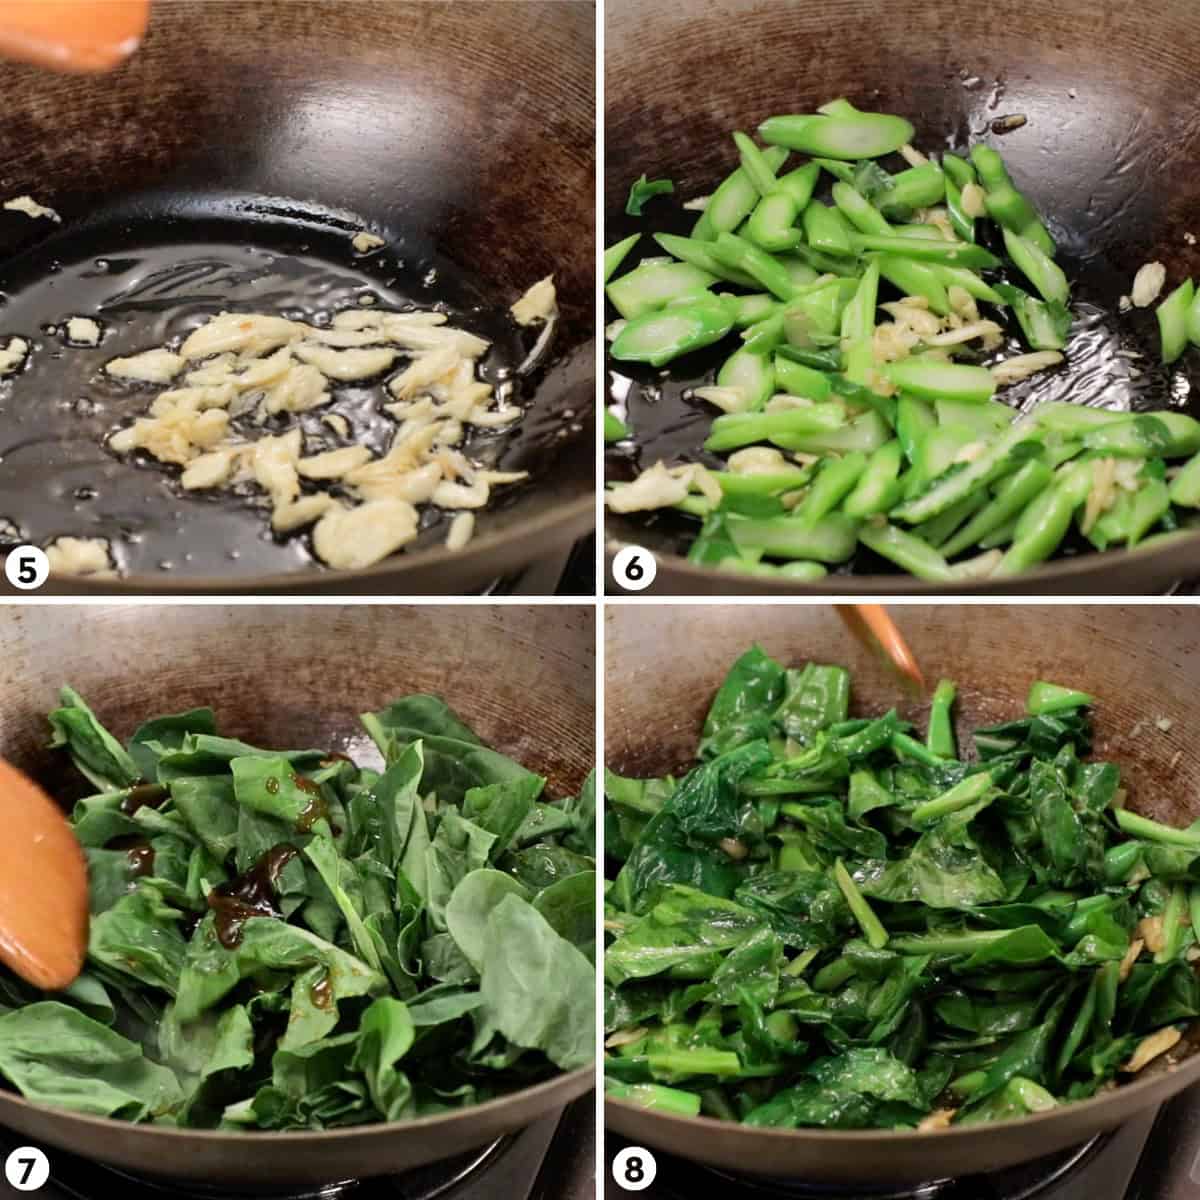
- In the same wok, add the garlic and cook till golden.
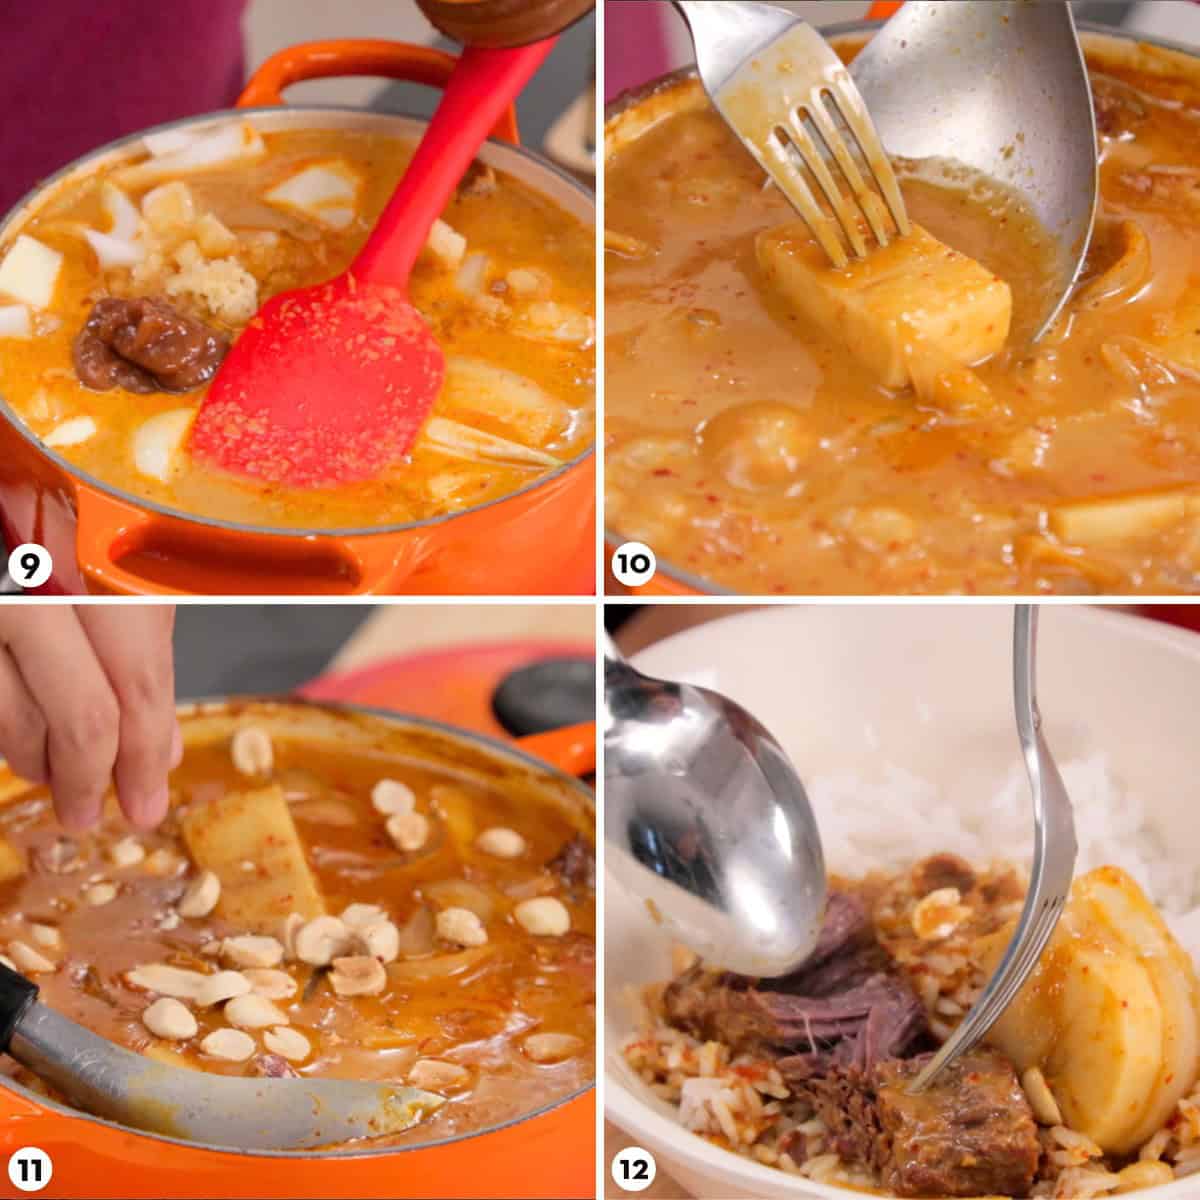
- Add the onions and cook briefly.
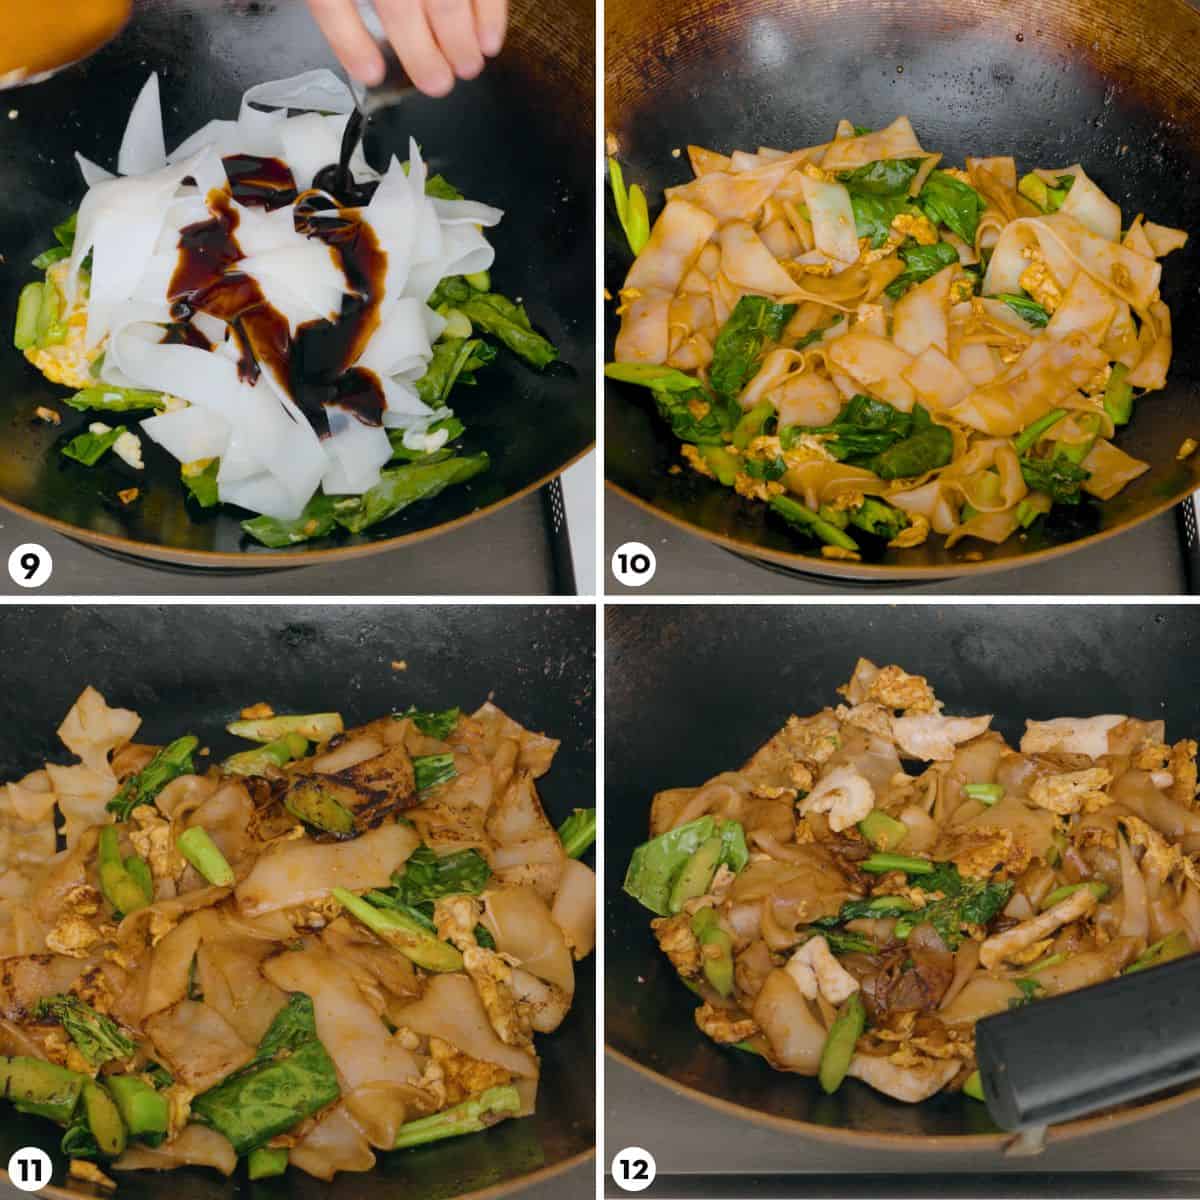
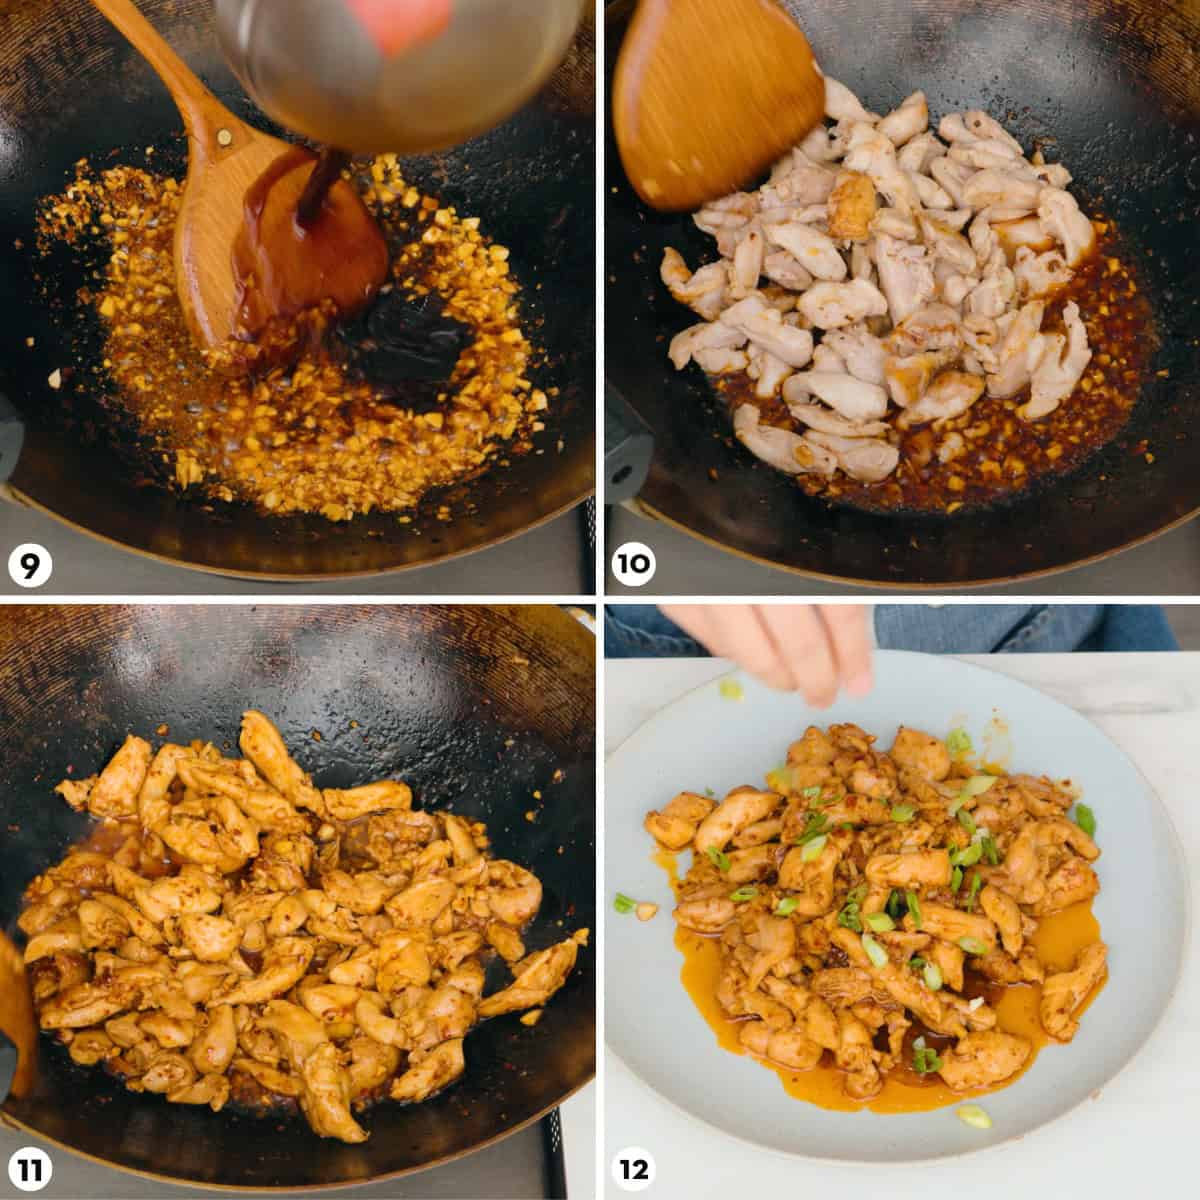
- Add bell peppers, chicken, and the sauce mixture.
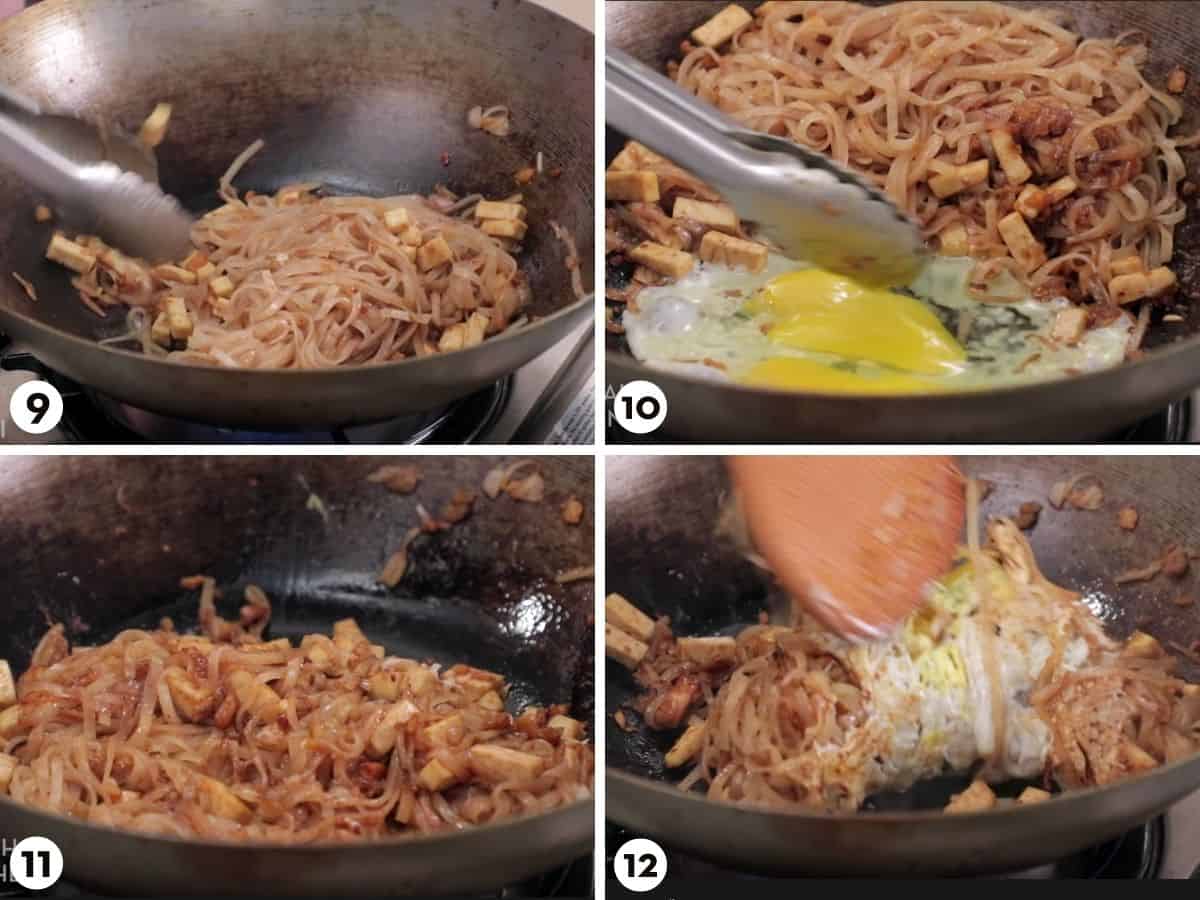
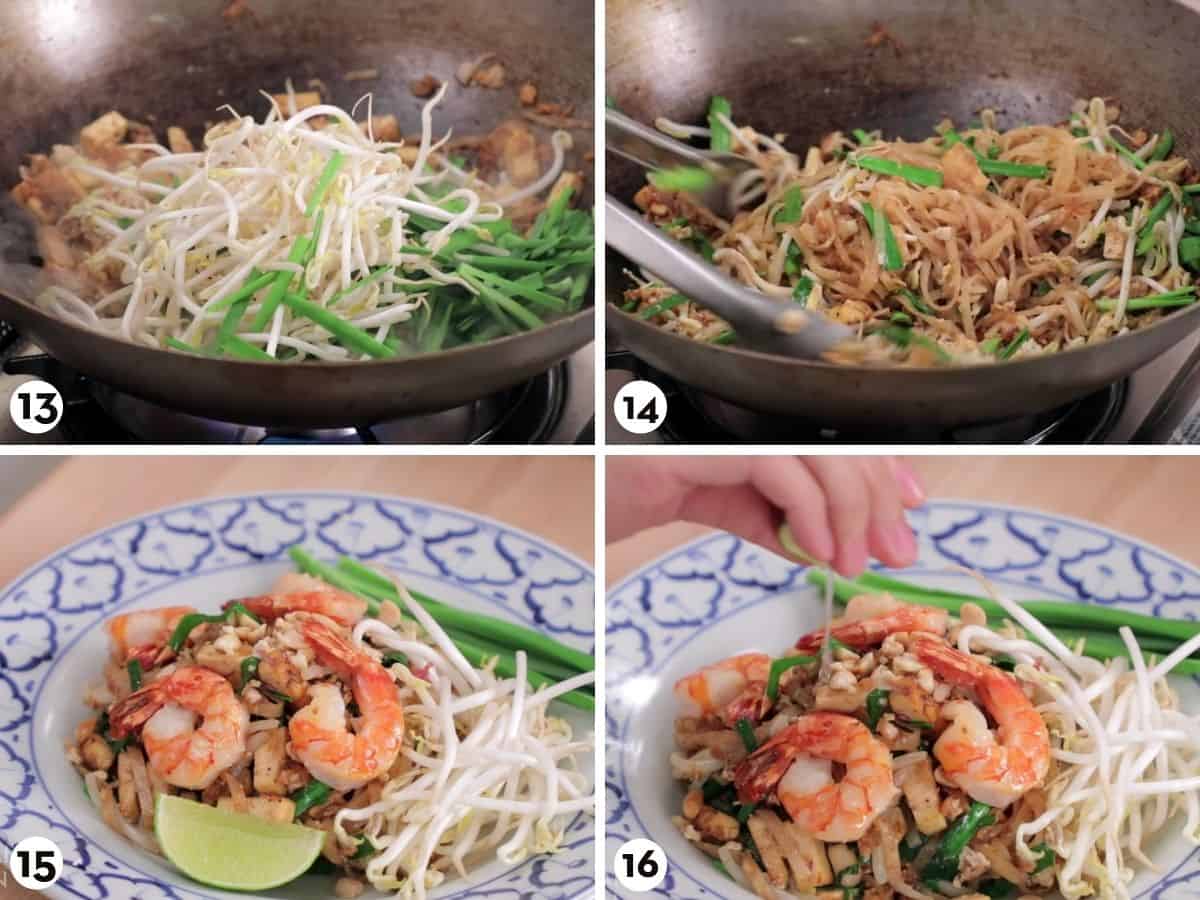
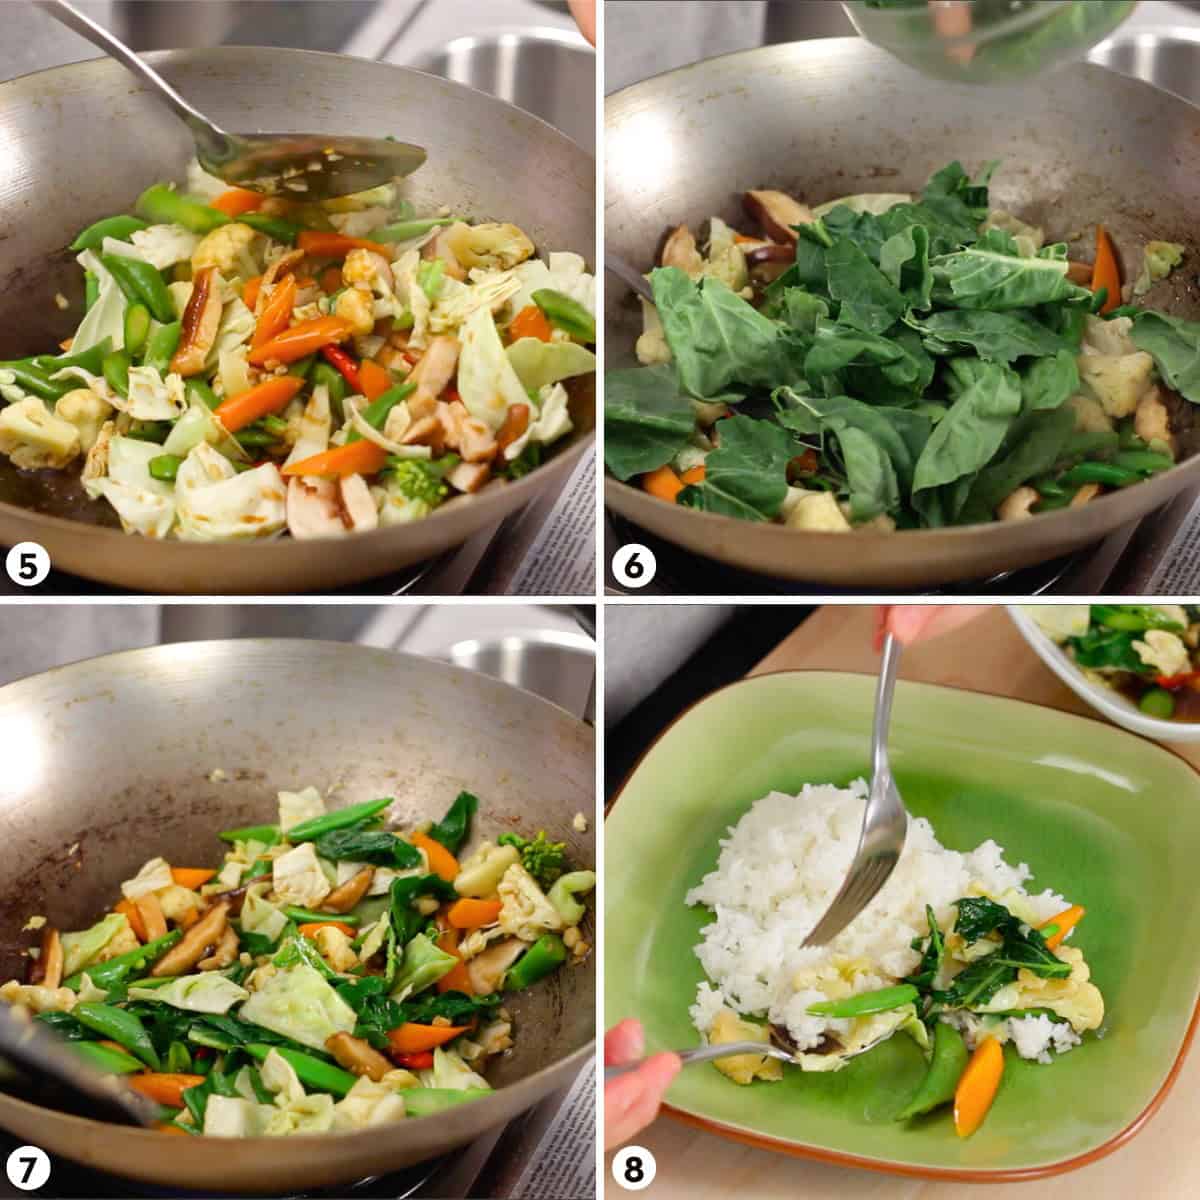
- Toss on high heat for about a minute until everything is well combined and heated through.
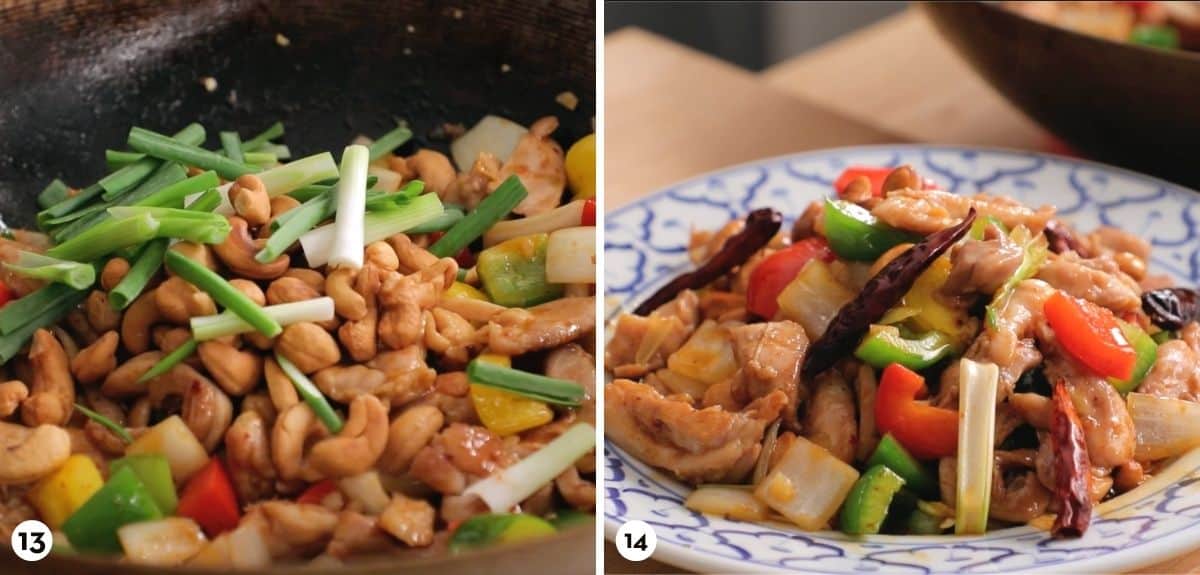
- Turn off the heat, then toss in the cashews and green onions.
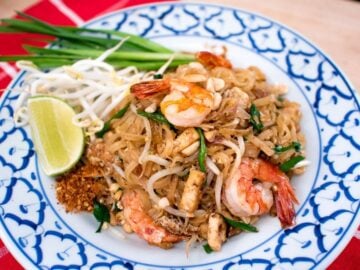
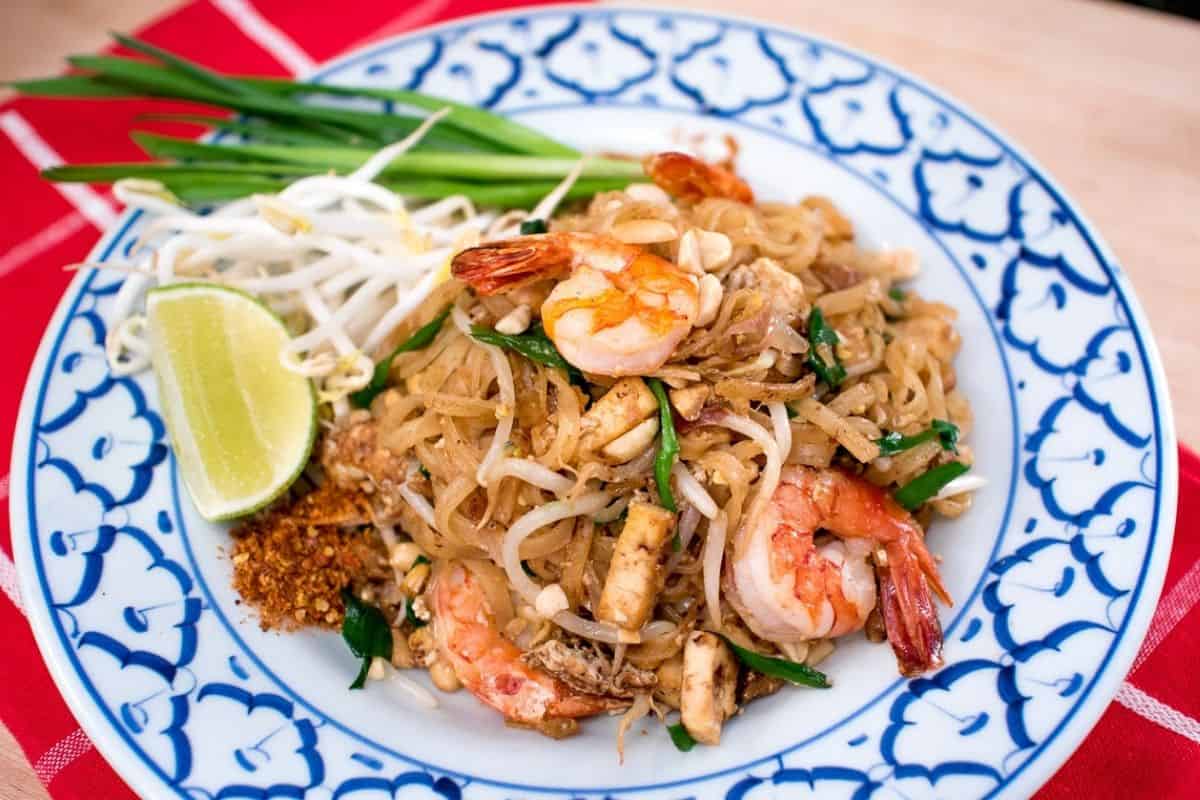
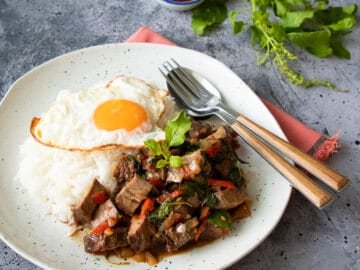
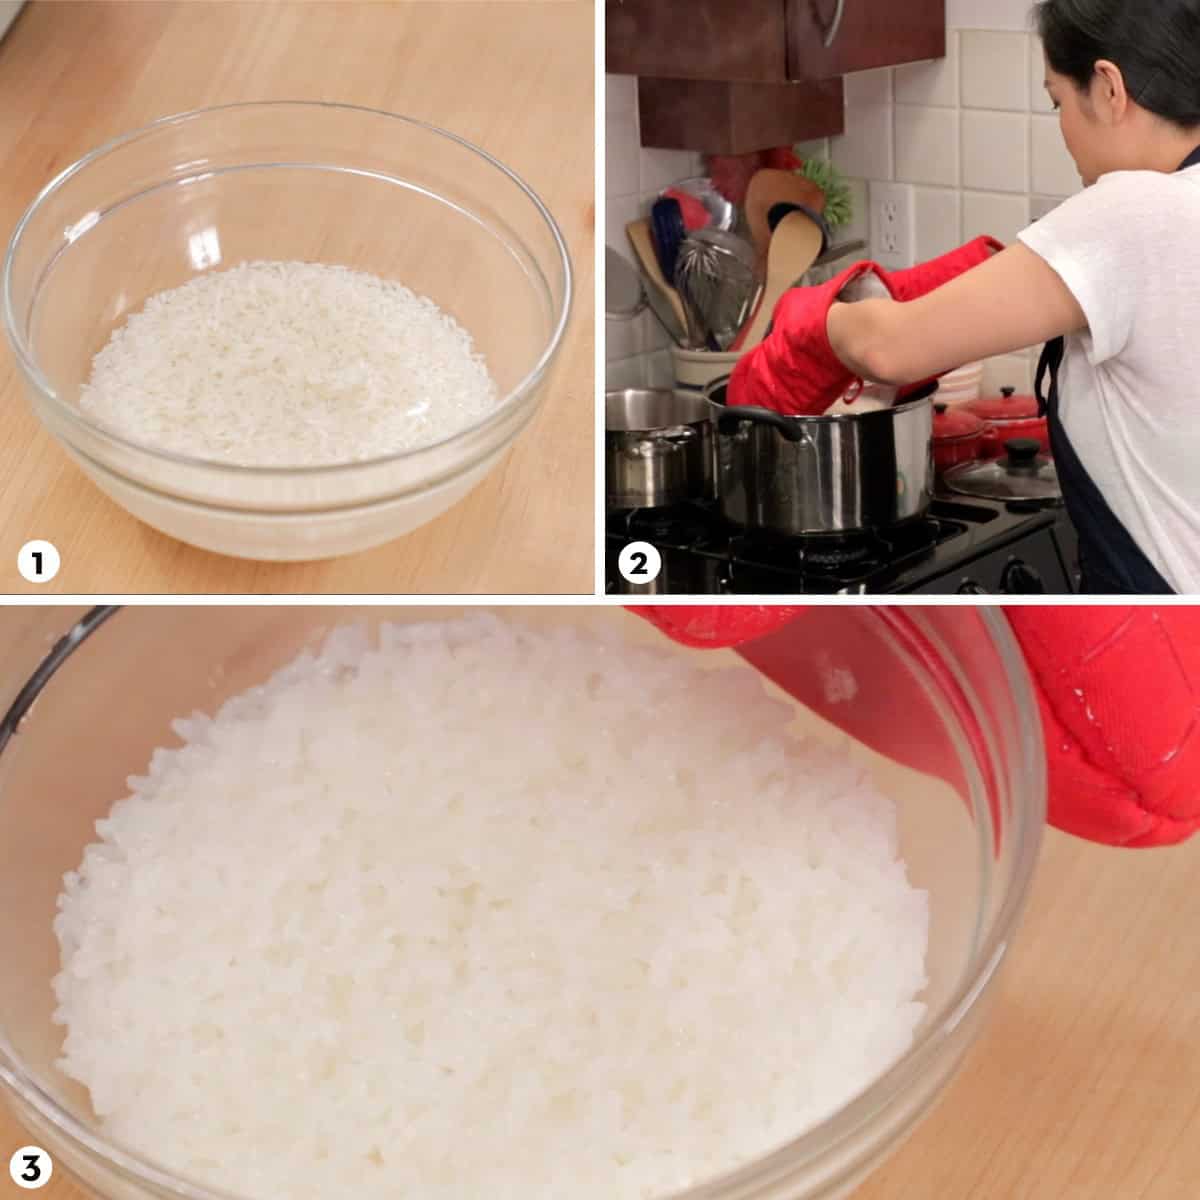
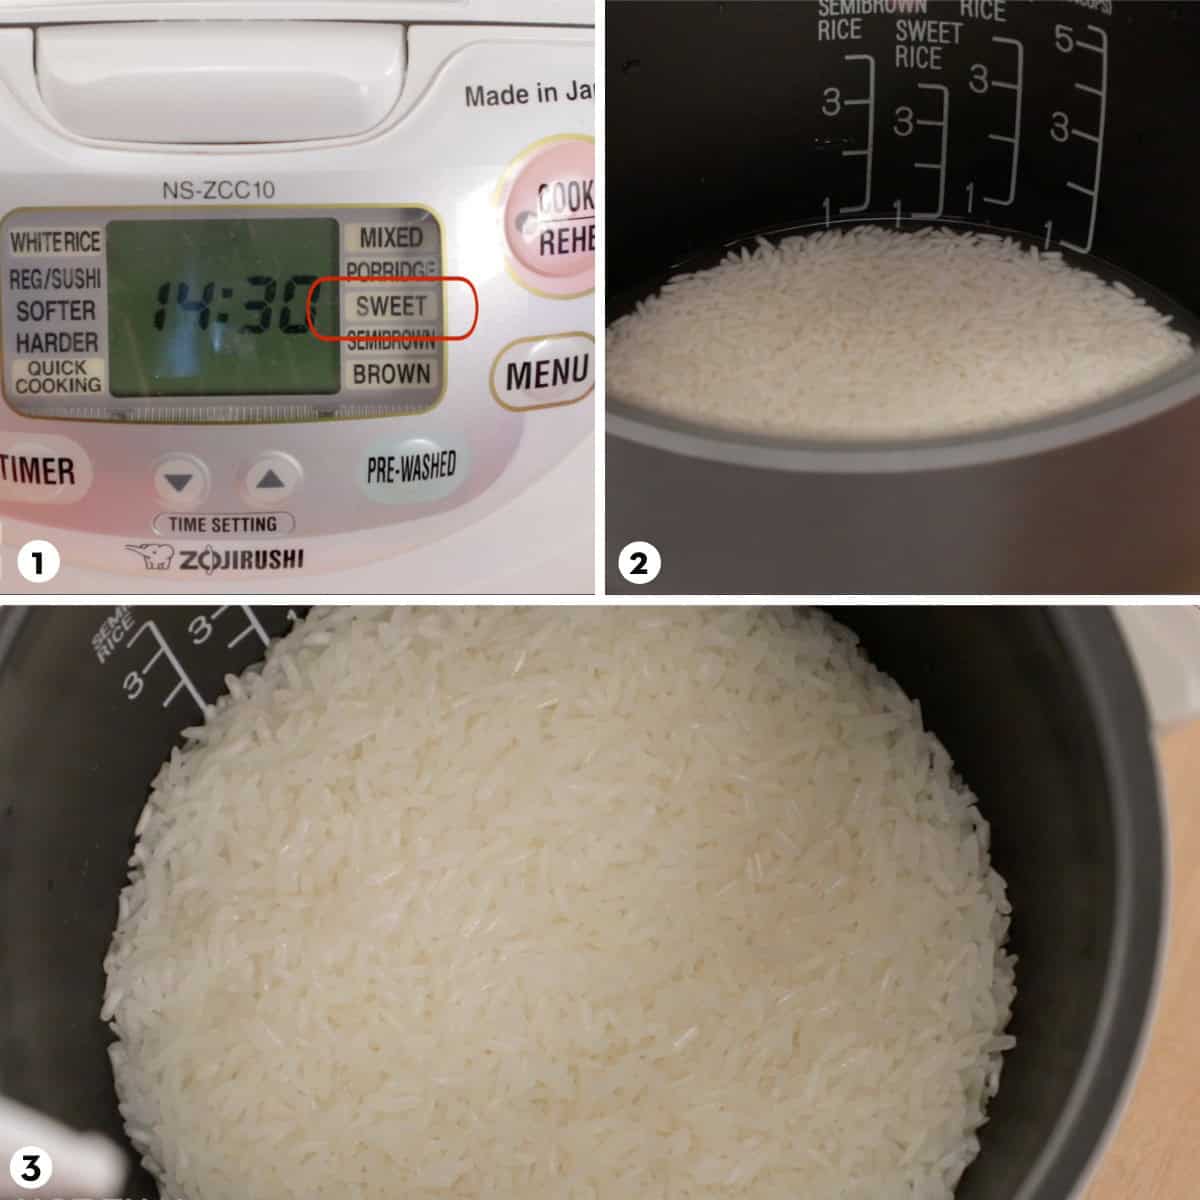
- Enjoy with some jasmine rice!
Pro Tips: Why This Recipe Is Special
- Double-roasting cashews make them crunchier and nuttier, and that makes then pop. Some brands of commercially roasted cashews are quite light in colour, and aren't that crunchy. Stick them on a baking sheet and roast them again at 350°F for another 8-10 minutes, and you'll get crunchier and nuttier-tasting cashews that will be well worth the extra time.
- Marinating the chicken while you prep makes it flavourful inside and out. The sauce is super flavourful, but it's only sitting on the outside. For the best result your chicken should also be flavourful inside.
- Browning chicken adds flavour without the need to fry. Restaurants often dredge the chicken in flour and then deep fry them before tossing them into the stir fry. But if you just let the chicken brown in the wok, you'll develop that deeper "fried chicken" flavour, no frying required!
- Adding onions after the garlic keeps them crisper. You might be tempted to cook onions first along with the garlic to get them soft and sweet, but here, the sauce is already sweet, and the chicken is tender, so minimally-cooked onion can better provide balance.
How to Make Cashew Chicken Faster
If you love cashew chicken and, like my husband, want to eat it again and again but don't want to do all the prep every time, I got you. Here are a couple of ways you can prep ahead and save time when the urge for cashew chicken strikes:
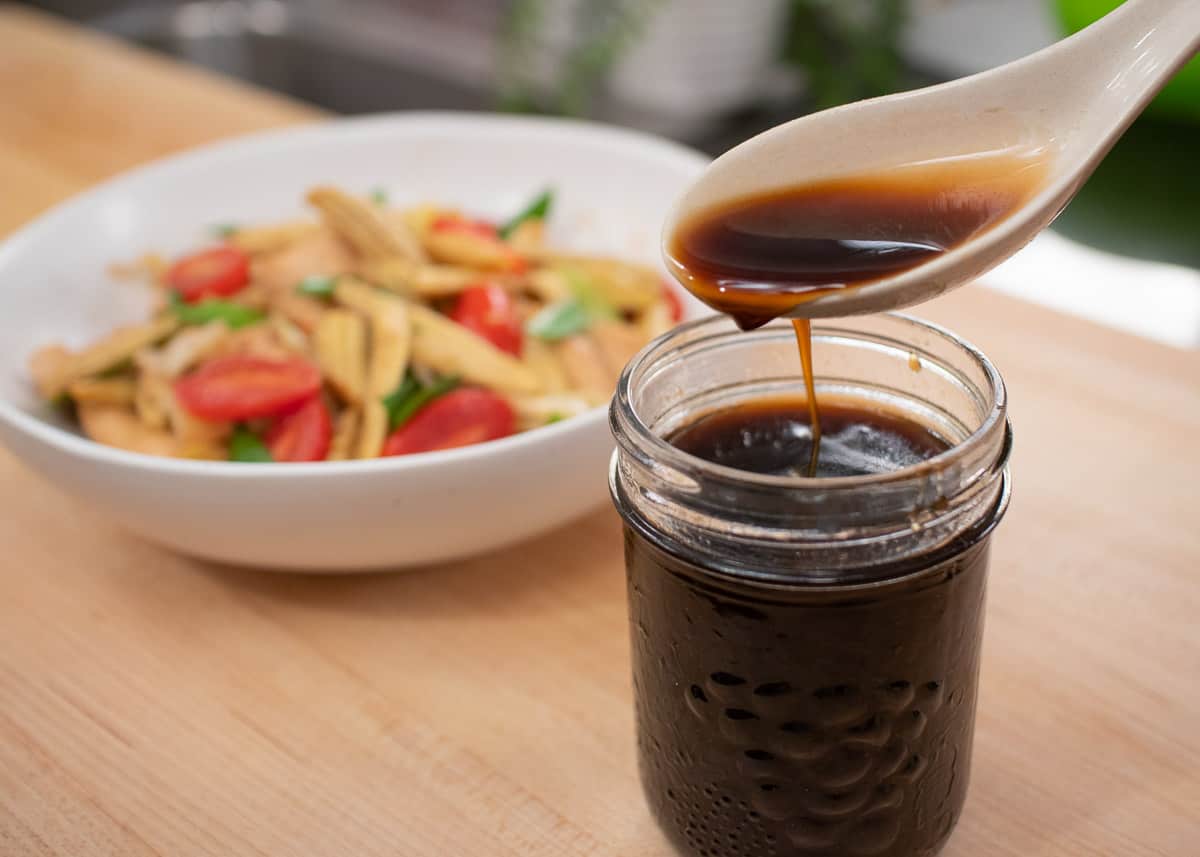
Make a big batch of cashew chicken sauce
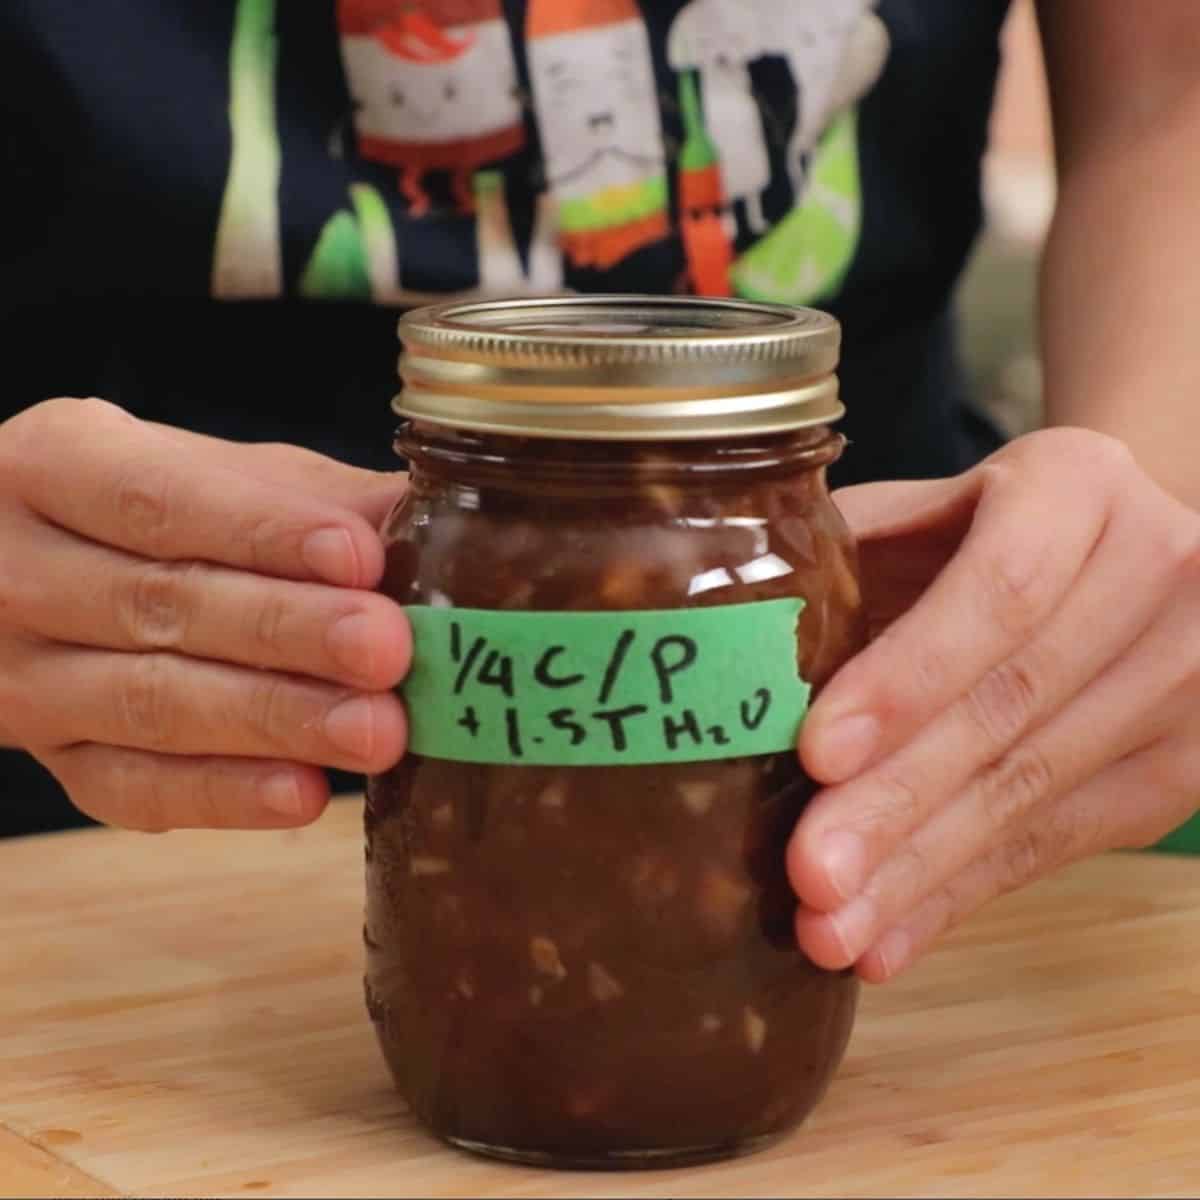
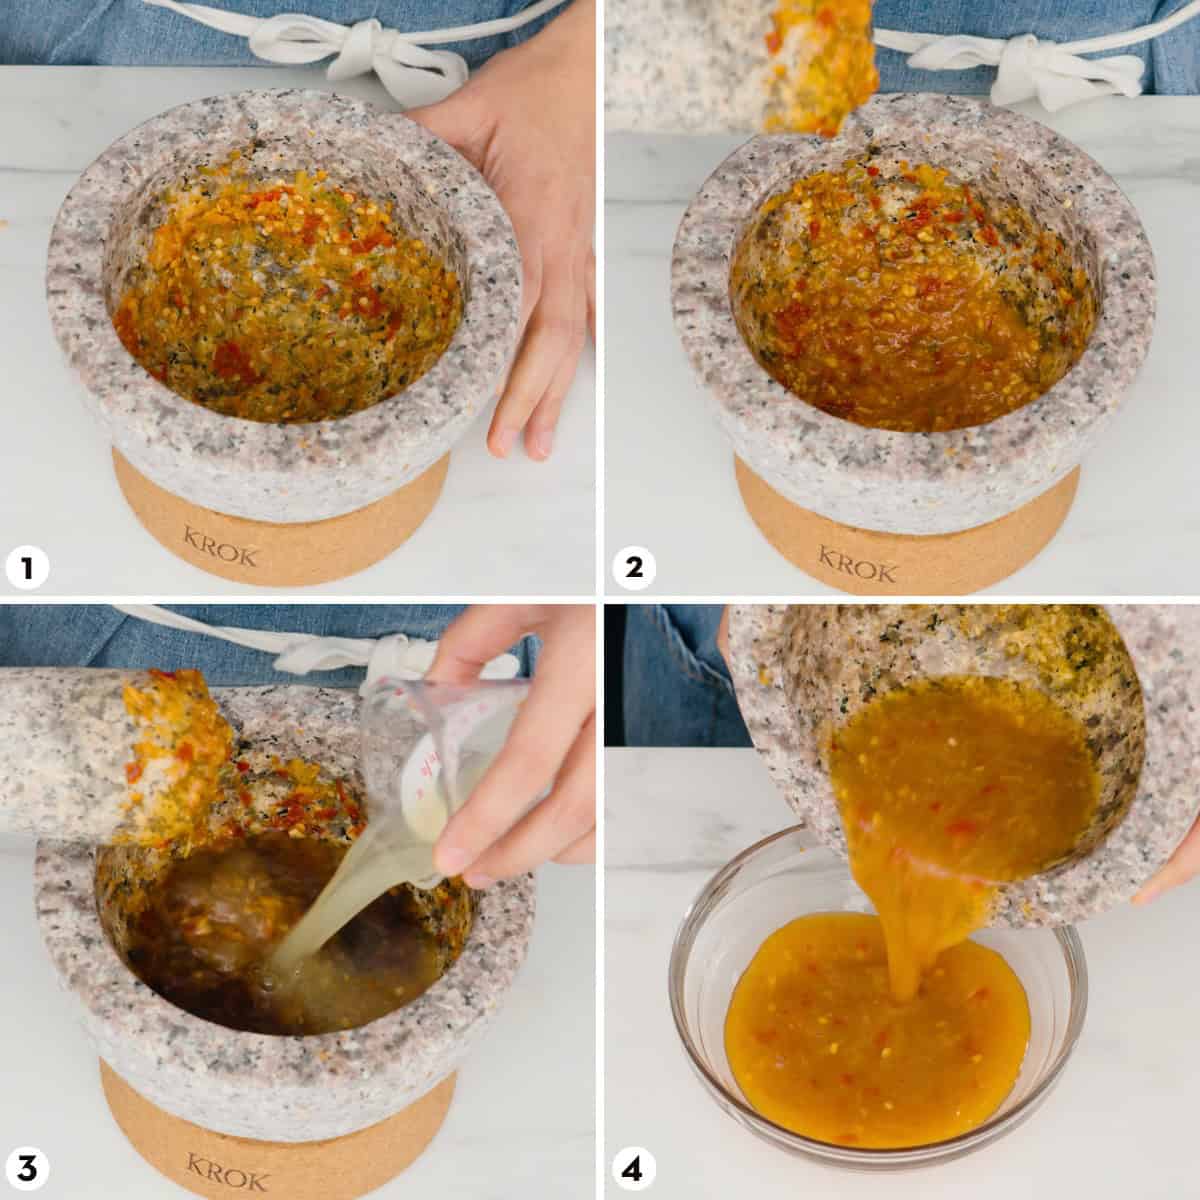
- Make 3, 4 or even 10 times the amount of sauce in this recipe. Be sure to scale all ingredients proportionally. Because sugar doesn't dissolve well in the thick sauce, I would first dissolve it in just a little bit of hot water before adding it to the rest of the sauce ingredients. Stir to mix well.
- Measure the final volume of the sauce before you put it away, and divide it by the number of batches to get the volume that you need per batch. Write this amount on a piece of tape and tape it to the jar so you don't forget. Keep it in the fridge, it'll last indefinitely. Stir the sauce well before using.
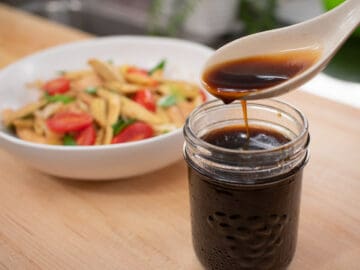
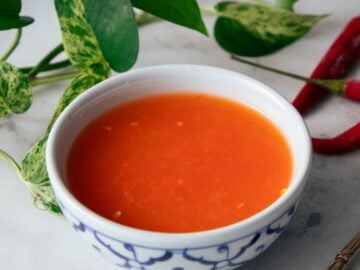
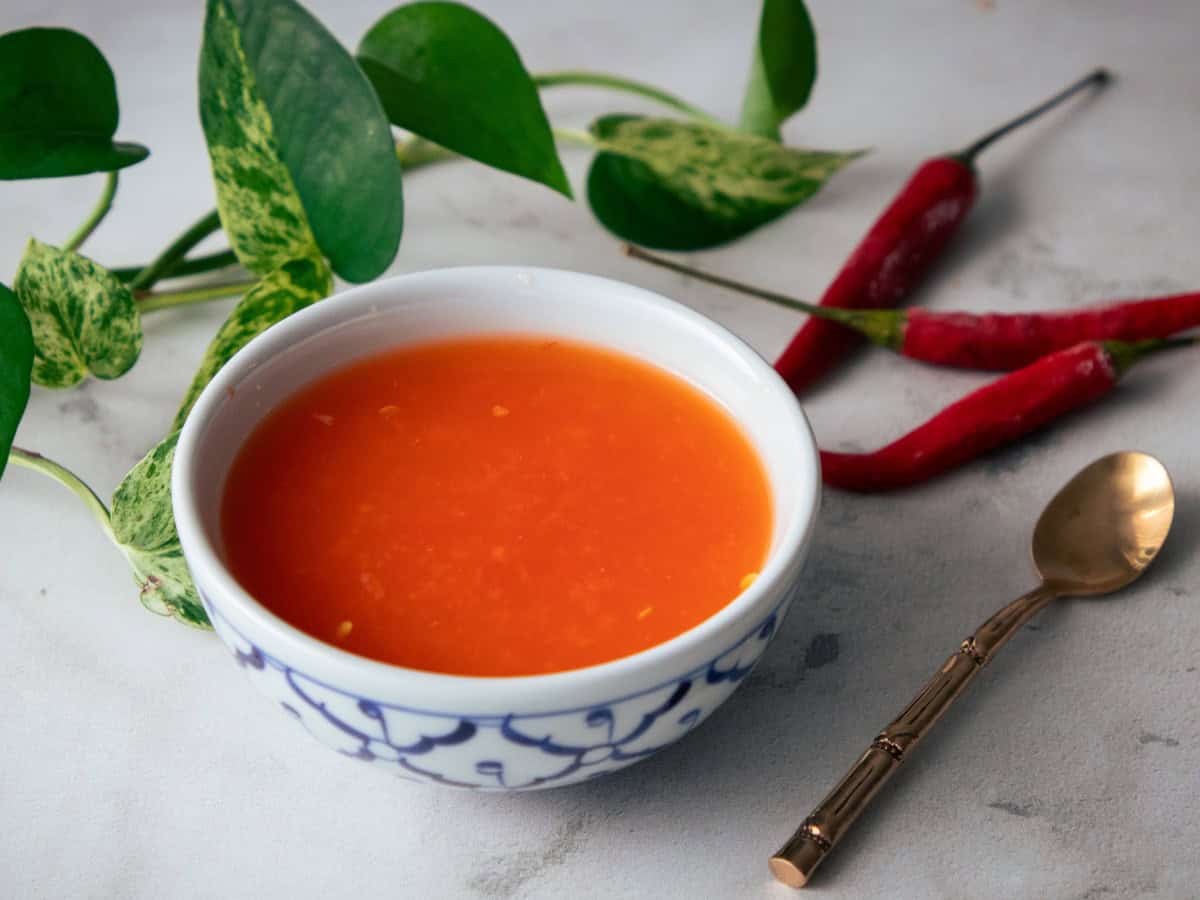
OR..Start with my Universal Stir Fry Sauce
- If you don't want cashew chicken THAT often, make a jar of my universal stir fry sauce, which is super useful for all sorts of things, including this recipe.
- For the recipe given below, use 3 tablespoon of the universal sauce instead of the oyster sauce, soy sauce, Golden Mountain Sauce, and fish sauce. When you cook, you'll just need to add the chili paste, sugar and sesame oil.
Frequently Asked Questions
I prefer chicken thighs in most dishes, cashew chicken included, because it's fattier, more flavourful, and much less likely to be overcooked and dry. If you prefer chicken breast though, not a problem, it works quite well here in this flavourful sauce. But if using breasts, add a little extra water to the marinade to give it a little extra juiciness - especially if you overcook them, which is easy to do with chicken breast.
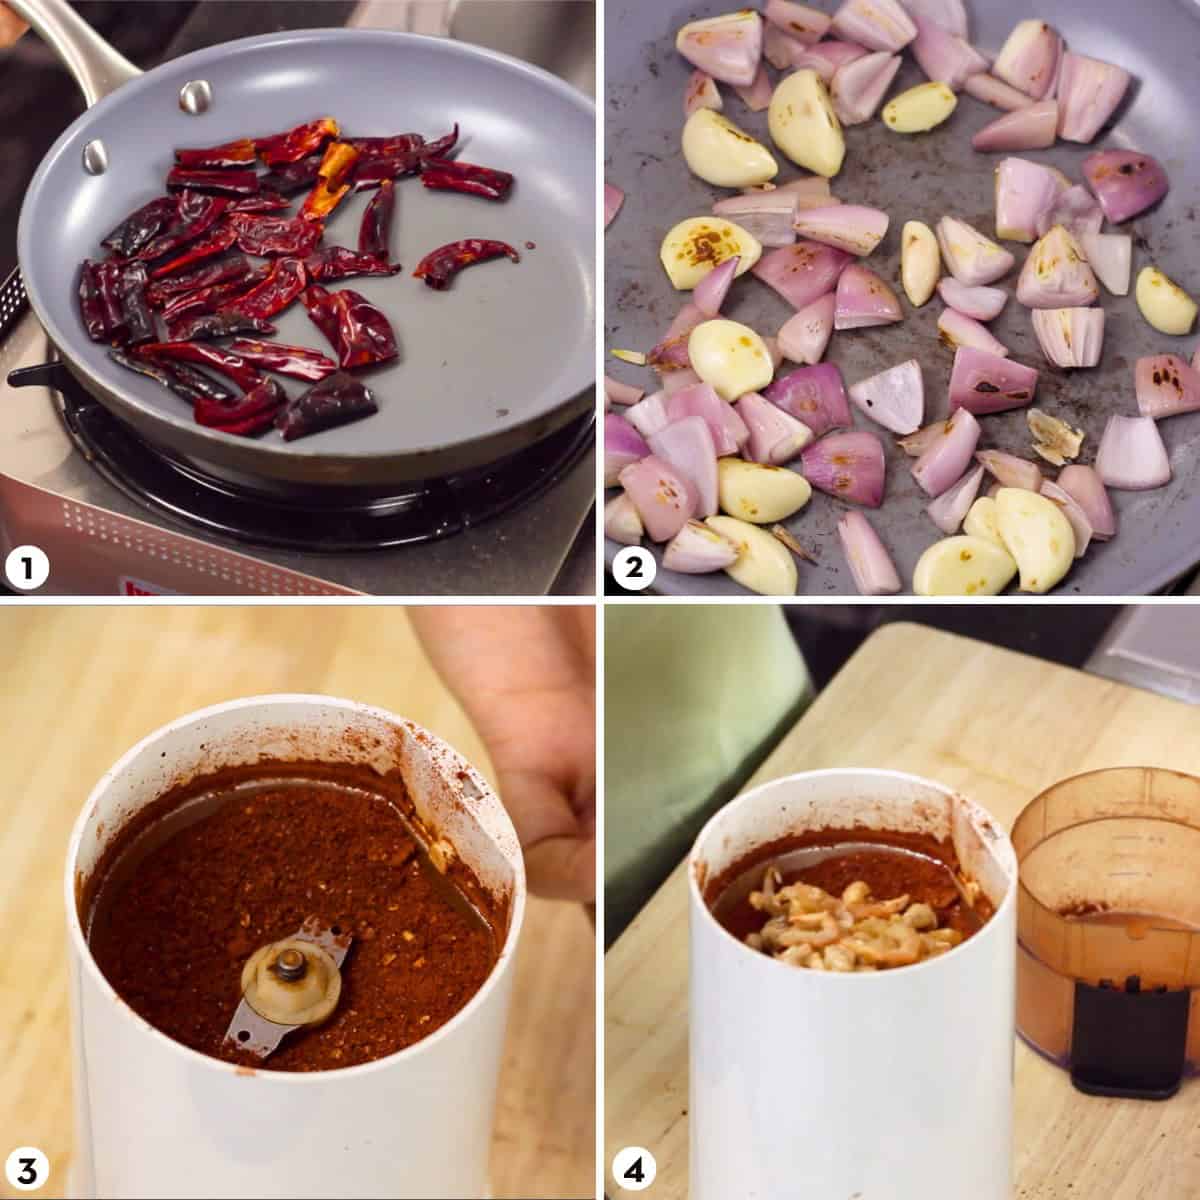
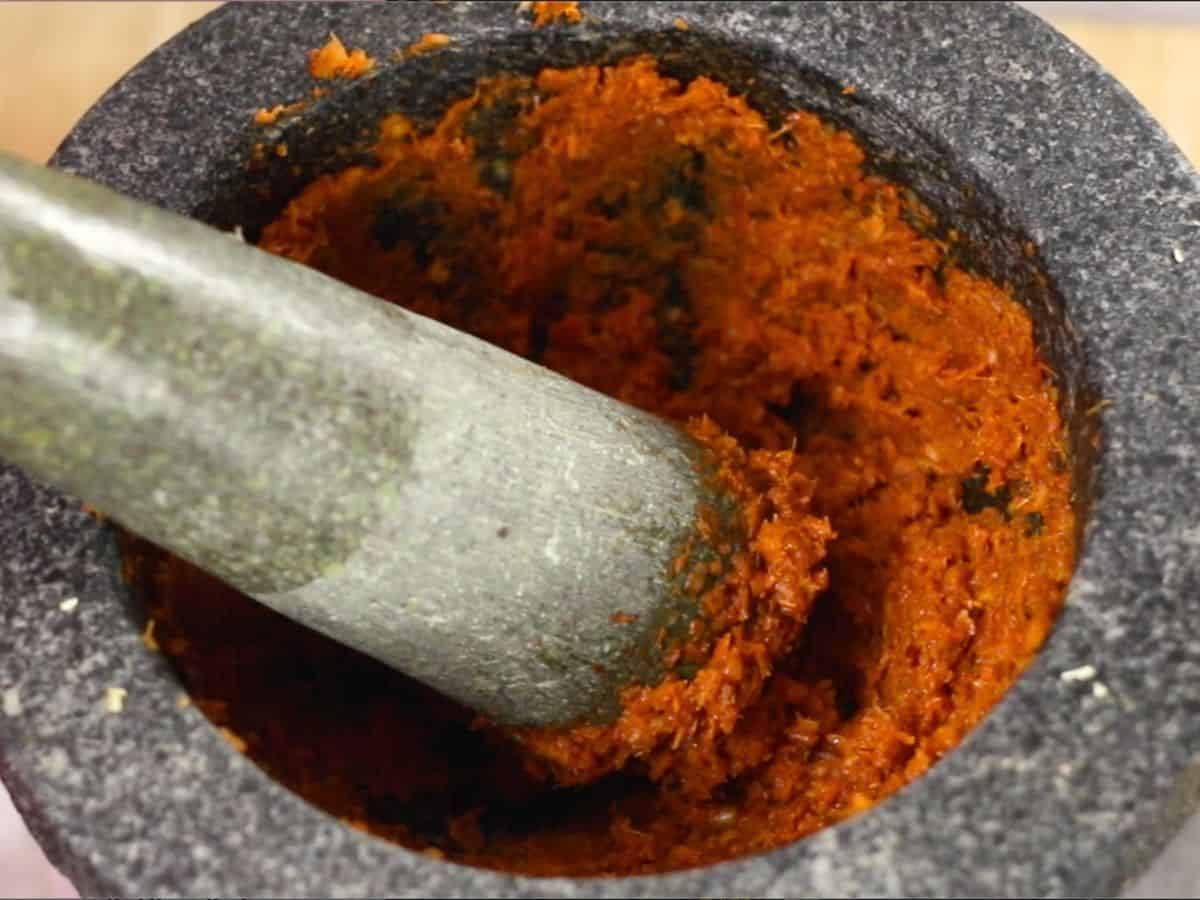
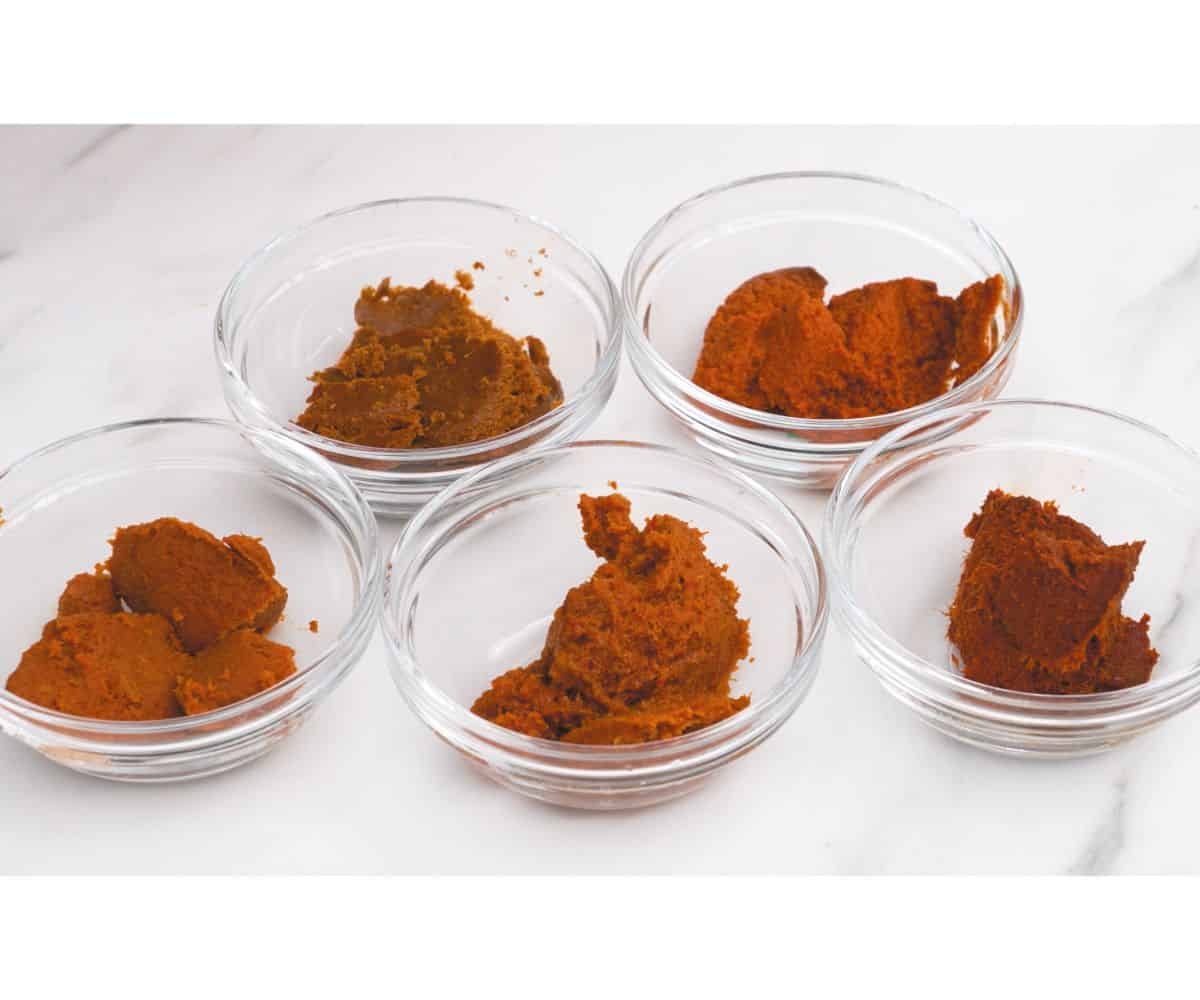
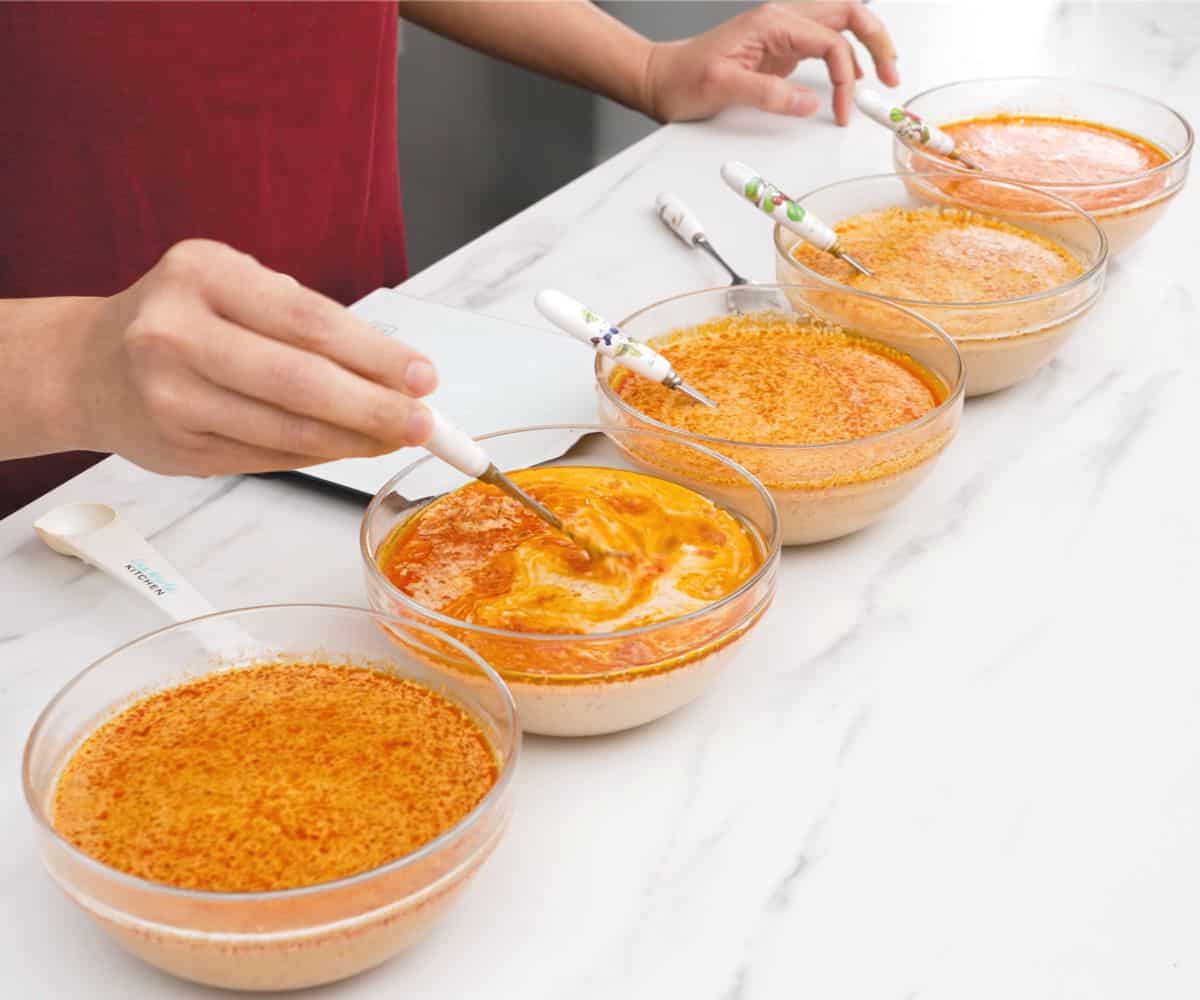
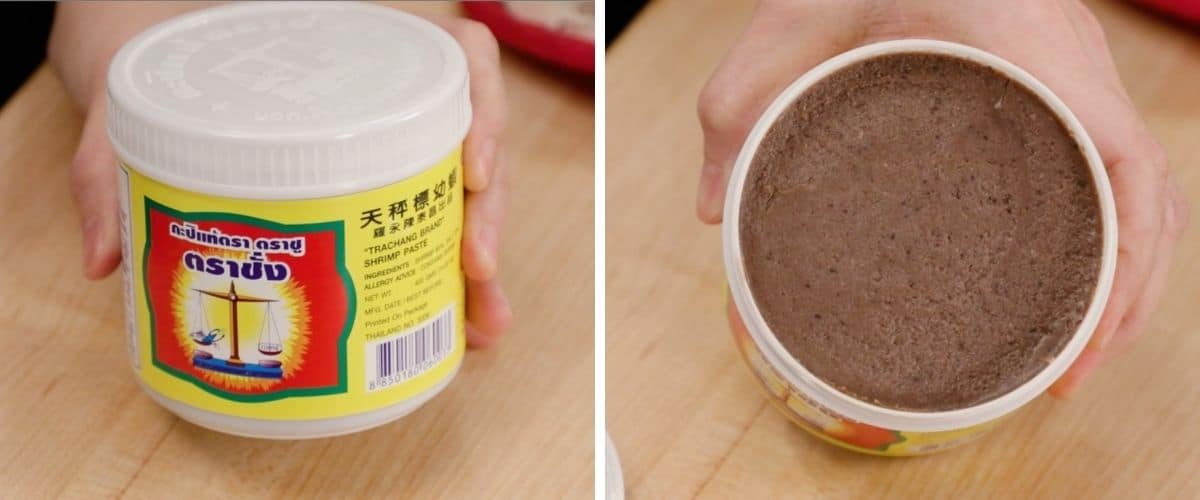
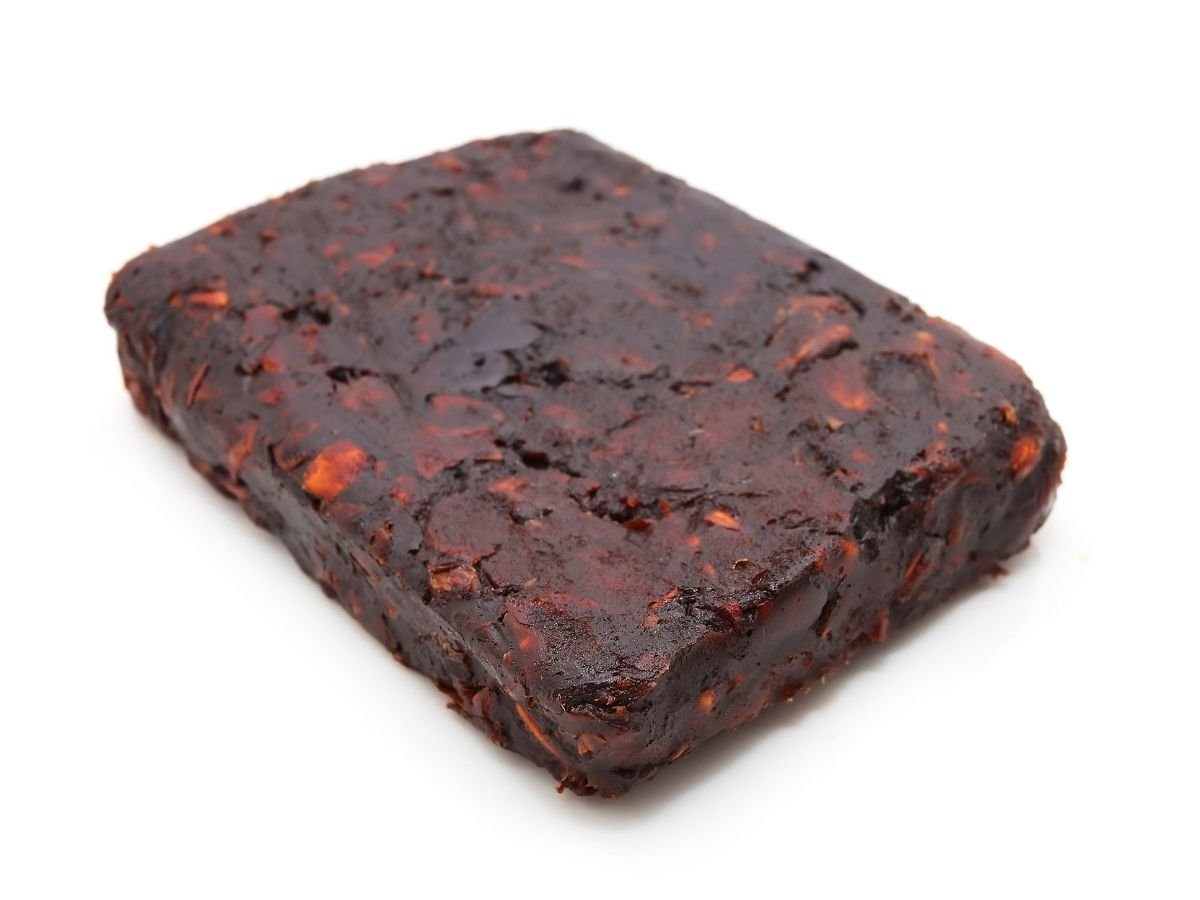
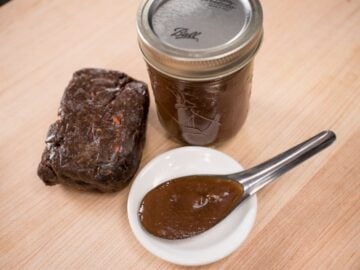
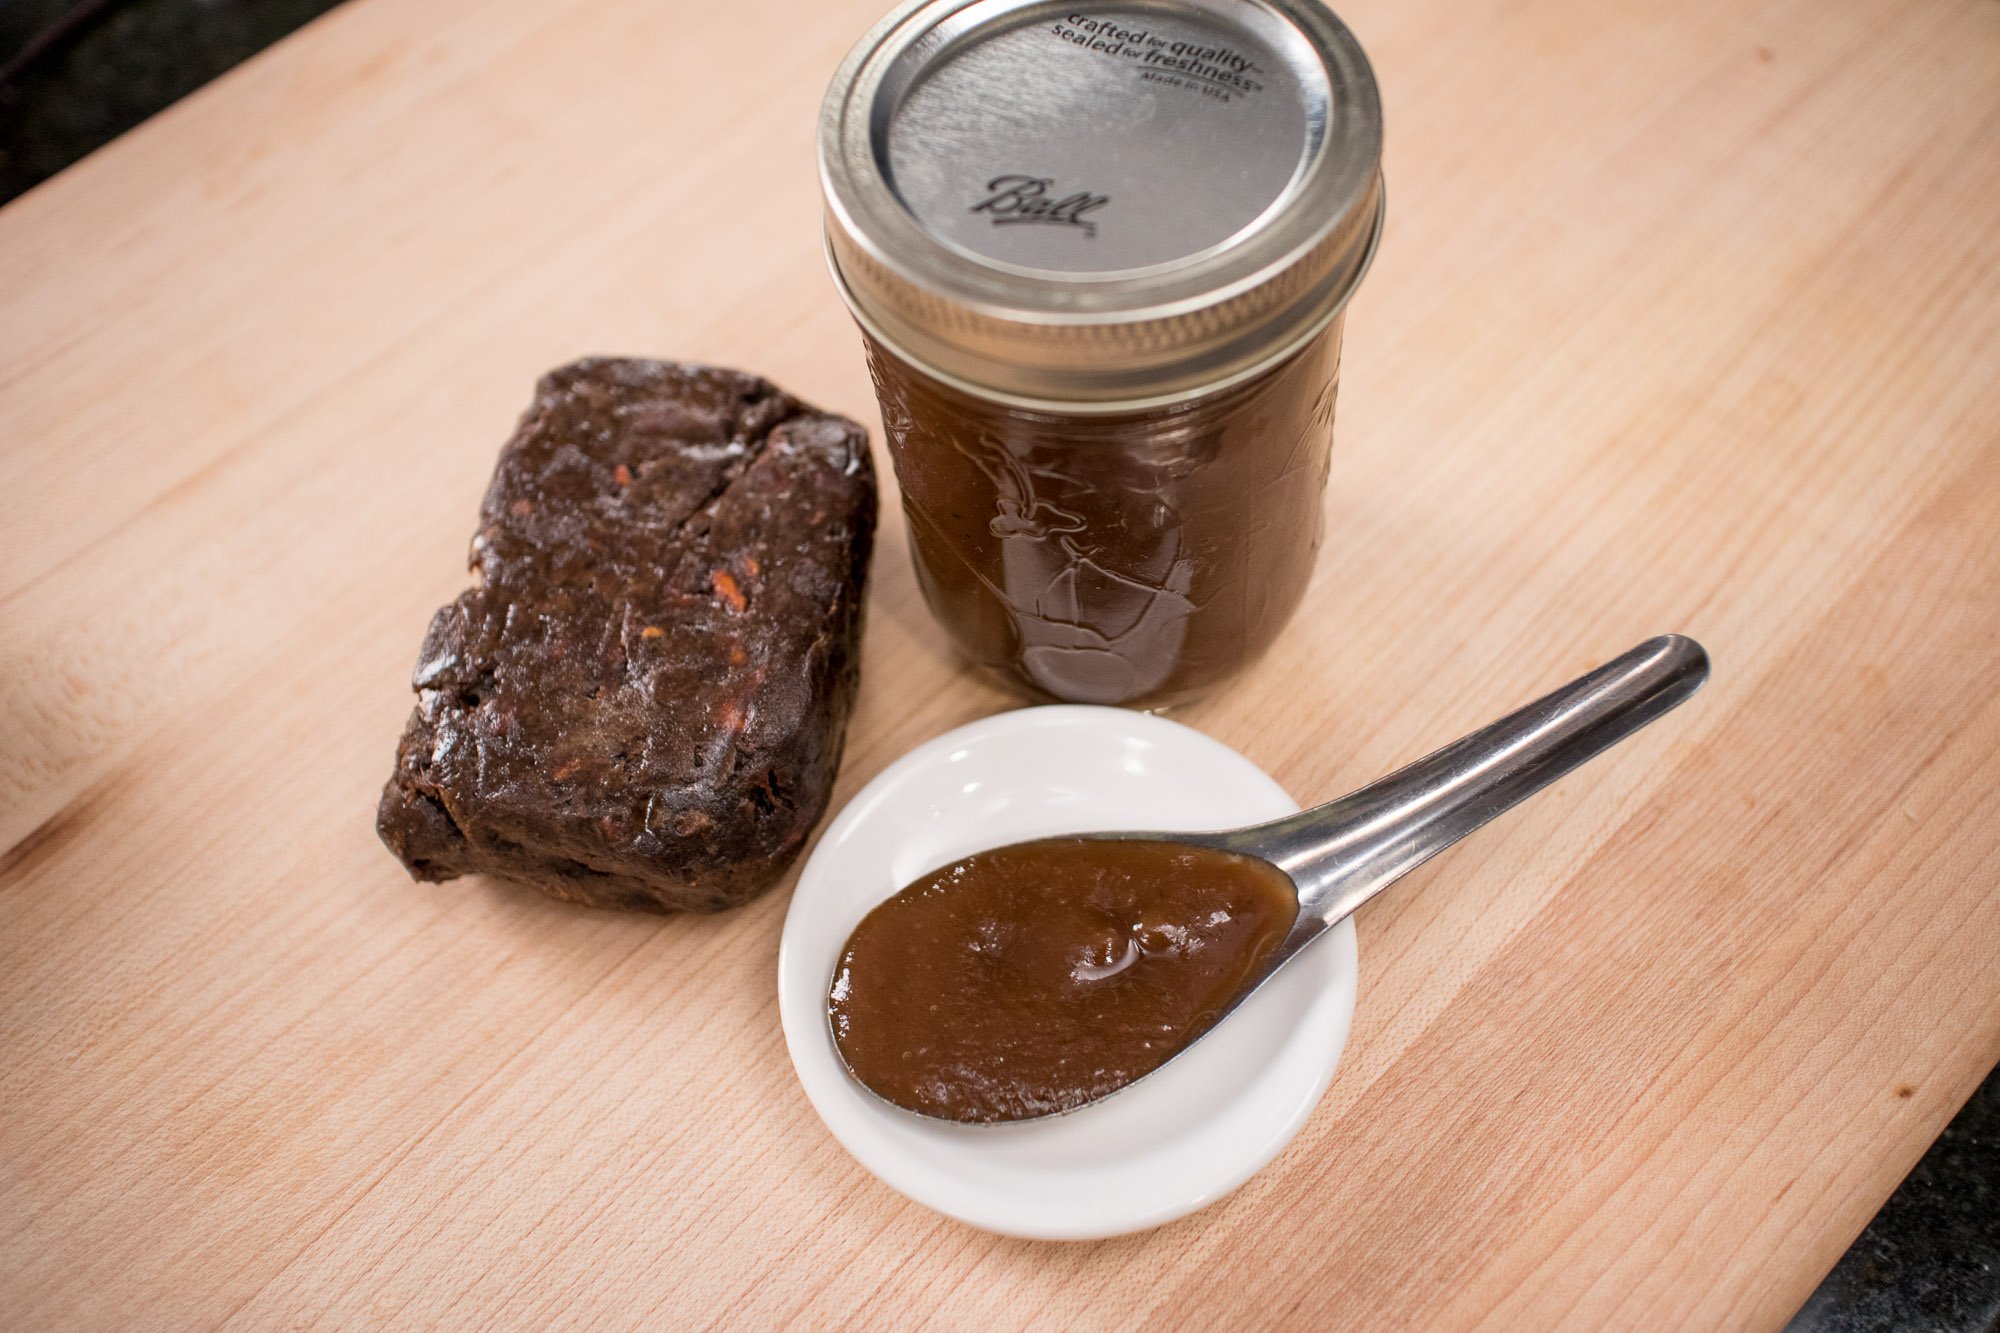
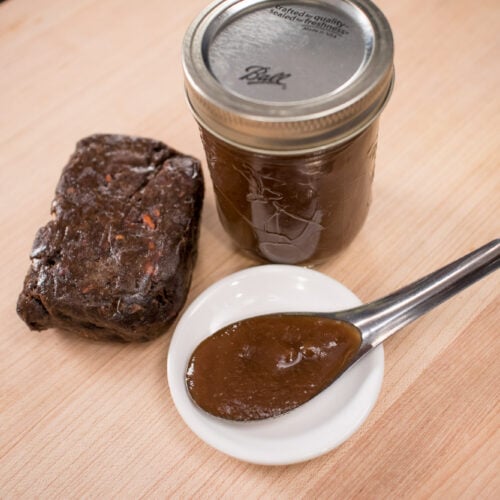
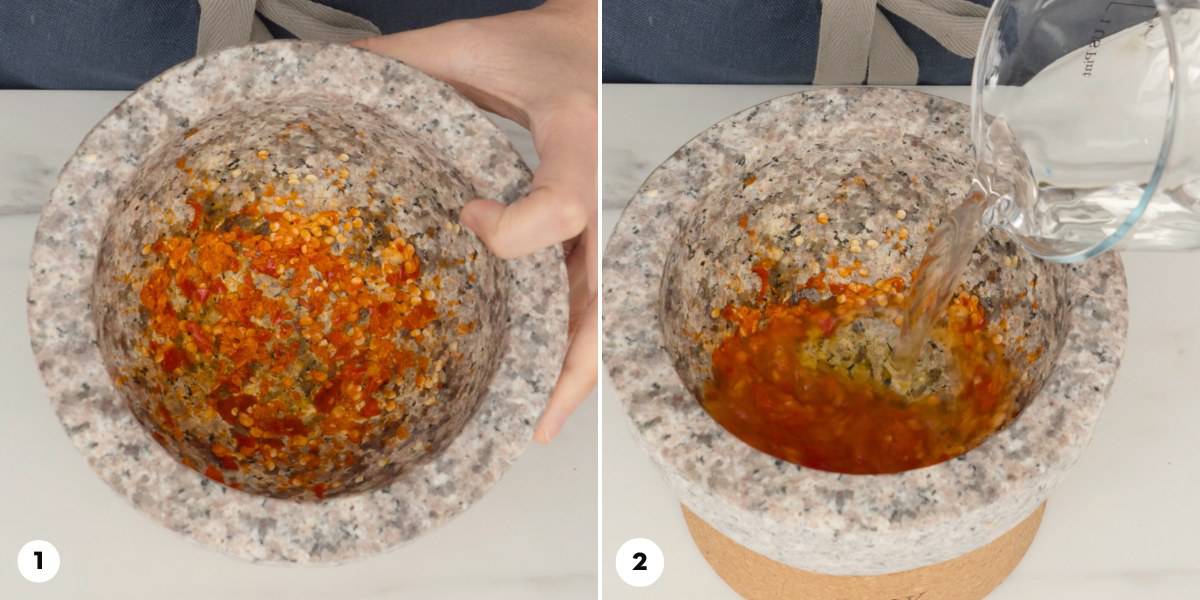
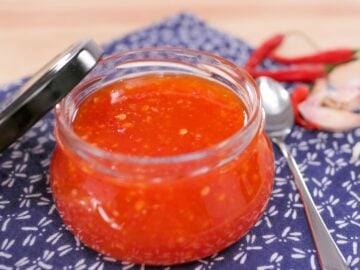
Thai chili paste is a sweet-savoury thick paste that is loaded with umami. It's made mainly from dried chilies, shallots, garlic and dried shrimp.
Some people do not add Thai chili paste to cashew chicken, but my strong preference is for versions with. It adds a rich, sweet-savoury flavour that makes it truly stand out. If you don't add it, it'll taste like a generic chicken stir fry - just with cashews. Nothing wrong with that, but to me a Thai cashew chicken really needs it.
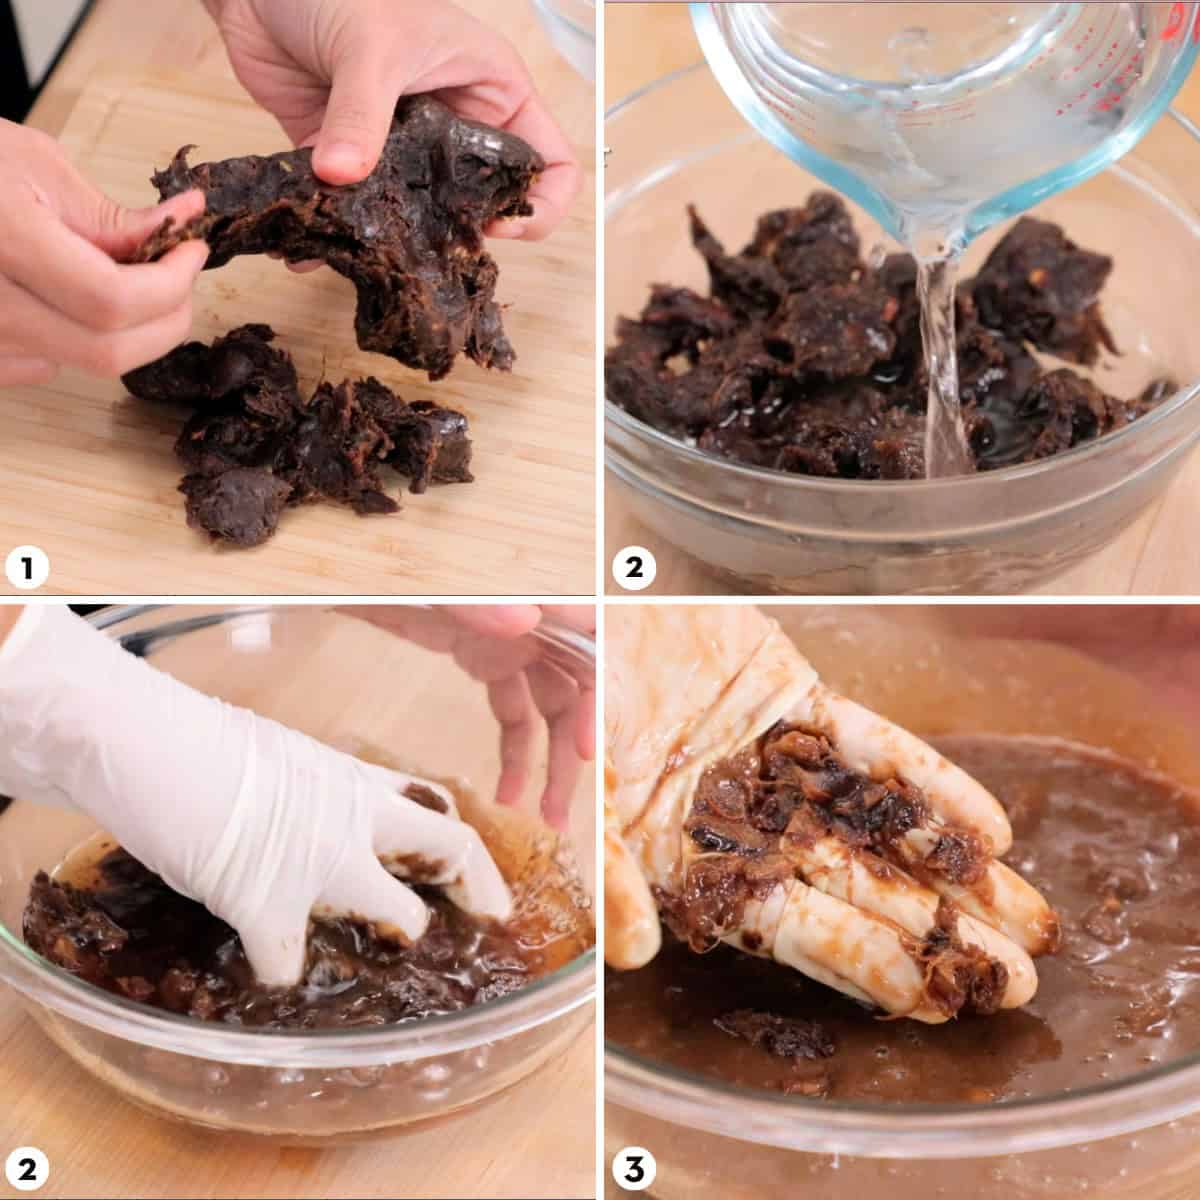
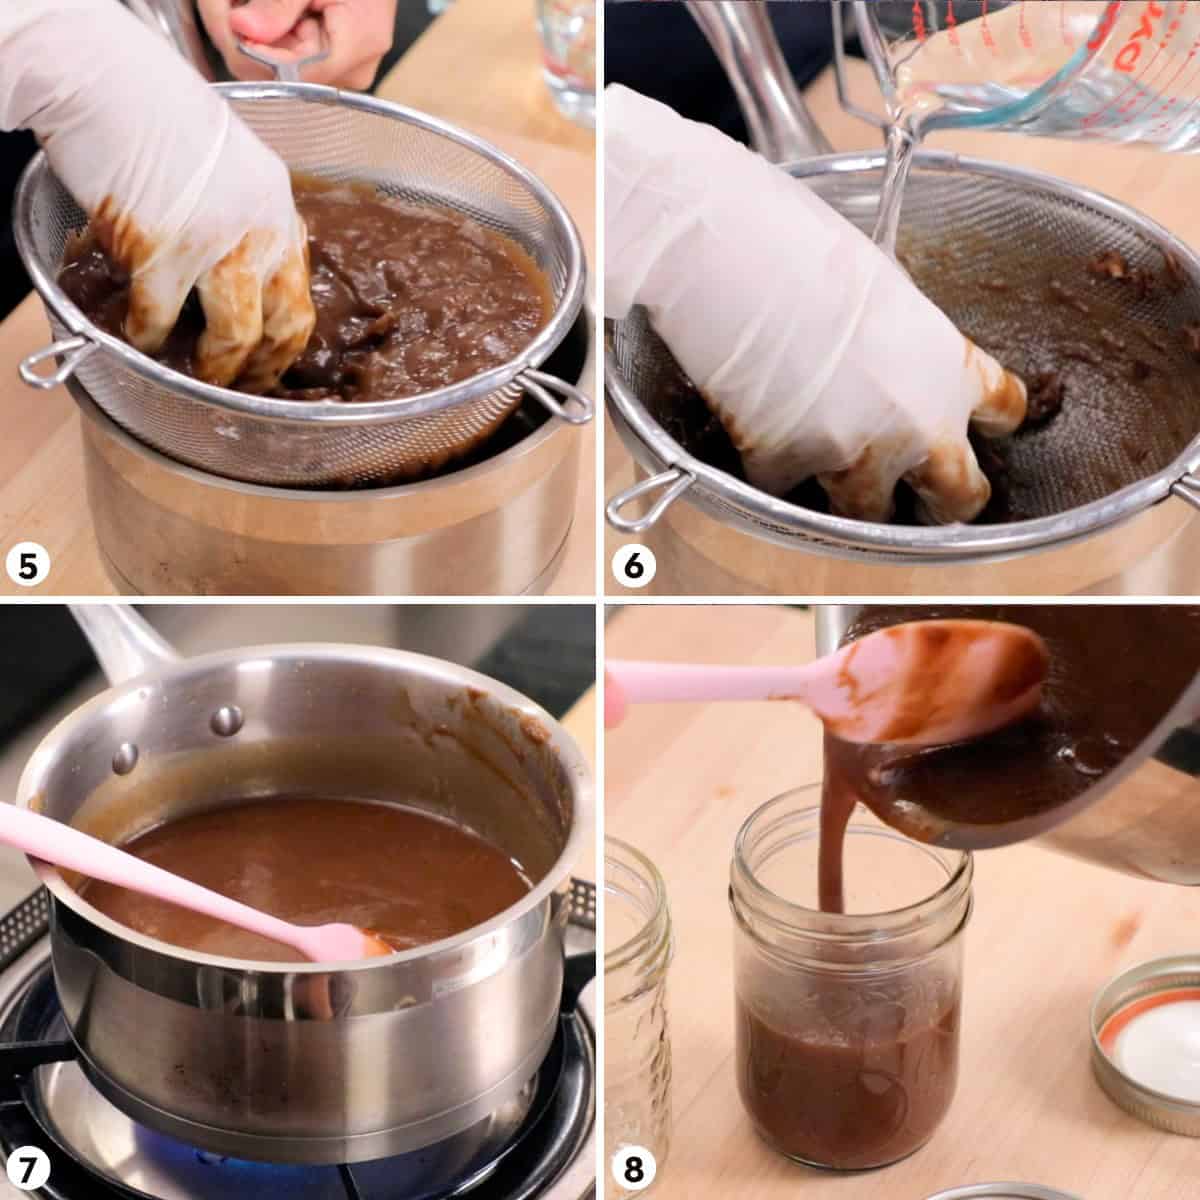
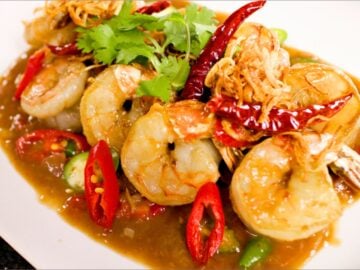
If you can't find it in stores or online, you can make it at home using this recipe here. It's also really useful to have on hand for our famous tom yum goong soup as well!
You can also try adding Korean gochujang plus a teaspoon of extra sugar, but know that the flavours between Thai and Korean chili pastes are very different, so it won't taste the same. I think the Korean version will still be tasty regardless, so if you do try it let me know how it goes!
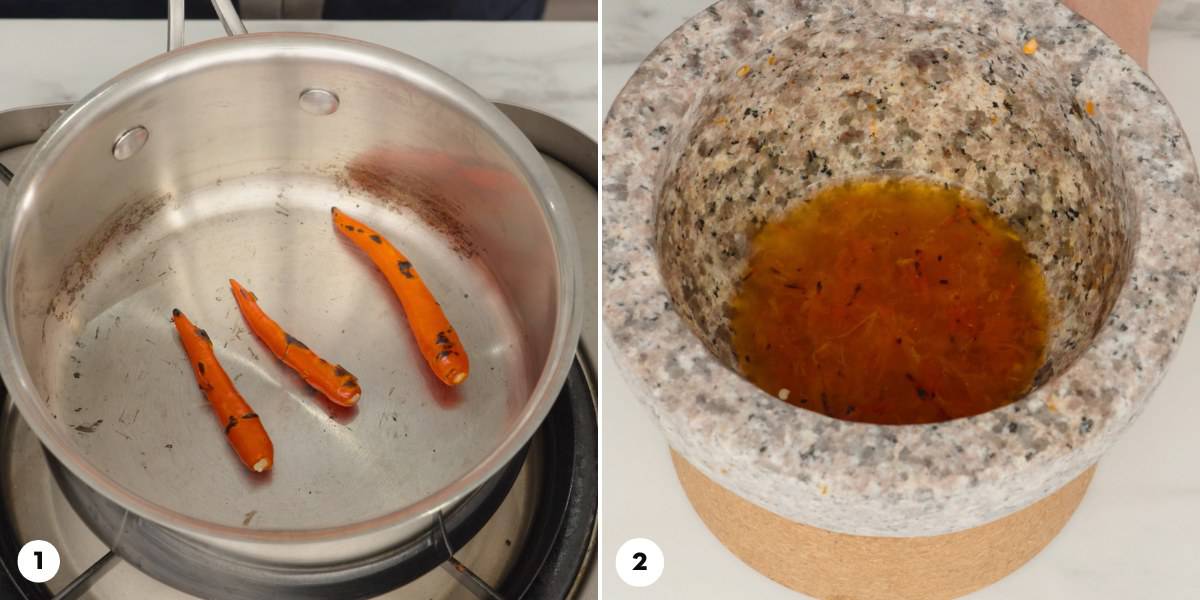
The dried chilies are completely optional for this, as they serve more as a garnish than an integral part of the dish, and not everyone eats them. But they're an iconic "look" for Thai cashew chicken, so I have to include them here. You can also add dried chili flakes instead for some heat without having to deal with whole chilies.
If using whole chilies, they need to be fried so they become crispy and can be easily broken and incorporated into the stir fry for those who want to eat them. (See video for how I eat the chilis).
You can use any kind of dried chilies that are about medium spicy. So chile de arbol are great, or I've used generic ones you can find at Chinese stores. Avoid ones that are large though, as I find it harder to get them crispy without burning them.
You Might Also Like...
Before you start, be sure to watch the video tutorial to ensure success! I always include little tips and tricks not mentioned in the blog post. The video is in the recipe card below, but you can also watch it on YouTube!
Cashew Chicken Recipe
Ingredients
- 14 oz boneless skinless chicken thighs, bite-sized pieces (see note 1)
- 2 teaspoons soy sauce
- 2 tablespoons neutral oil
- 7-10 dried chilies, small to medium size, (optional)
- 4 cloves garlic, chopped
- ½ onion, 1-inch diced
- ¾ cup green bell pepper, 1-inch diced
- 1 ¼ cups red, orange and/or yellow bell pepper, 1-inch diced
- ¾ cup unsalted roasted or raw cashews, plus extra for sprinkles (see note 2)
- 2 green onions, halved lengthwise and cut in 1.5-inch
Sauce
- 1 tablespoon oyster sauce
- 1 tablespoon soy sauce
- 1 teaspoon Golden Mountain sauce, (see note 3)
- 1 teaspoon fish sauce
- 1 ½ teaspoon sugar
- 1 ½ Tablespoons Thai chili paste,
- 1 teaspoon toasted sesame oil
Want to save this recipe?
Notes
- I prefer chicken thighs for this, but if using breasts, cut them into pieces no thinner than ½ inch thick, to prevent them from drying out too quickly. Also add 1 ½ tablespoon water to the marinade to give them some extra juiciness.
- You can also start with raw cashews and roast them as per the instructions below.
- Instead of Golden Mountain Sauce you can sub Maggi Seasoning or more fish sauce in equal amounts.
FULL VIDEO TUTORIAL
All my recipes come with step-by-step video tutorials with extra tips not mentioned in the blog post, so make sure you watch the video to ensure success. If you enjoy them, consider subscribing to the YouTube Channel to not miss an episode. Thank you!
Subscribe to my YouTube ChannelInstructions
- For the cashews: Preheat the oven to 350°F (175°C) and roast the cashews (yes even if you bought them roasted, roast them again) on a baking sheet for 8-10 minutes, and until they darken in color. If starting with raw cashews, roast them for 10-12 minutes, stirring them half way through for more even roasting, until they are slightly darker than golden.¾ cup unsalted roasted or raw cashews
- Combine the chicken thigh with soy sauce and mix well. If using chicken breast, add 1 ½ tablespoon of water in addition to the soy sauce. In either case let it sit for at least 15 minutes.14 oz boneless skinless chicken thighs, 2 teaspoons soy sauce
- Combine all sauce ingredients in a small bowl.1 tablespoon oyster sauce, 1 tablespoon soy sauce, 1 teaspoon Golden Mountain sauce, 1 teaspoon fish sauce, 1 ½ teaspoon sugar, 1 ½ Tablespoons Thai chili paste, 1 teaspoon toasted sesame oil
- If using dried chilies, add the oil to a wok and add the dried chilies; turn the heat on to low. Keep stirring the chilies until they puff and darken into a maroon colour, about 1 minute. Quickly remove them with a mesh skimmer, leaving the oil behind, and place them onto a paper towel lined plate to drain.7-10 dried chilies, small to medium size, 2 tablespoons neutral oil
- In the same wok, turn the heat up to high. Once the oil is very hot, add the chicken and spread the pieces out into one layer as much as you can.Allow the chicken to sear, undisturbed, for about 2 minutes or until the underside is nicely browned. Once browned, toss the chicken, and keep cooking, stirring frequently, until the chicken is completely cooked. Turn off the heat and remove the chicken from the pan, leaving all the oil behind.
- With the heat still off, add the chopped garlic, then turn the heat on to medium. Stir the garlic until the smallest pieces turn golden, then add the onions and stir for about one minute.4 cloves garlic, ½ onion
- Turn the heat up to high then add the bell peppers, the chicken, and the sauce mixture and toss until heated through and well mixed, about 1 minute.¾ cup green bell pepper, 1 ¼ cups red, orange and/or yellow bell pepper
- Turn off the heat, then add the green onions and cashews and toss just until mixed. Plate and top with fried chilies, and serve immediately with jasmine rice. Note: Cashews should only be added right before serving to maintain crunch. Trust me, soggy cashews are NOT good! So if you’re making more of this recipe than you can finish today, set aside what you won’t eat before adding the cashews.2 green onions


